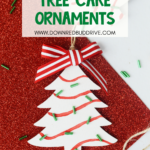
DIY Little Debbie Christmas Tree Ornament
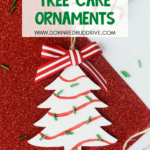

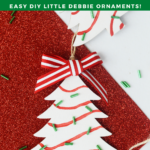





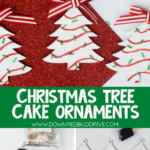



Recreate everyone’s favorite Christmas treat with this adorable DIY Little Debbie Christmas Tree Ornament! Make your tree fun and festive in no time!

This post may contain affiliate links. See my full disclosure policy HERE.
Christmas Tree Cakes from Little Debbie are my favorite snack ever! When they came up with Little Debbie Christmas Tree Cakes Ice Cream my WORLD changed!
This year my Christmas tree theme is red and white, and I knew I wanted to make a cute version of those snack cakes as a Christmas tree ornament! These cute DIY Little Debbie Christmas Tree Ornament was born as a result, and I’ll show you how to make them.
I’ve made a LOT of homemade ornaments for my trees before. I’ve also made these cute DIY feather ornaments for my tree, as well as these doily ornaments, and these cute pom pom ornaments too!
How do you make these Little Debbie Christmas Tree ornaments?
Step 1: Gather your supplies.
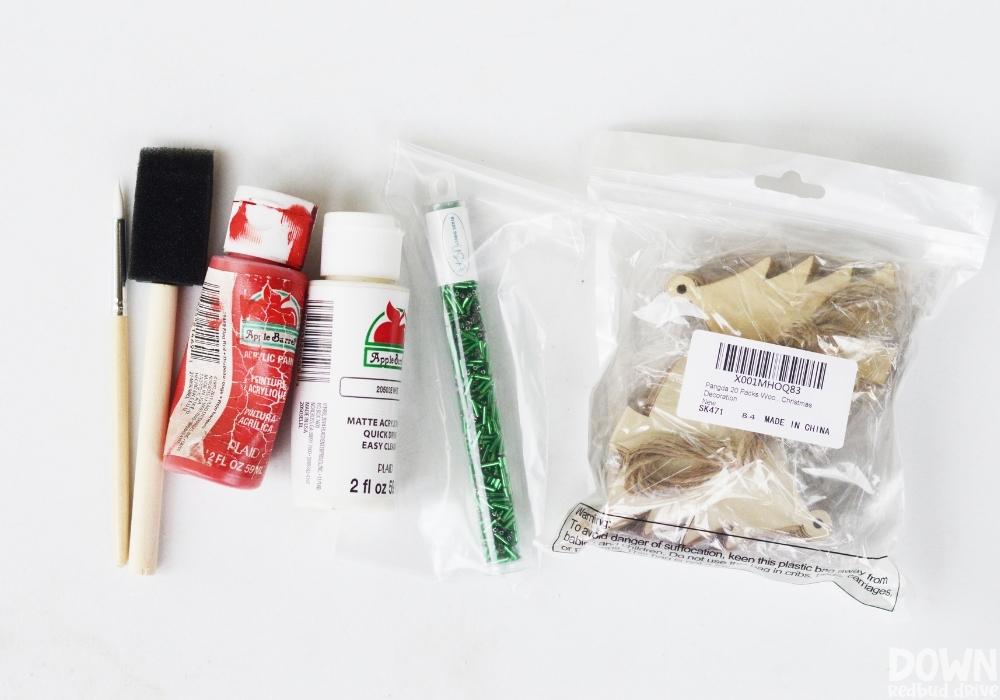

You will need:
- Christmas Tree Shaped Ornaments
- White Acrylic Paint
- Green Acrylic Paint
- Ribbon
- Green Beads
- Paintbrush
- Scissors
Step 2: Paint the trees white.
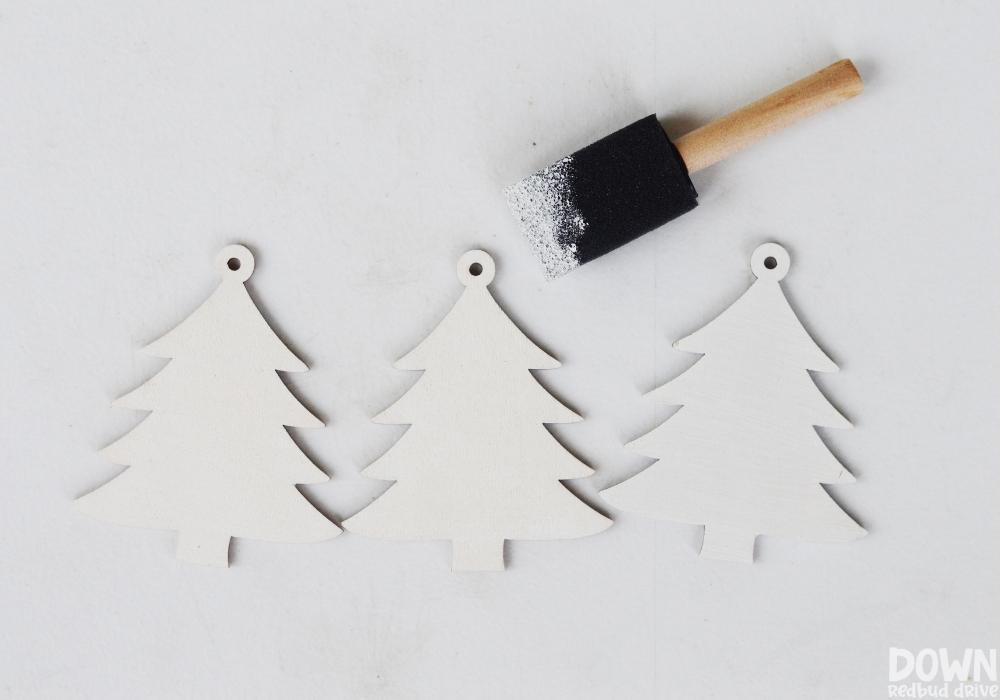

I used a foam paintbrush to paint a thin coat of white paint onto the plain wooden ornaments. I painted both the front and back in a very thin coat, so they dried very fast.
Acrylic paint is cheap at Walmart (I get the fifty cent bottles) so I always have it on hand. Let these dry completely before moving onto the next step.
Step 3: Add the red frosting stripes.
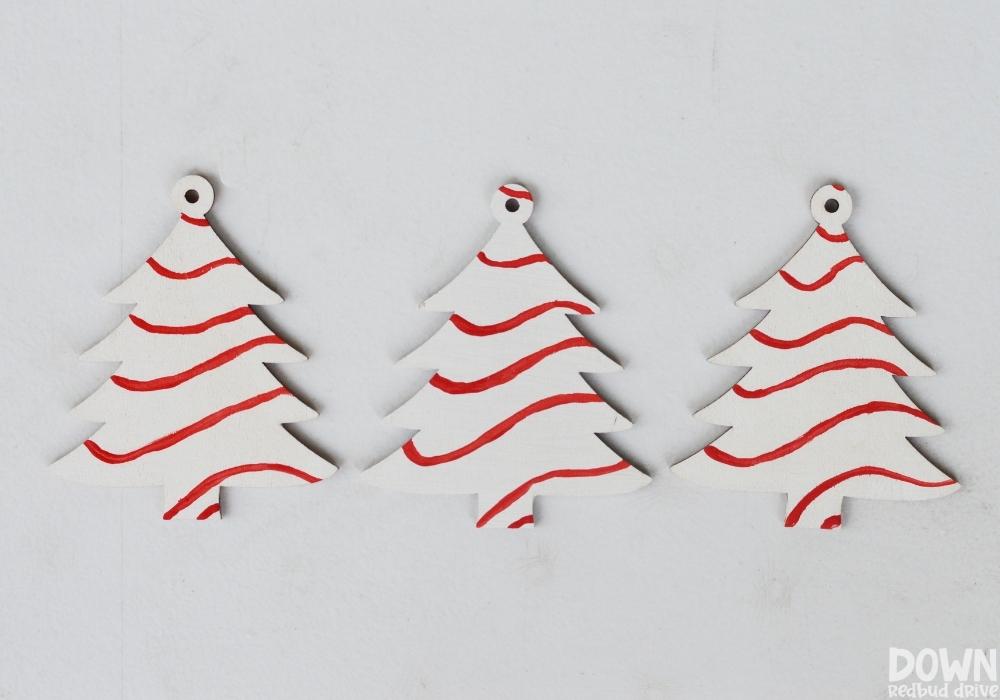

Next, you will need to use a thin paintbrush (the foam ones don’t work well for this) to make the red frosting stripes. I looked at the box to copy my pattern, but really red curvy lines will work fine.
Step 4. Add the beads for sprinkles.
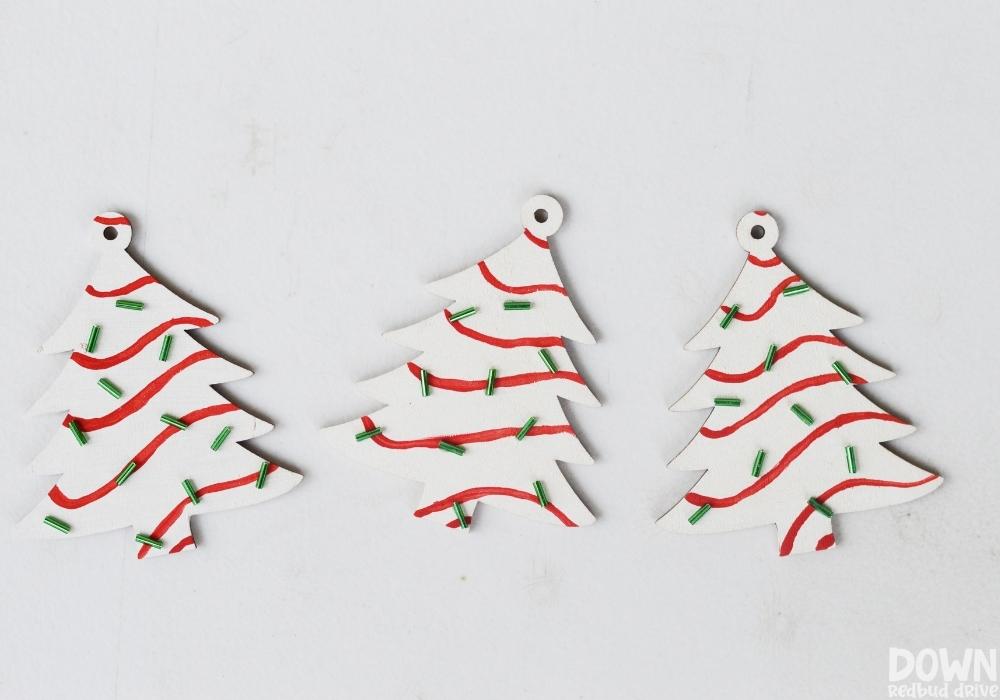

Once the paint is dry, use E6000 or strong craft or super glue to apple the green tube beads as sprinkles.
Pro Tip: Use tweezers to place these tube beads! I normally skip using tweezers with beads, but for this project it saved me a ton of time and frustration.
Step 5. Add a hanger and a bow.
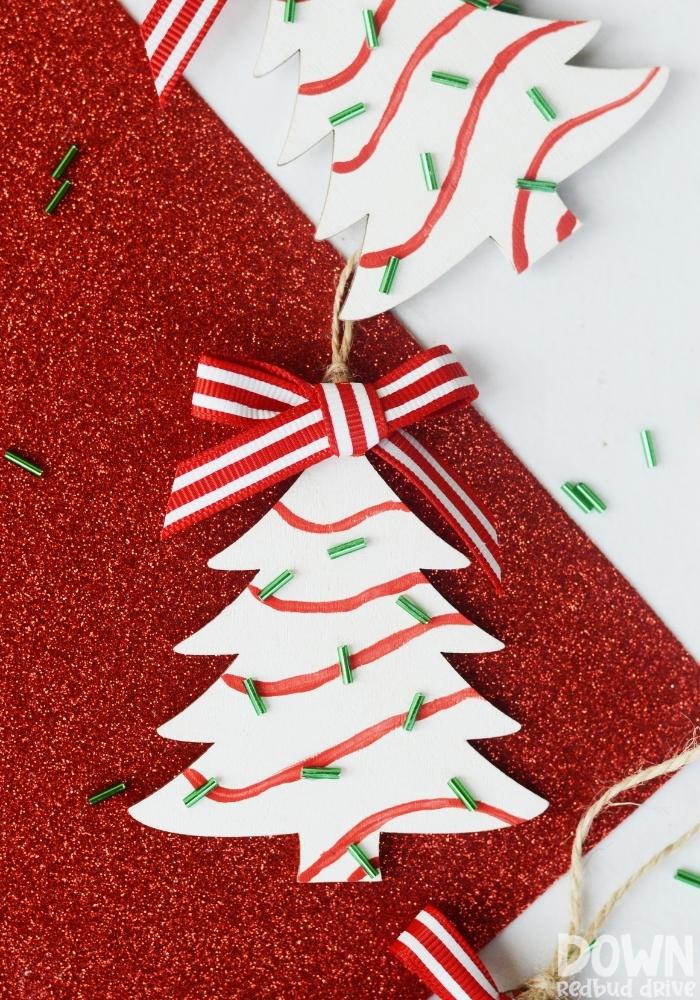

Once the glue holding on the green sprinkles is completely dry, you’re ready to finish your DIY Little Debbie Christmas Tree Ornament up!
First use the twine that came with the tree ornaments to make the topper by tying it through the hole at the top. If you didn’t order those ornaments specifically, you can always use your own twine or hook.
I used a cute 3/8″ red striped ribbon I had on hand to make a bow and glued it on with hot glue after I attached the hanger.
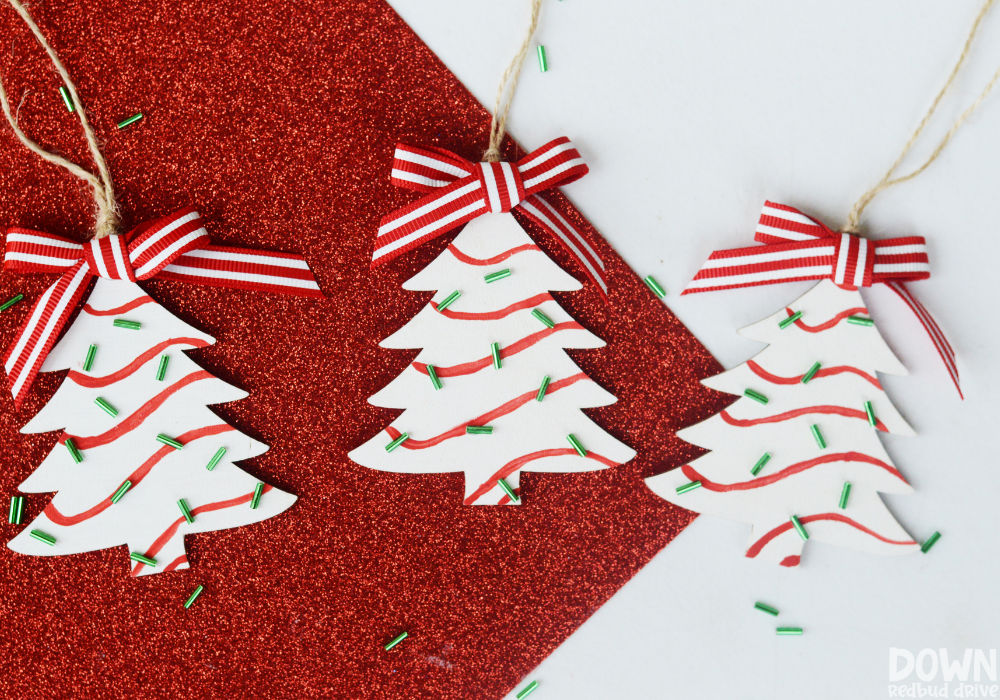

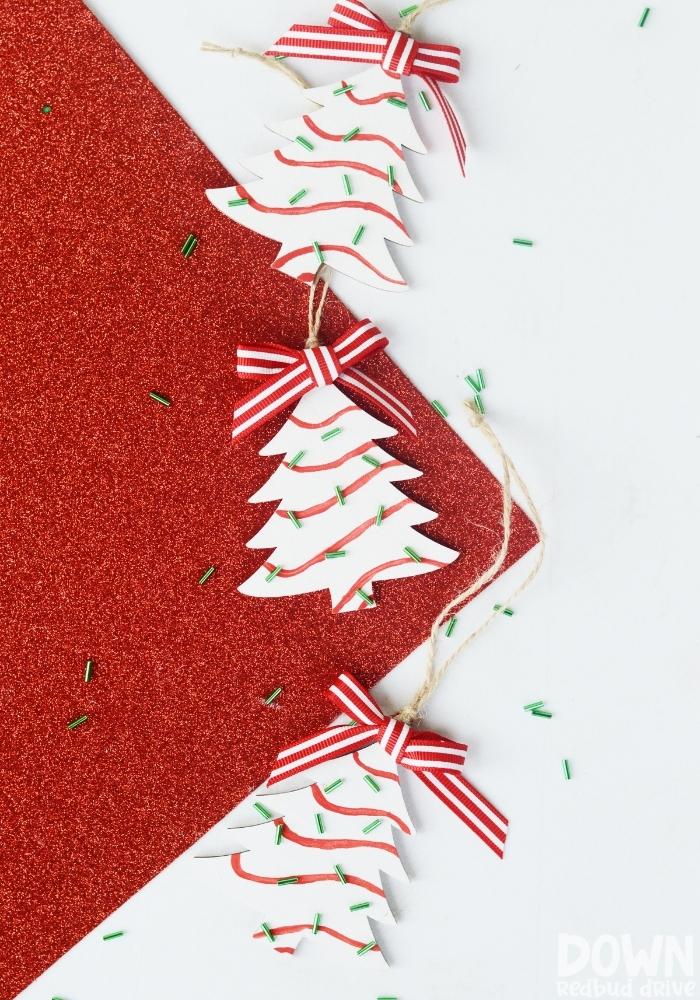
When your DIY Little Debbie Christmas Tree Ornaments are finished they should look something like this! These are great because they’re lightweight, quick to make, super adorable and nostalgic, and everyone will love them!
Ideas for these Little Debbie Christmas Tree Ornaments:
- Sell. These would sell super well at craft fairs or on Etsy! Feel free to make and sell these on your own!
- Gifts. Give these as gifts, maybe even with an actual Christmas Tree Cake!
- Nostalgia. Having these on my tree makes me smile every time I spot one. If anything, make them for the nostalgia!
Want more DIY Christmas ideas?
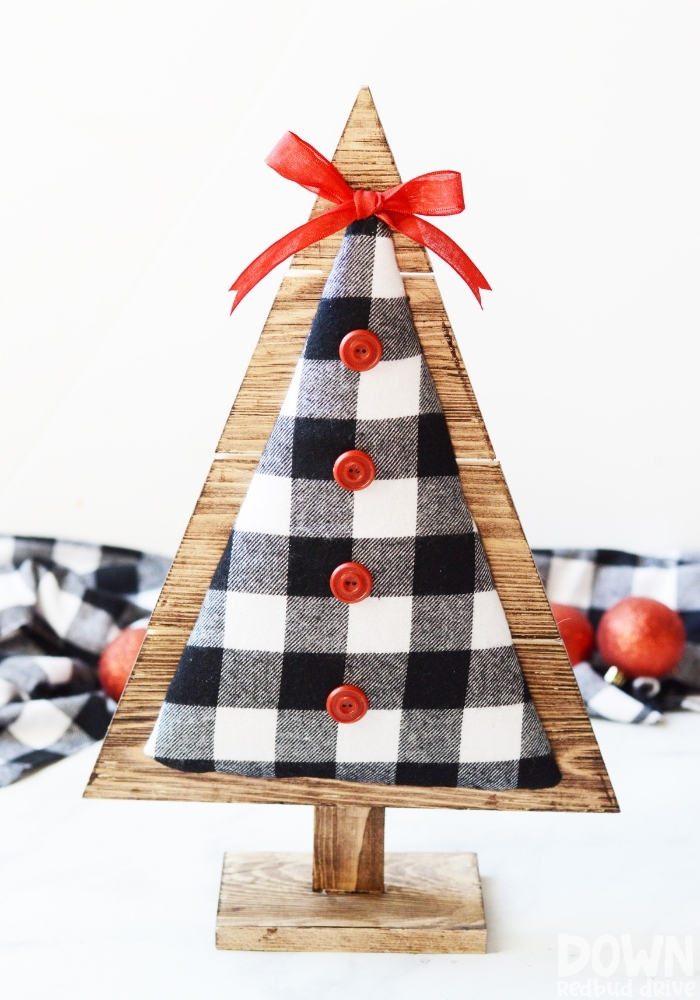




- DIY Wood and Fabric Christmas Trees – These beautiful Christmas trees are super easy to make!
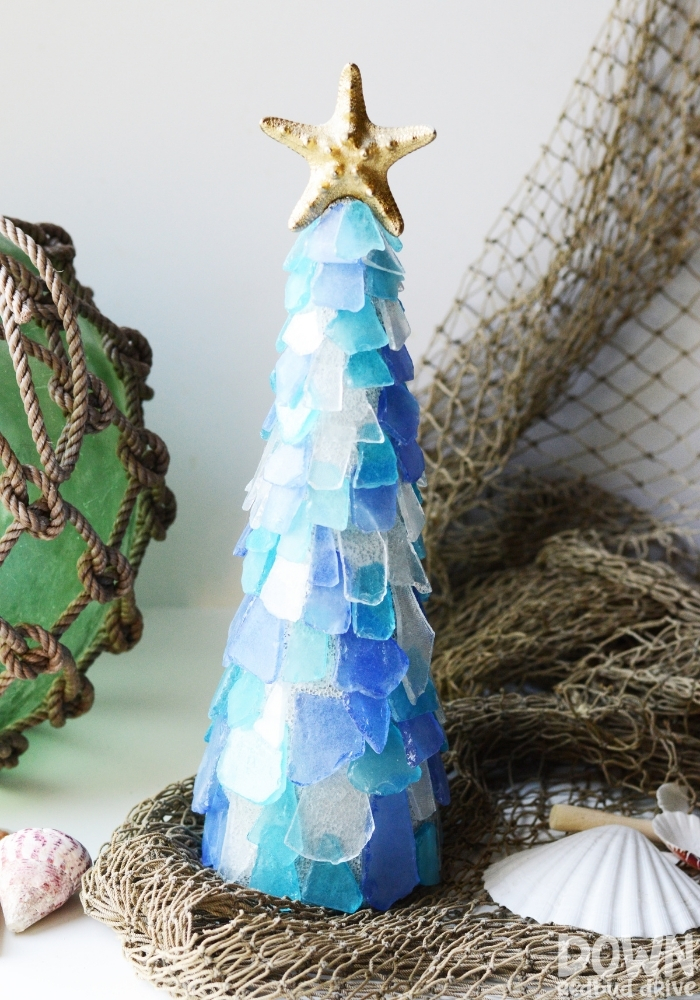
- Sea Glass Christmas Tree DIY – If you want a beautiful beach-inspired piece of Christmas decor, you need to make this gorgeous Christmas tree DIY!
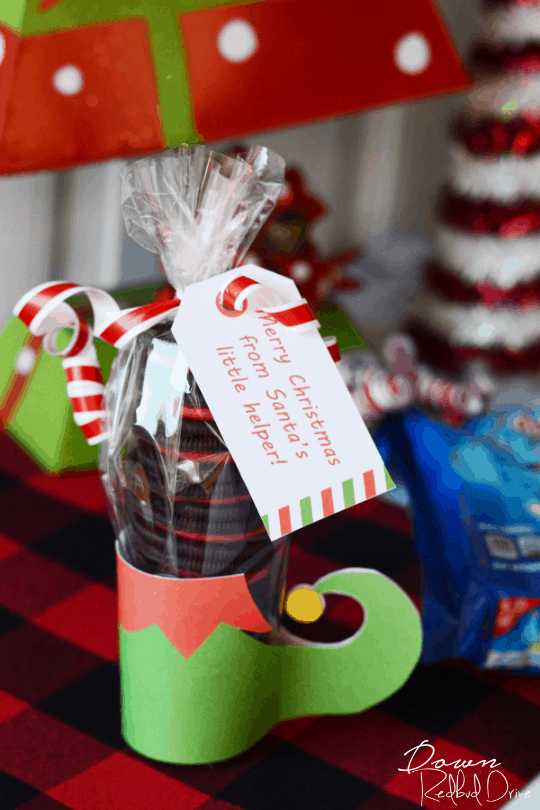
- Elf Leg Oreos – Give your loved ones a sweet treat with this simple DIY gift idea!
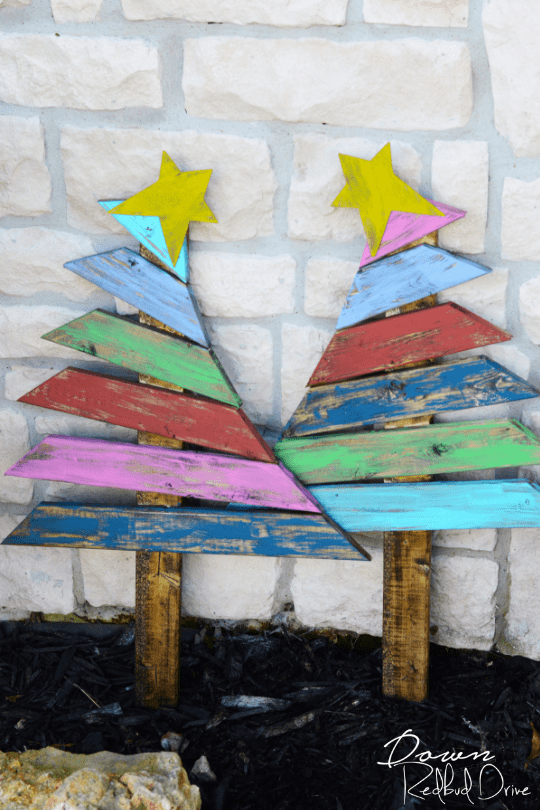
- Grinch Trees Christmas Decor – These DIY Grinch Christmas trees turned out SO cute and they’re so easy to make!
Make these gorgeous DIY Leopard Christmas Ornaments this year for yourself or a loved one!


