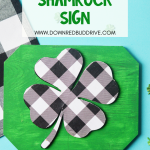
DIY Buffalo Plaid Shamrock Sign
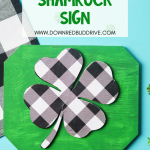

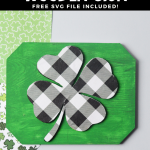

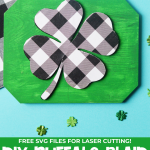

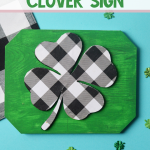

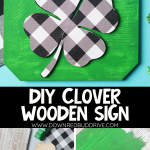

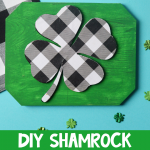

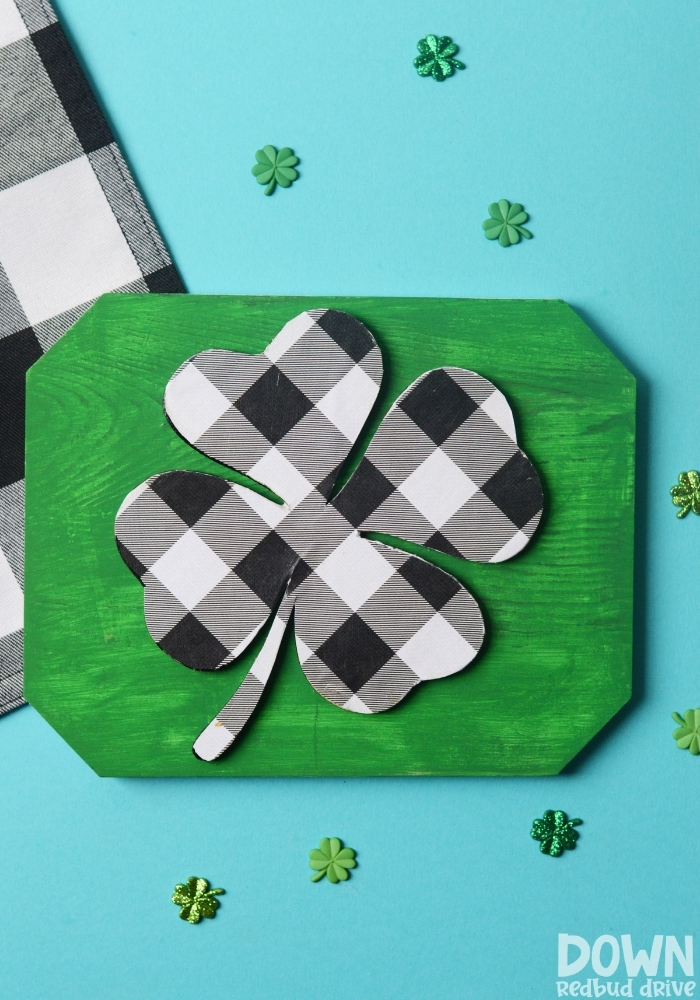
This DIY Buffalo Plaid Shamrock Sign is the perfect way to bring some modern flair to your St. Patrick’s Day home decor! It’s subtle and festive and so easy to make!

This post may contain affiliate links. See my full disclosure policy HERE.
Making holiday home decor is SO MUCH more fun than buying it!
This St. Patrick’s Day DIY home decor is crazy easy to make.
You can either use a wood laser cutter, like a Glowforge, OR you can simply buy a wooden shamrock from a craft store like Hobby Lobby.
I’m kind of obsessed with Buffalo Plaid. I used it to make these Flannel Trees for Christmas, and this wood and flannel tree for Christmas as well. This Dryer Vent Snowman also had a Buffalo Plaid Scarf, and these Embroidery Hoop Pumpkins included a buffalo plaid version as well!
How do you make these two-ingredient dog treats?
Step 1: Gather your supplies.
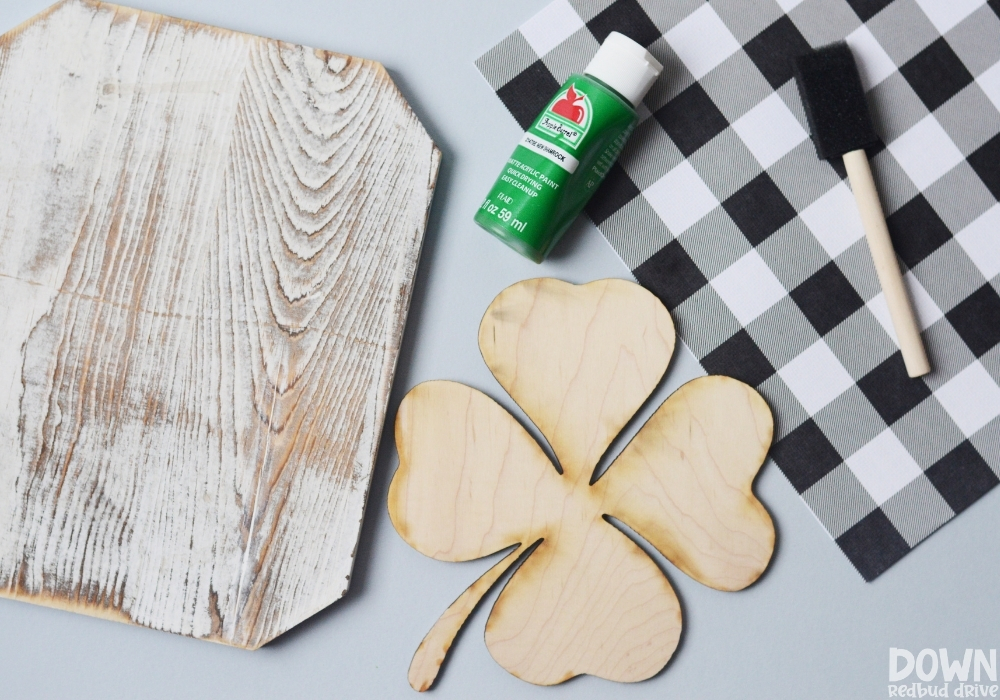

You will need:
- 8″ x 10″ Wooden Sign Plaque (I found mine at Walmart for less than $5)
- Free SVG Clover File OR Wooden Shamrock Cutout (no bigger than 7″)
- Green Acrylic Paint
- Mod Podge
- Buffalo Plaid Paper
- Foam Paint Brush
- Scissors
- Wood Glue
- Pencil
Step 2: Paint the wooden plaque.
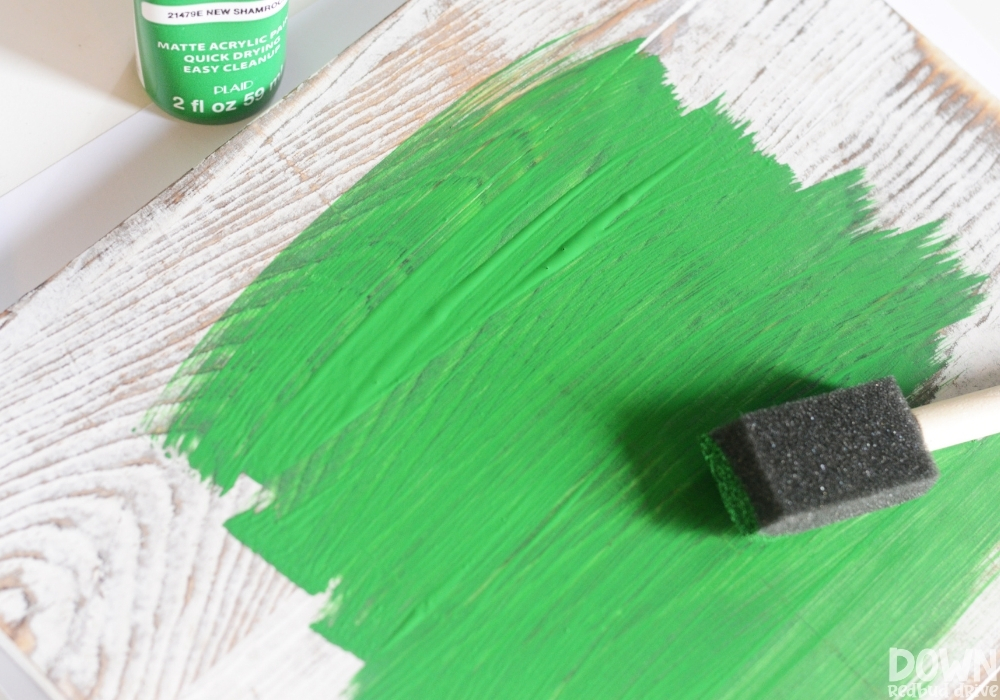

First, you will need to paint the base of your sign green.
I used green acrylic paint (like $0.50 at Walmart) and a foam brush.
I liked the wood grain showing through, so I only did one coat, If you want full coverage, wait 10 minutes and do another coat of paint.
Step 3: Cut out your clover and trace it.
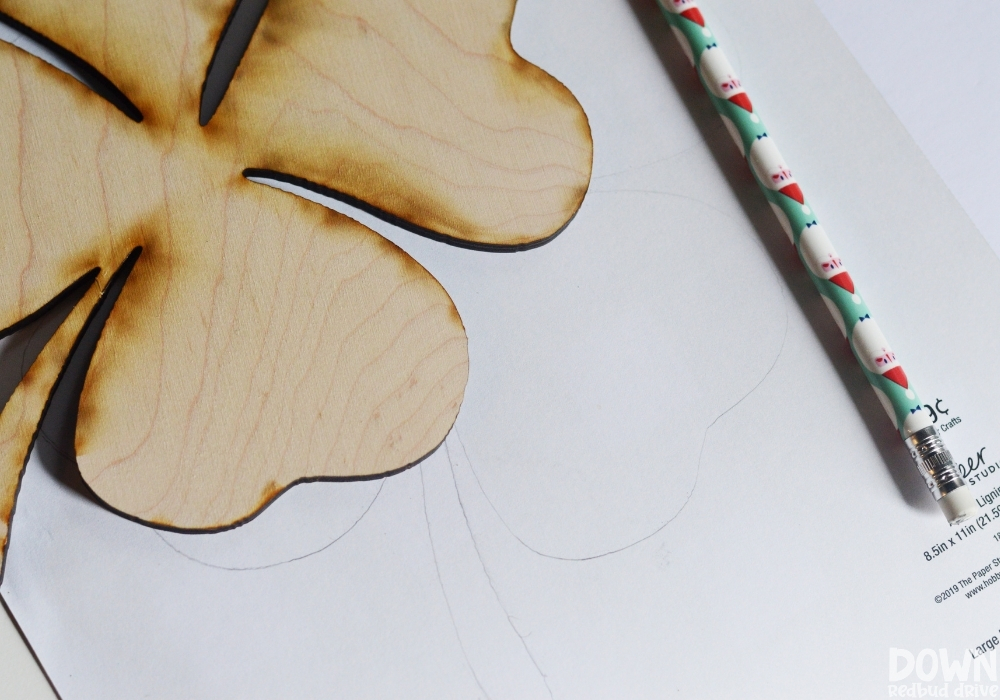

My awesome friend at Life Family Joy makes all kinds of amazing wooden things! If you have a Glowforge (or similar) you can get the free SVG file to cut out this shamrock HERE.
If you don’t, you can use a similar wooden shamrock shape to make these. Just make sure it’s not larger than 7″ so it will fit nicely on your sign.
Once it’s cut out, trace the shape using a pencil on the BACK of your buffalo plaid print paper.
I found my paper in the scrapbook section at Hobby Lobby, but you can find it just about anywhere that sells printed papers like that.
Use a sharp pair of scissors and cut out the shamrock shape.
Step 4: Use mod podge to attach the paper to the shamrock shape.
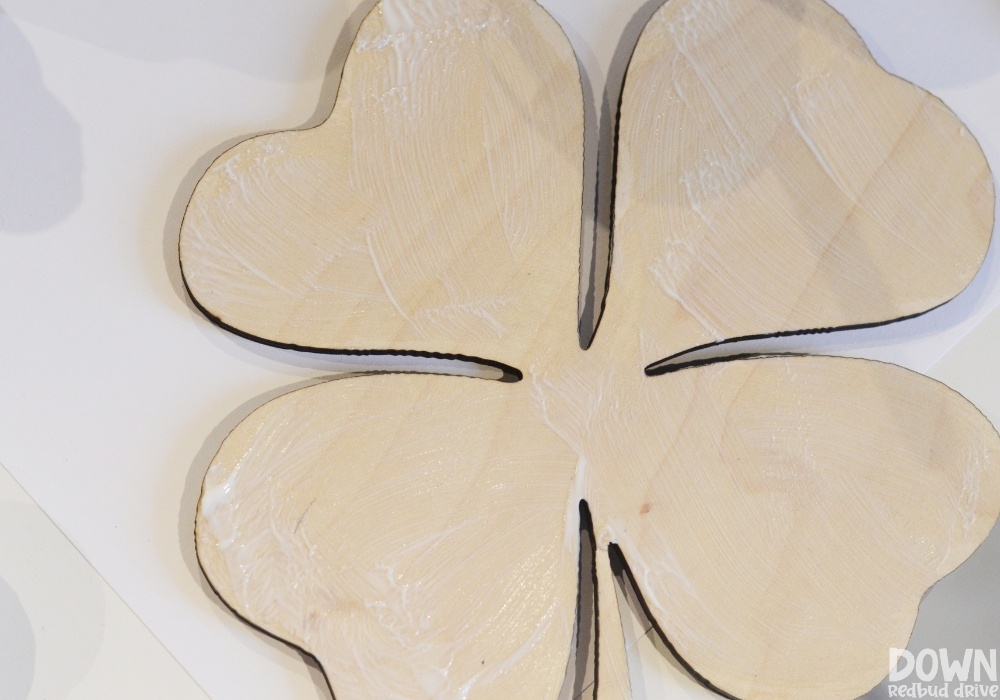

Use a foam brush and apply a liberal amount of mod podge to the shamrock shape.
Lay the cut out paper shape on top of the wooden cutout and press it down firmly with your hands.
Use your fingers to rub out any wrinkles or bubbles.
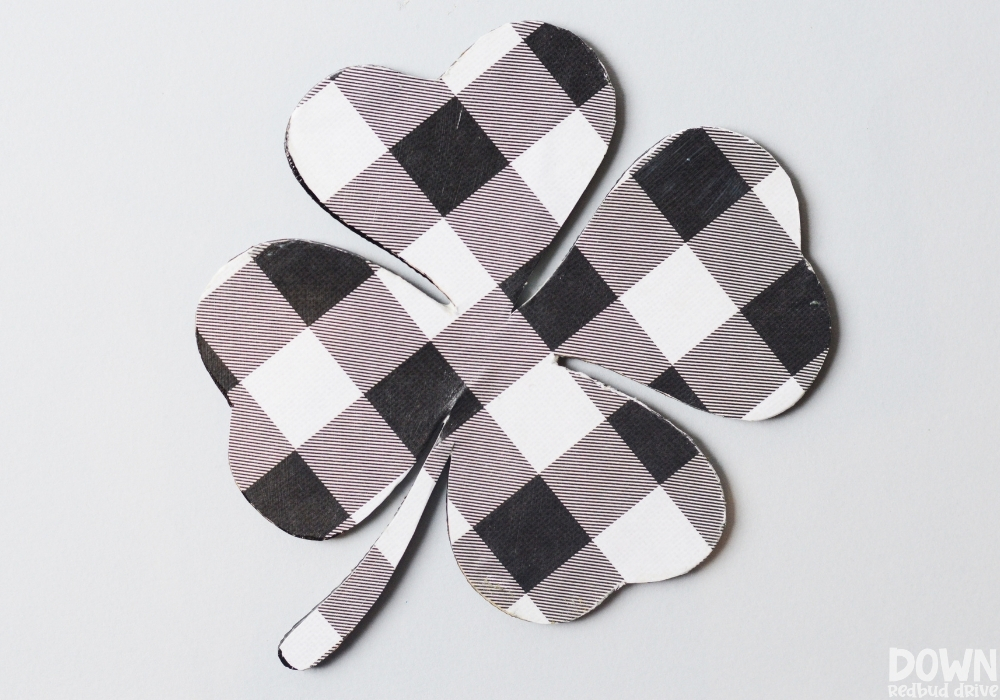

If your paper is larger than your shamrock anywhere, simply use your finger to fold it around the edges.
Apply another liberal coat of Mod Podge on top of the applied paper to make sure it’s sealed.
Pro Tip: Mod Podge will dry clear, so don’t worry about brush marks. Try to keep it smooth and avoid bubbles and globs for the best finished look.
Step 5: Glue the Shamrock to the sign.
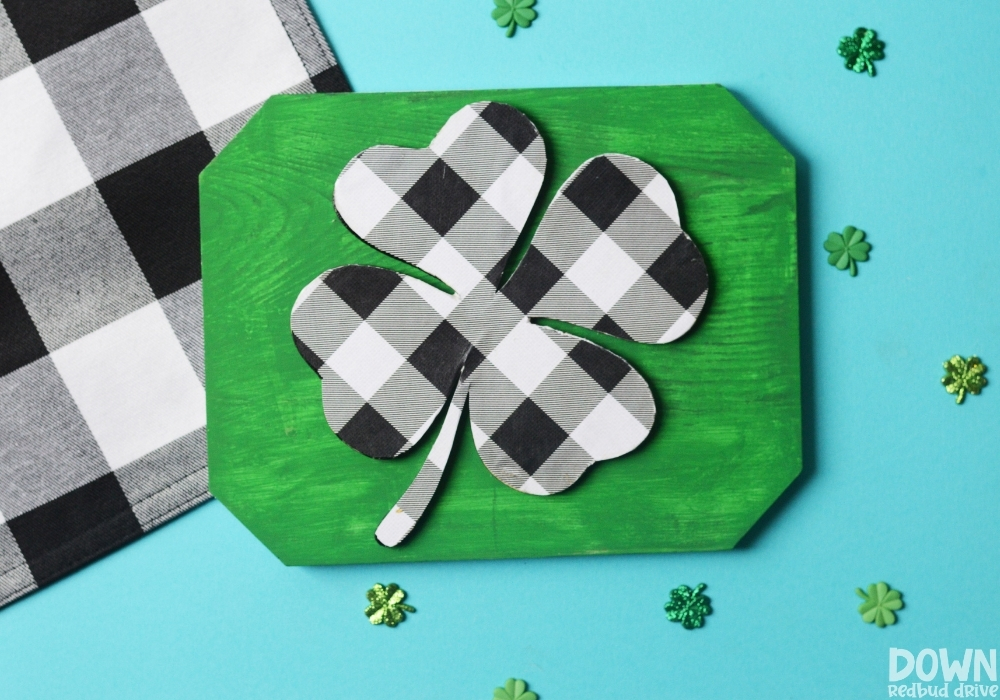

By now, your paint should have had plenty of time to dry.
Use wood glue to attach the shamrock to the green sign plaque.
Let it dry overnight on a flat surface to ensure the glue cures.
Leave the sign flat to stock on a bookshelf (like I did), or attach a wall hanger to the back to hang it on a wall.
No matter how you display it, this cute Buffalo Plaid Shamrock Sign will be the perfect addition to your St. Patrick’s Day holiday decorations!
Want more DIY St. Patrick’s Day projects?
-


CLICK HERE -

CLICK HERE -

CLICK HERE -

CLICK HERE
- Rainbow Seeds Skittles Gift – They’re super simple, and the printable label is free!
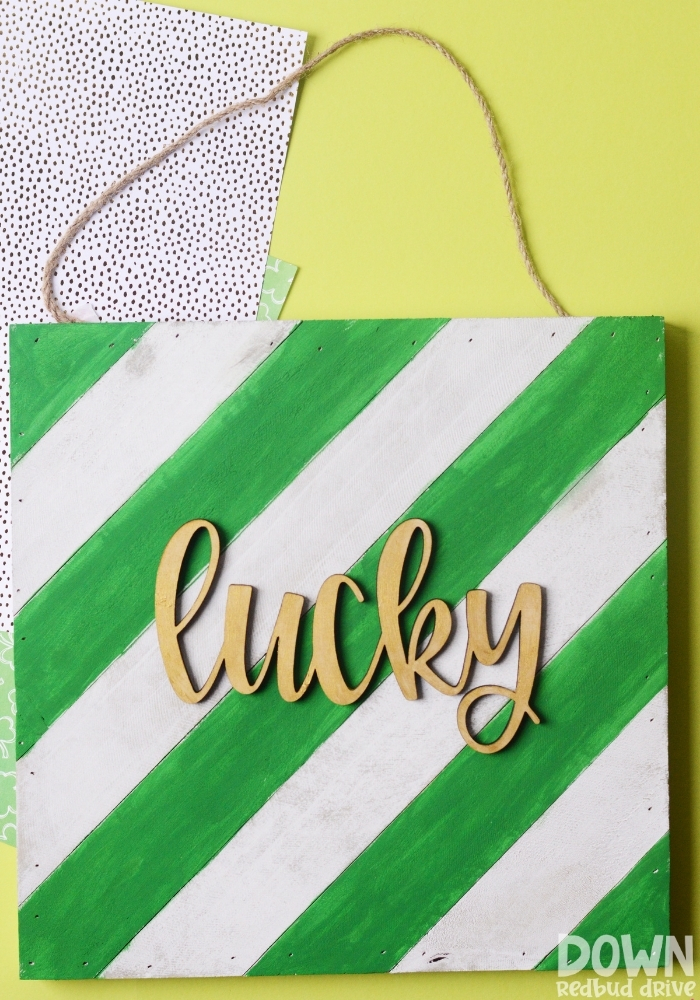
- DIY Wooden Lucky Sign – This cute St. Patrick’s Day wall art is super easy to make!
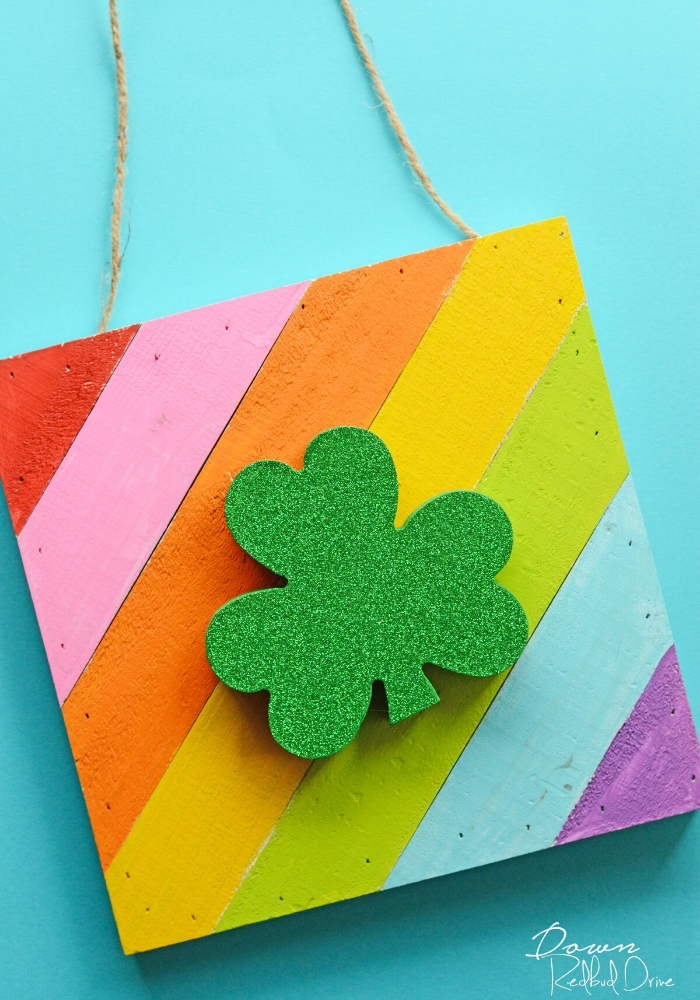
- Rainbow Shamrock Art DIY – It’s a fifteen-minute St. Patrick’s Day craft and makes the perfect St. Patty’s Day home decor!
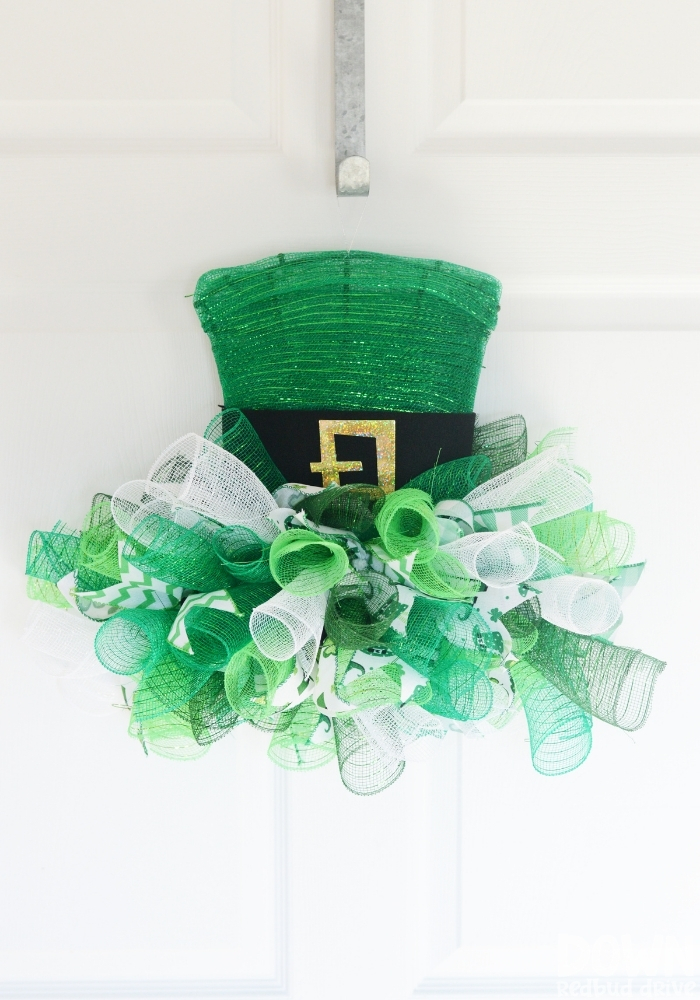
- Leprechaun Hat Mesh Wreath – even if you’ve never made a mesh wreath before, you can make this one! It’s so cute!
I’m sure your Buffalo Plaid Shamrock Sign will be adorable when it’s finished! It will give your St. Patrick’s day decor a modern touch!


