DIY Concrete Pumpkins


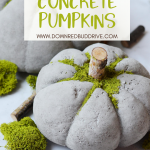



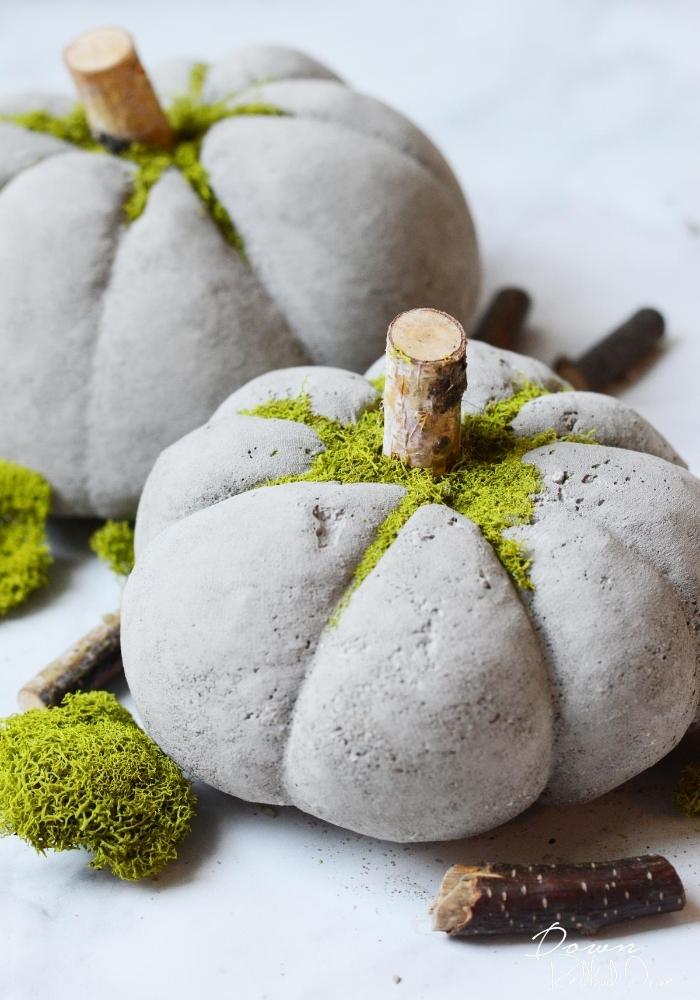
You won’t believe how quick and easy these DIY Concrete Pumpkins are to make! They’re the perfect fall home decor, and each one turns out unique and different!

This post may contain affiliate links. See my full disclosure policy HERE.
When I set off to create these DIY Concrete Pumpkins, I wasn’t sure I’d be able to make them actually look like pumpkins. I was pleasantly surprised, upon making them, that they’re SO easy!
Each pumpkin ends up with it’s own character and there’s really not a wrong way to shape them, because pumpkins grow in all shapes and sizes!
I’ve made lots of pumpkin crafts for fall like canning ring pumpkins, pumpkin wreaths, even fabric pumpkins, but I think I’m in LOVE with how classy and high-end these DIY Concrete Pumpkins turned out!
How do you make these DIY concrete pumpkins?
Step 1: Gather your supplies.
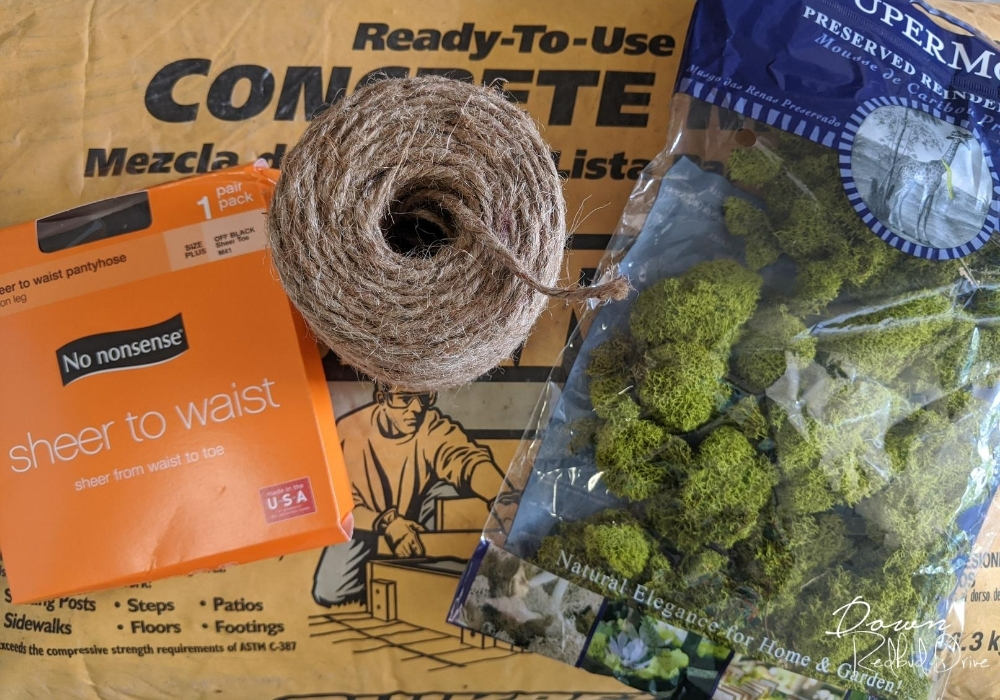

You will need:
- Concrete (You can use any kind, but I’d recommend a fine grade cement for the best results)
- Pantyhose (the bigger the pantyhose, the bigger your pumpkin can be)
- Twine
- Moss
- Stick (for stem)
- Hot Glue Gun
- Scissors
Step 2: Mix the cement.
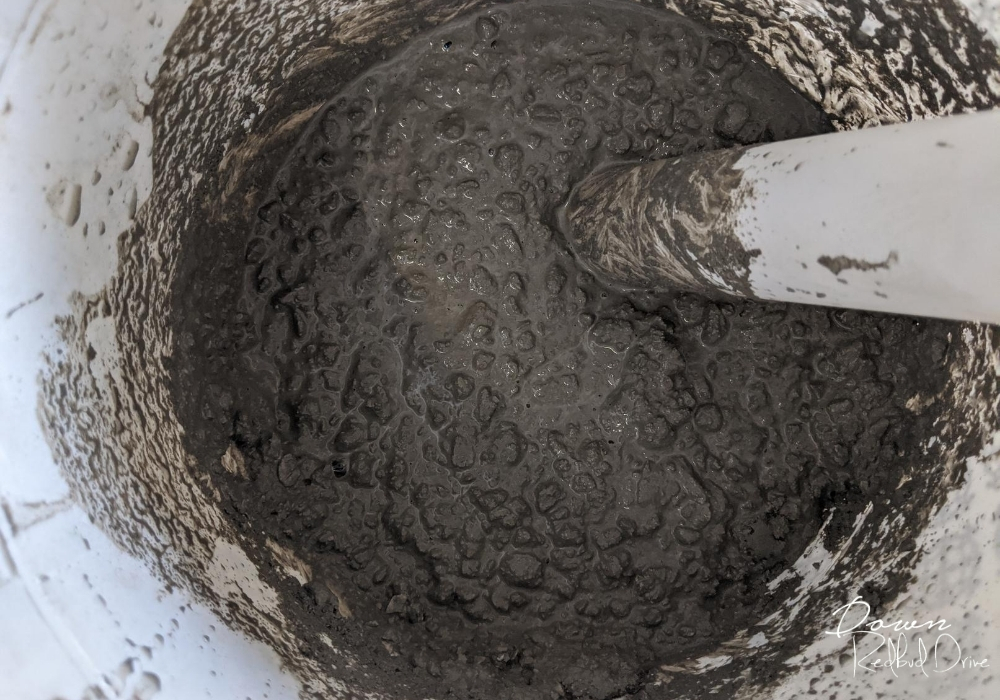

You will want it to be a thicker consistency. You can use the ratio on the bag, or just mix the water into the concrete mix by eye.
If it’s too runny, it will leak out of the pantyhose.
Step 3: Pour the concrete into the pantyhose.
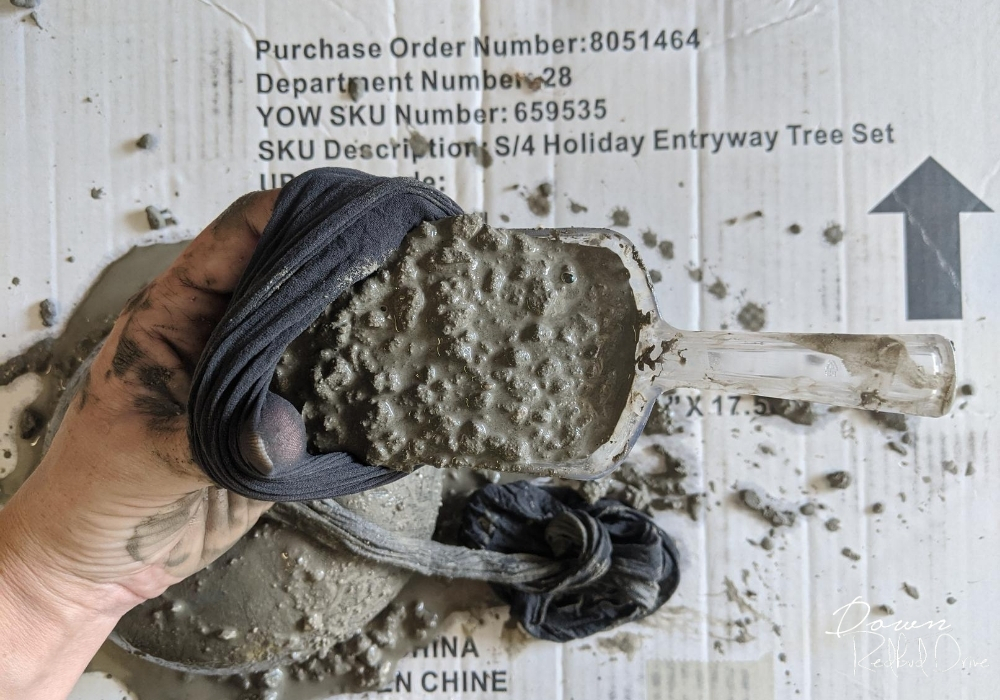

Cut the waist off the pantyhose so you’re left with two long leg pieces that are open on one end.
Use a scoop to fill the toe of the panty hose until you get the size of pumpkin you’re looking to create.
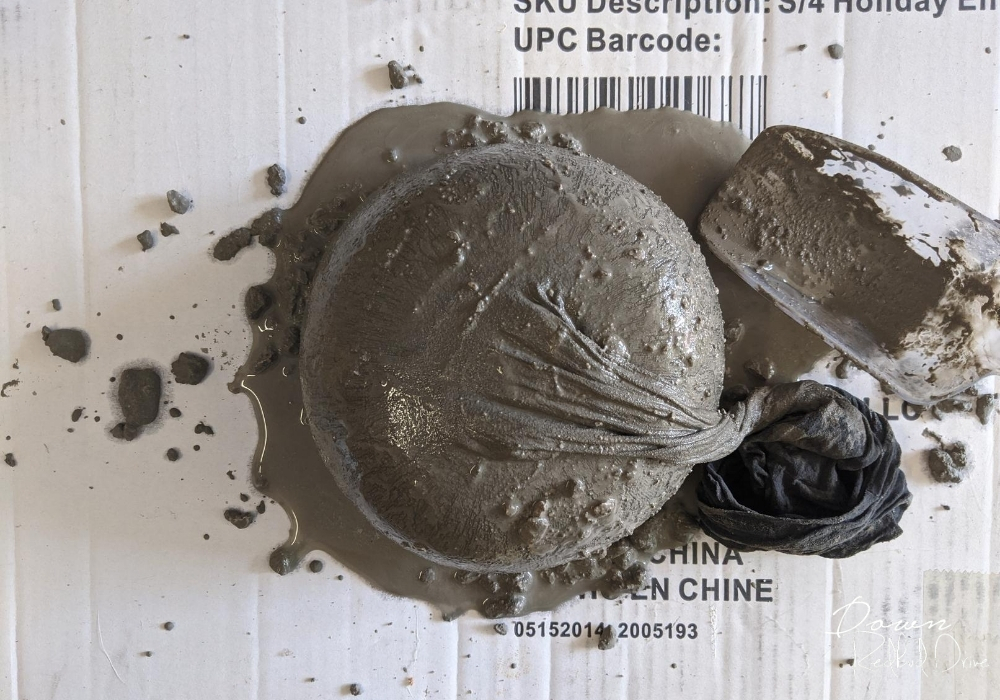

I made each of mine a slightly different size, and love how they both have their own character.
I plan to find some really large pantyhose to see if I can make some life-sized pumpkins in the near future.
Step 4: Tie off the pumpkin shape.
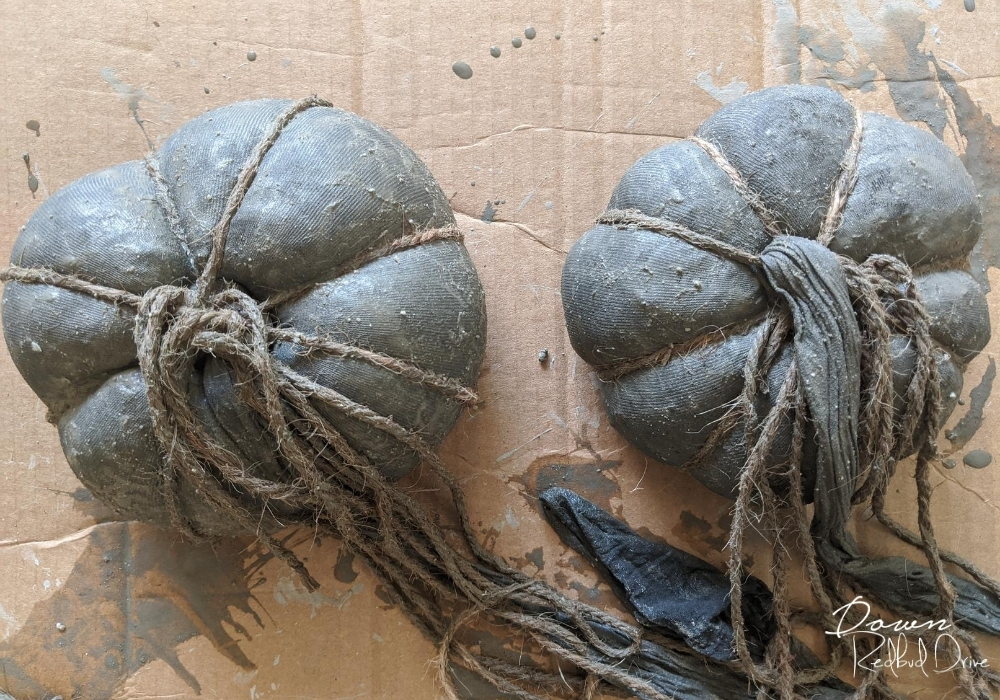

Once you’ve filled them to the size you want, you need to tie the top of the pantyhose into a knot. I pressed the center of my knot into the top so as the concrete dried, it left the perfect divot for a stem.
I used four different pieces of twine to tie off grooves so they looked like natural pumpkins. Tie some pieces of twine tighter than others to create a more natural look.
Feel free to pick up the pumpkins and press the concrete with your fingers to get the twine to make deeper grooves as you tighten the knot.
Let them dry for 48-72 hours, depending on how large you make your pumpkins. Mine were about 8-10″ and were pretty thick, so they took 72 hours.
Step 5: Remove the pantyhose and twine.
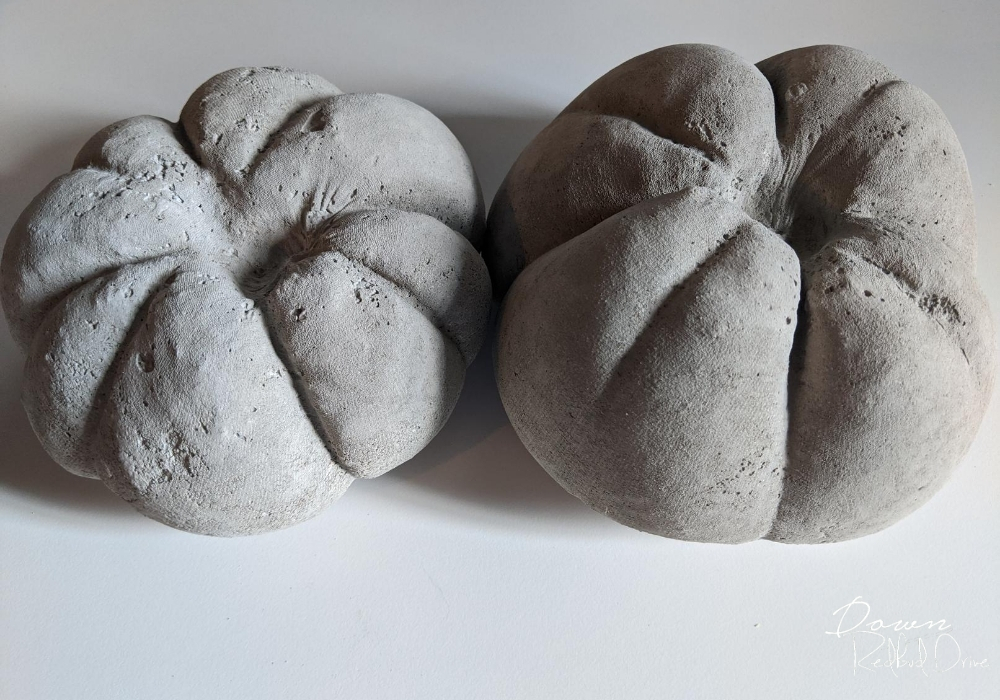

Once they’re dry, cut the twine and the pantyhose and remove them from your DIY Concrete Pumpkins! This is what mine looked like when I removed the twine and pantyhose.
Step 6: Add the stem to your DIY Concrete Pumpkins.
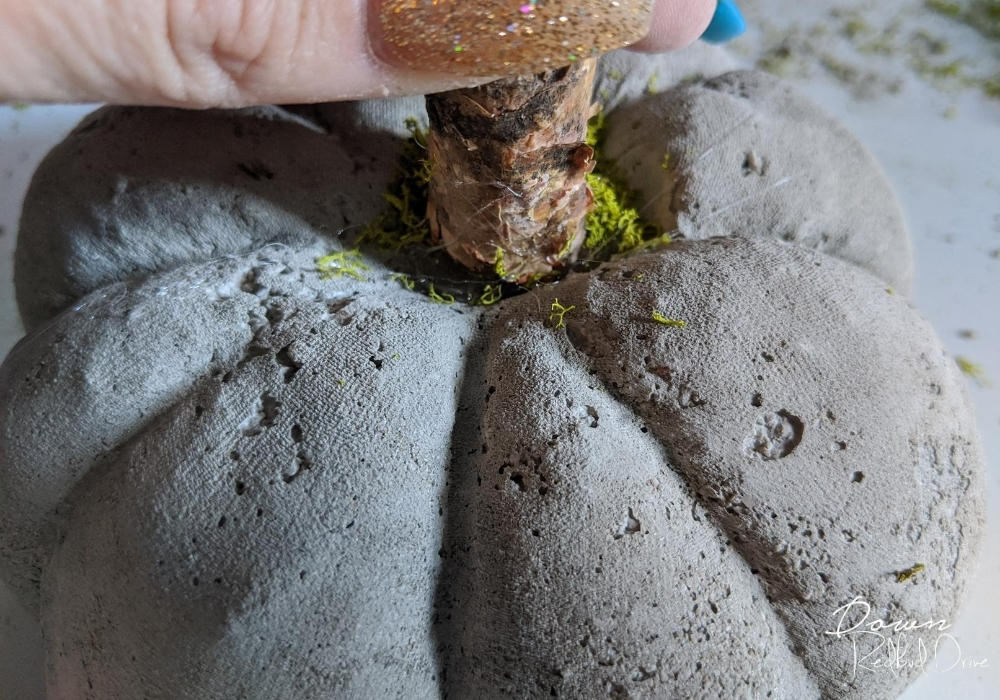

I found these cute little wood pieces at the dollar store and thought they would make the perfect stems! I used hot glue and attached the stem. I held it in place for a while until I was sure the glue was dry.
Step 7: Add the moss.
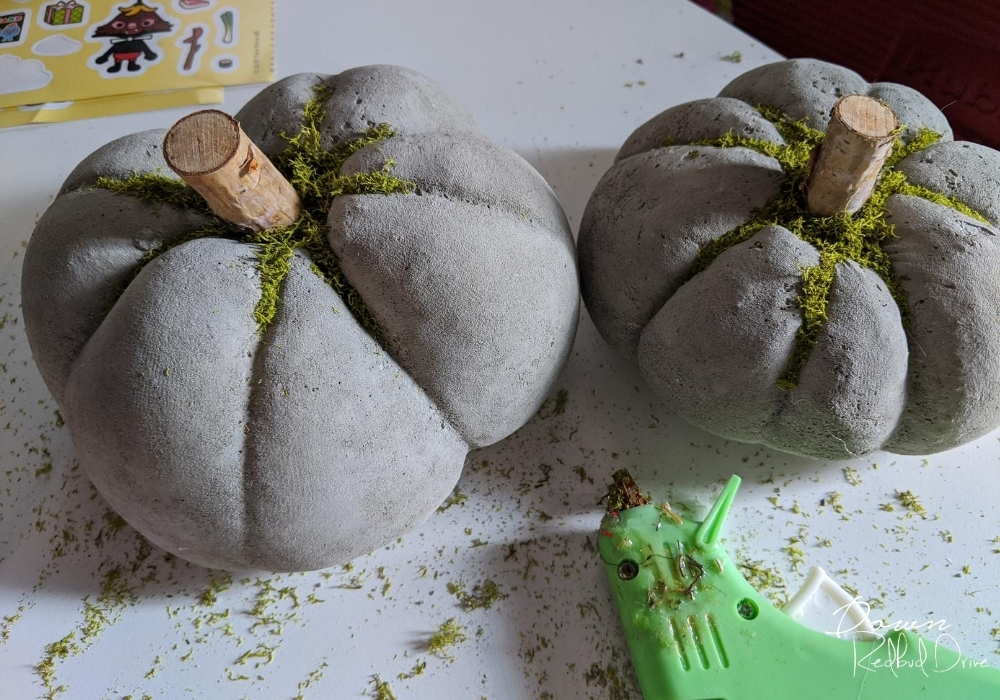

My FAVORITE part of these pumpkins was adding the moss to the top of the concrete pumpkins. I took the moss and put it in my Magic Blender to make it really fine.
Then I globbed hot glue all around the stem, and sprinkled on the moss. I gently pressed the moss into the hot glue to make sure it was sticking well.
I also put some hot glue down the grooves along the top and sprinkled moss onto those as well. It was super easy. Really this whole craft is very forgiving.
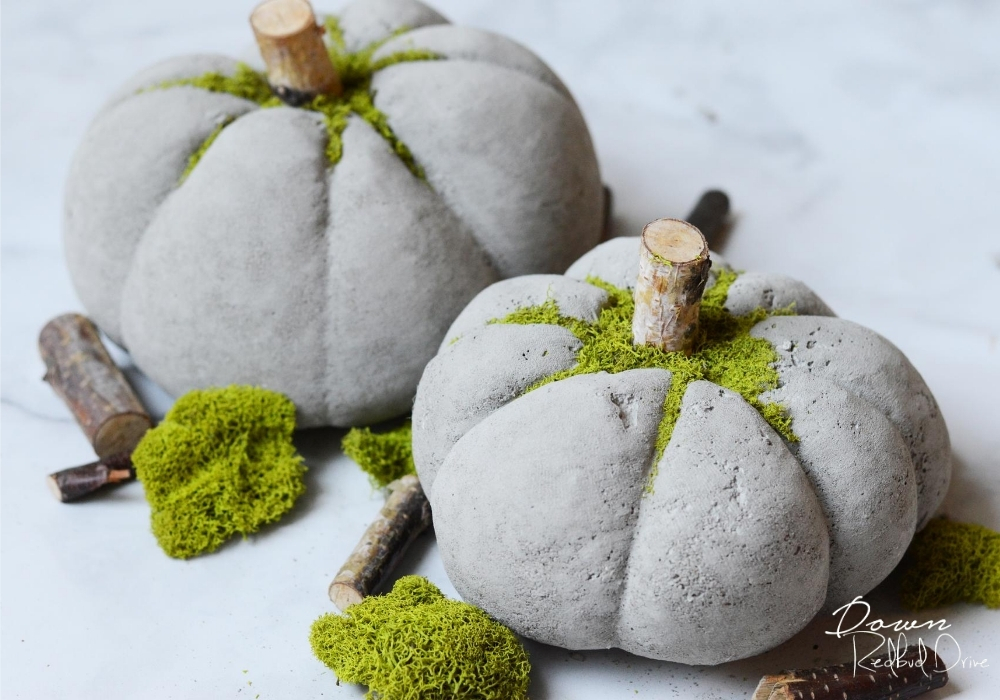

This is how mine turned out, and I think I’m in love! These would even be pretty if they were painted! Or you could add a bow instead of moss if you wanted a different look altogether.
Want more pumpkin crafts?
-

CLICK HERE -

CLICK HERE -

CLICK HERE
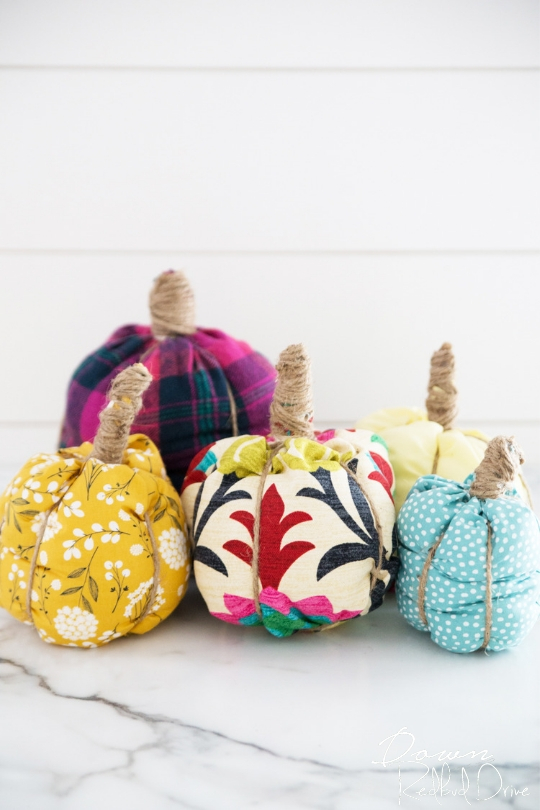
- No-Sew Fabric Pumpkins – These no-sew pumpkins are the perfect fall DIY!
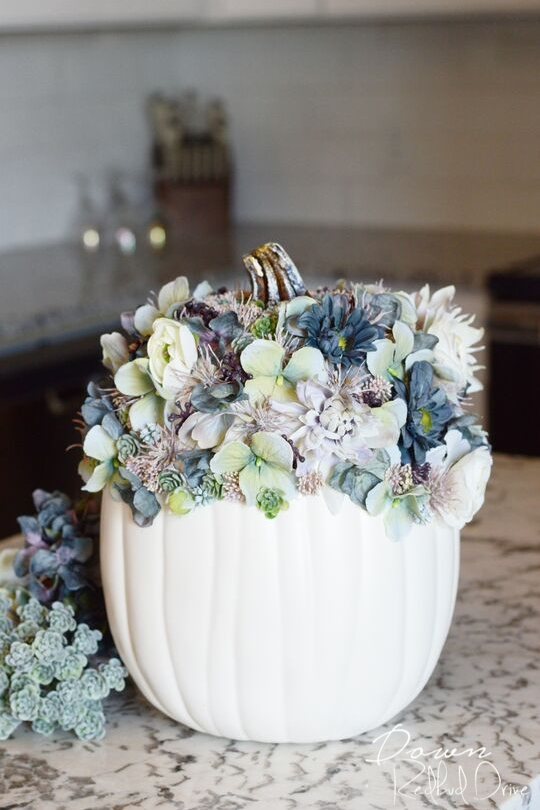
- Floral Pumpkin DIY – These floral pumpkins come out looking gorgeous and are so easy to make!
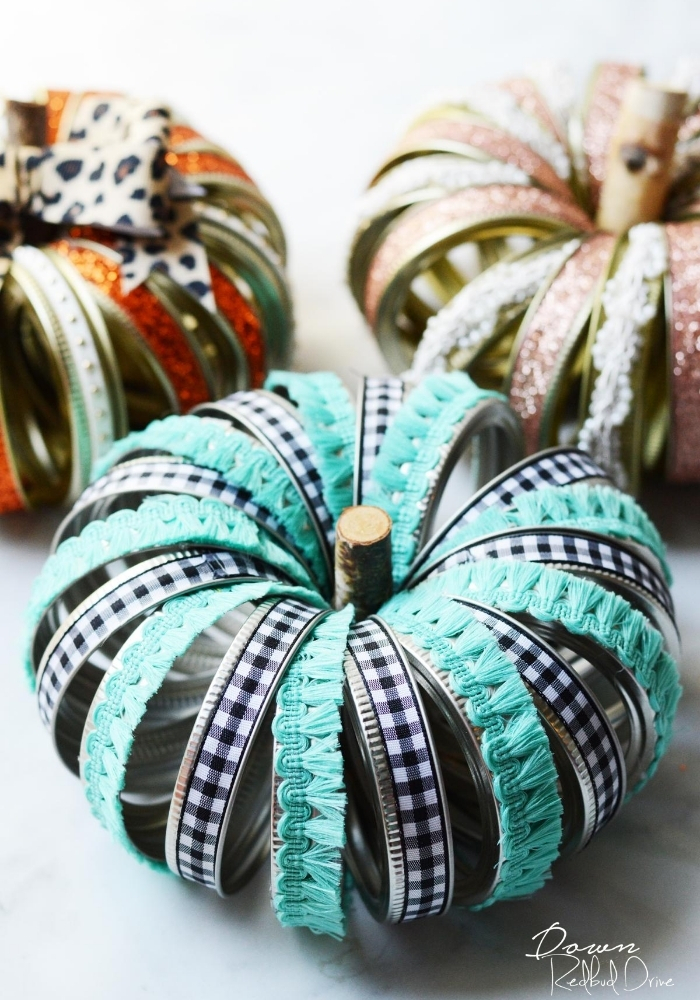
- Canning Ring Pumpkins – these are so easy and turn out super cute! Make them in a ton of different colors and patterns!
Whether you make one or a dozen of these DIY Concrete Pumpkins, each one will have it’s own unique design and character! I can’t wait to see how yours turn out!


