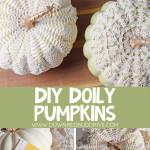
DIY Doily Pumpkins
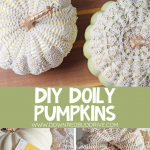

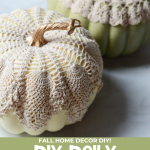

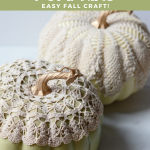

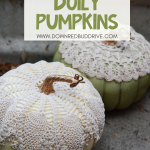

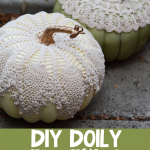

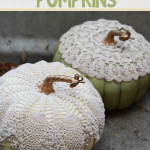

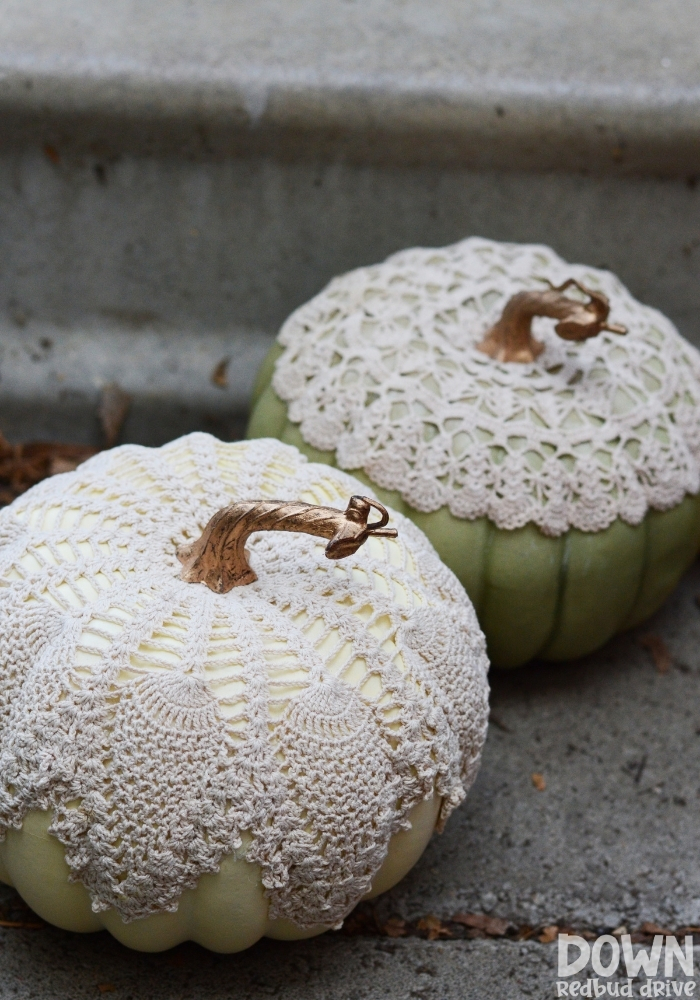
I’m absolutely in LOVE with how these DIY Doily Pumpkins turned out! They’re a super quick fall craft (10 mins from start to finish!) and each one turns out unique because of the doilies!

This post may contain affiliate links. See my full disclosure policy HERE.
Fall decor is one of my favorite things to make! Pumpkins make awesome fall decor because you can put them up in September, and leave them up until Christmas decor goes out.
I love finding ways to repurpose old doilies. They’re absolutely beautiful, and you can find them so cheap at thrift and antique stores!
I’ve made Doily Christmas Ornaments, and even this big beautiful canvas Doily Wall Art (it’s stunning!), and now I’m in love with these DIY Doily Pumpkins!
How do you make these DIY Doily Pumpkins?
Step 1: Gather your supplies.
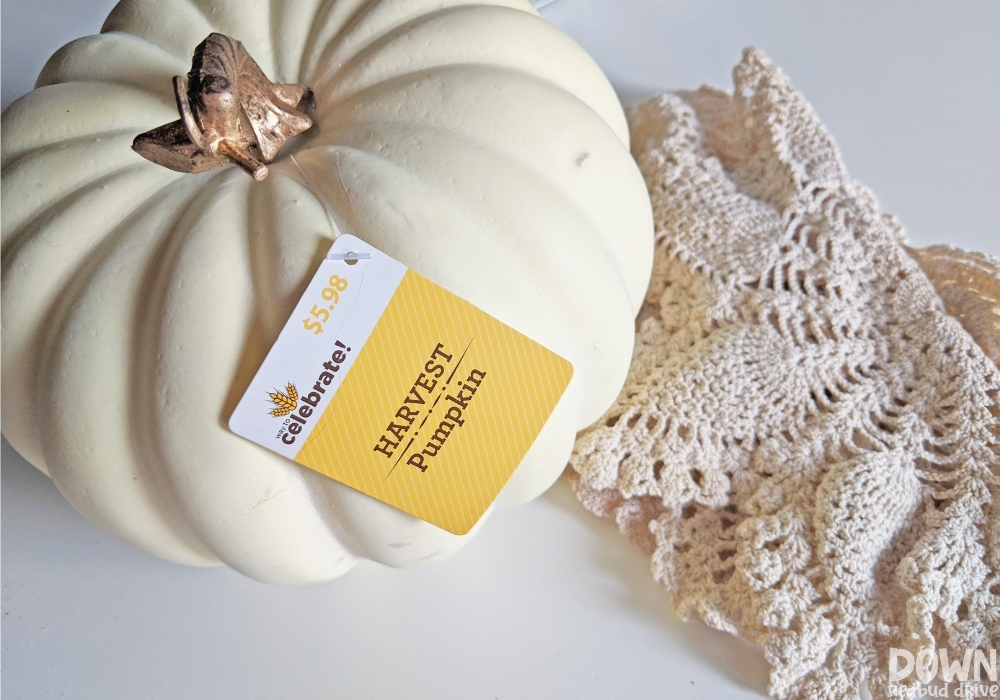

You will need:
- Fake Pumpkin (I got mine at Walmart for $6)
- Doilies (easily found at yard sales, thrift stores, or antique stores for $0.50-$2 each)
- Hot Glue Gun
Step 2: Remove the stem of the pumpkin.
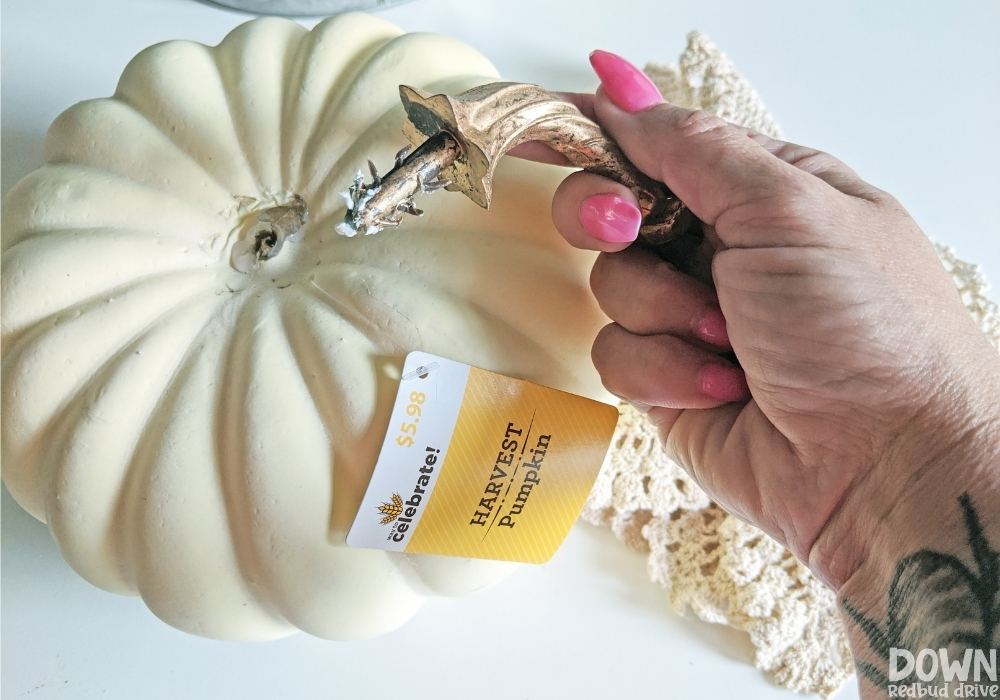

For the pumpkins I found at Walmart, this was as simple as just giving it a firm tug. You may need to twist a bit, but don’t twist too much so as not to make a large hole.
Step 3: String the doily through the stem and reattach.
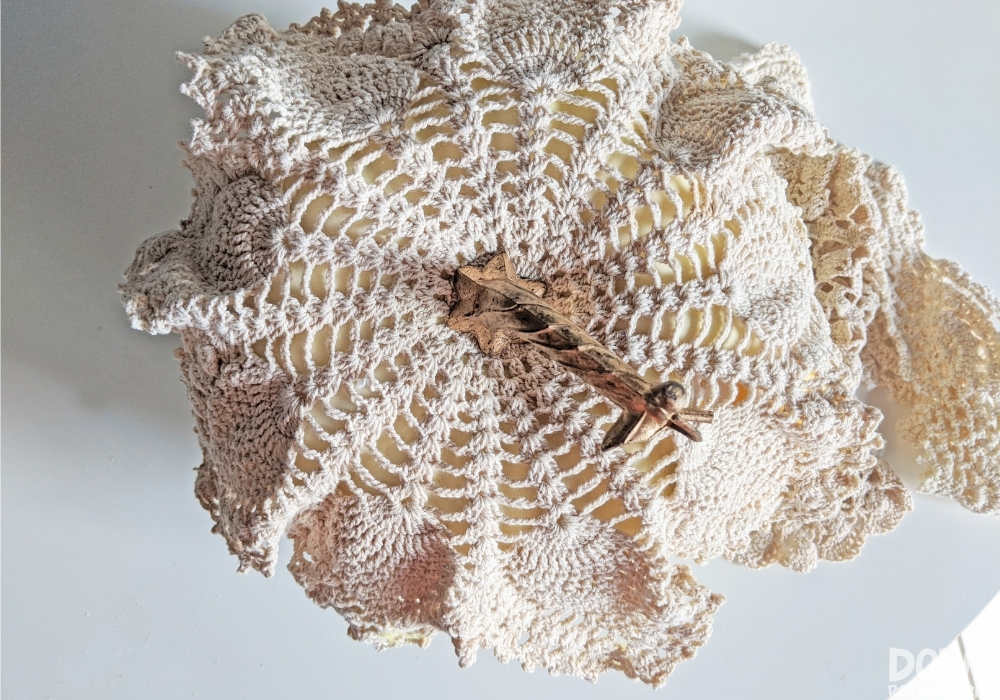

Every doily has a hole right in the center of it. I used this to my advantage to press that hole onto the stem.
Then I applied some hot glue to the portion of the stem that would press back into the hole of the pumpkin, and pressed it in and held it for about 10 seconds.
Your pumpkin should then look like above.
Step 4: Hot glue the doily to the pumpkin.
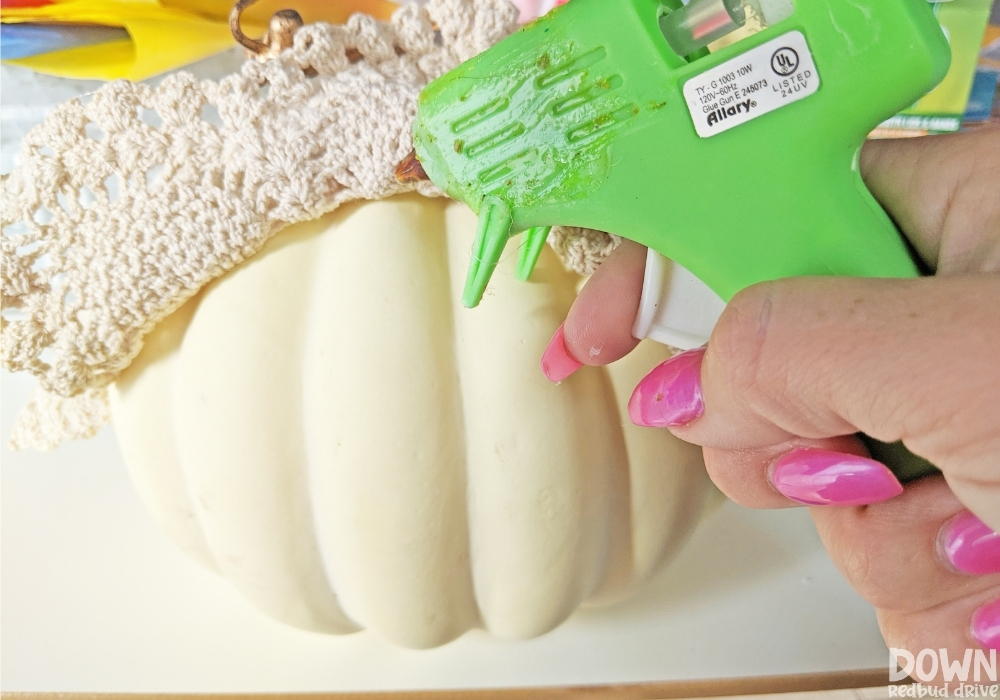

When gluing on the doily to make your DIY Doily Pumpkins, start at the top and work your way down in sections.
I found mostly solid parts of the doily (sp the hot glue wouldn’t bead through) and started near the stem and went all the way around.
Then I worked my way outward. This worked great, and it went very quickly.
Pro Tip: Make sure to glue on the edges of the doily well to keep them from peeling off easily.
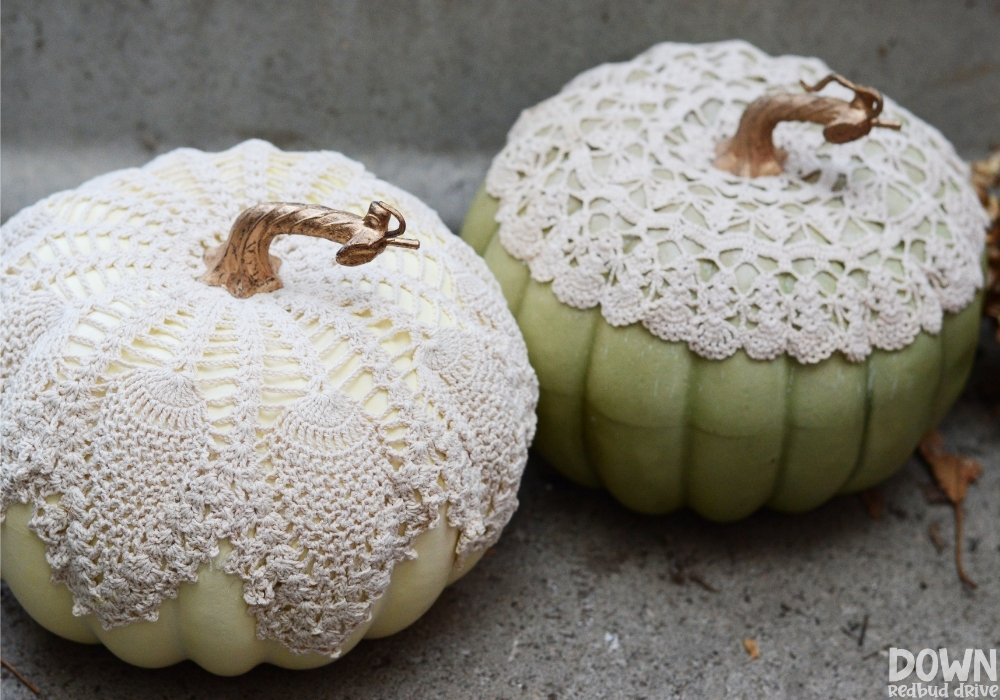

Once the glue is dry, your pumpkins are finished! It’s a very quick fall craft idea, and these DIY Doily Pumpkins are gorgeous and can be used for years to come!
Variations for DIY Doily Pumpkins:
- Doily Size. Use different size doilies on the pumpkins to have a differing effect. The pumpkins I used are the same size, but the doilies are different sizes.
- Doily Color. Make your pumpkins fun and funky with some different color doilies!
- Pumpkin Size. Try this with some large pumpkins, and also some small ones to mix it up.
- Pumpkin Color. I made my DIY Doily Pumpkins with cream and green pumpkins, but you could also use different colors. Use orange, or maybe even paint some to be pink or navy for a fun twist on fall home decor!
Want more DIY pumpkin projects?
-

CLICK HERE -

CLICK HERE -

CLICK HERE
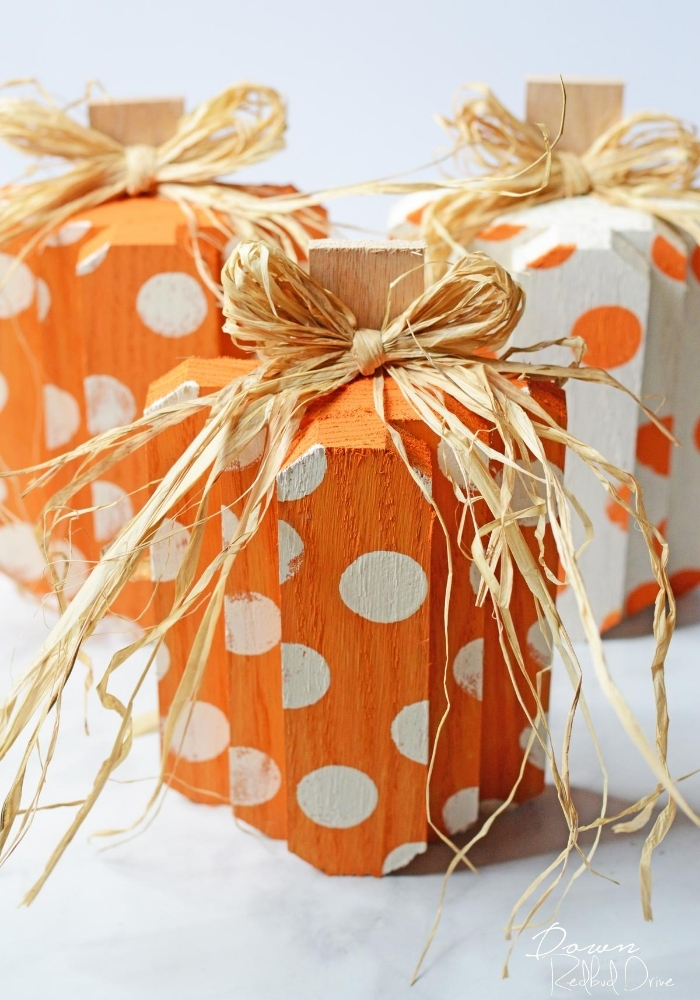
- Wood Pumpkins DIY – These cute wood pumpkins are the perfect fall decor for your home!
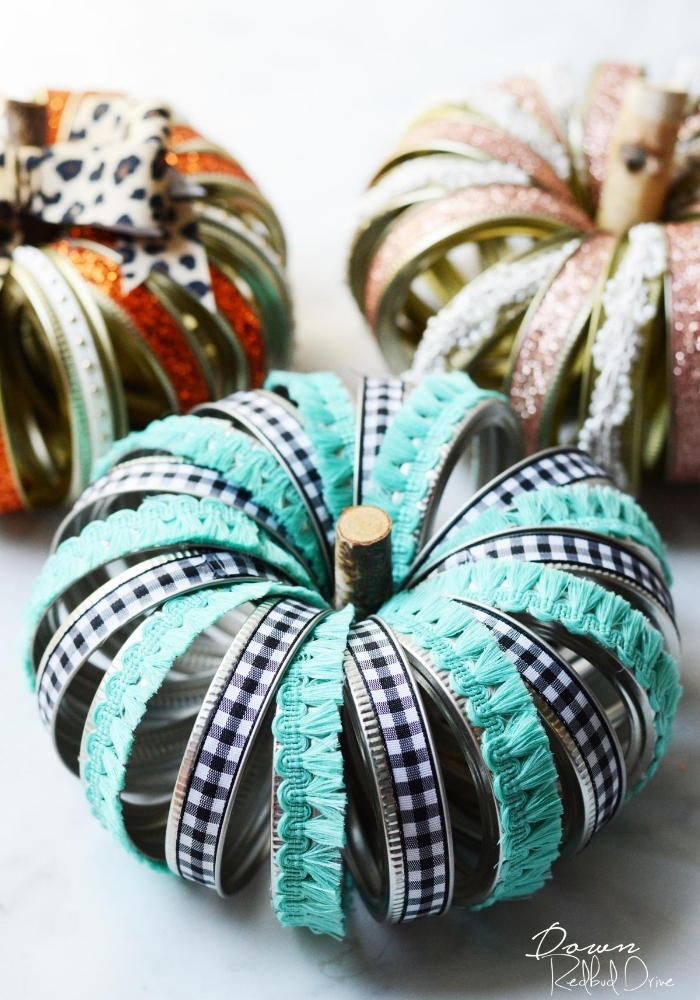
- Canning Ring Pumpkins – These canning ring pumpkins turn out so cute and they’re so easy to make!
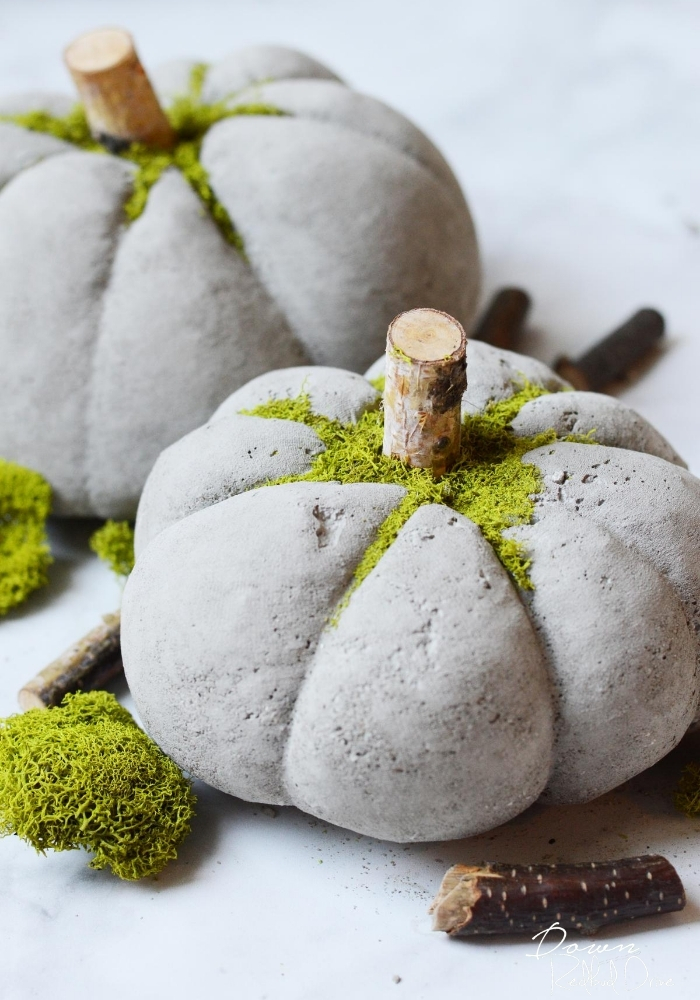
- DIY Concrete Pumpkins – These concrete pumpkins really stand out and are quite simple to make!
I hope you have fun with these quick DIY Doily Pumpkins! It’s a fun fall craft and makes for beautiful fall home decor you can DIY!


