
DIY Easter Egg Topiary












Make your own adorable DIY Easter Egg Topiary with this simple tutorial! These make adorable DIY Easter home decor and are incredibly easy to make!


This post may contain affiliate links. See my full disclosure policy HERE.
Easter home decor is so fun and full of all the best spring colors and characters! I have a blast making Easter home decorations each year and love putting them all out for a pop of Spring.
There are so many ways to decorate for Easter, but simple bookshelf decor that I can add to my existing home decor is my favorite. It’s easy to display and I don’t have to constantly be moving my regular home decor for every holiday.
I have several other Easter ideas on my site from these super easy Stained Glass Cross Cookies, and Easter Story Snack Mix, to my Easter Egg Treats you can make for stuffing baskets!
How do you make this DIY Easter Egg Topiary?
Step 1: Gather your supplies.
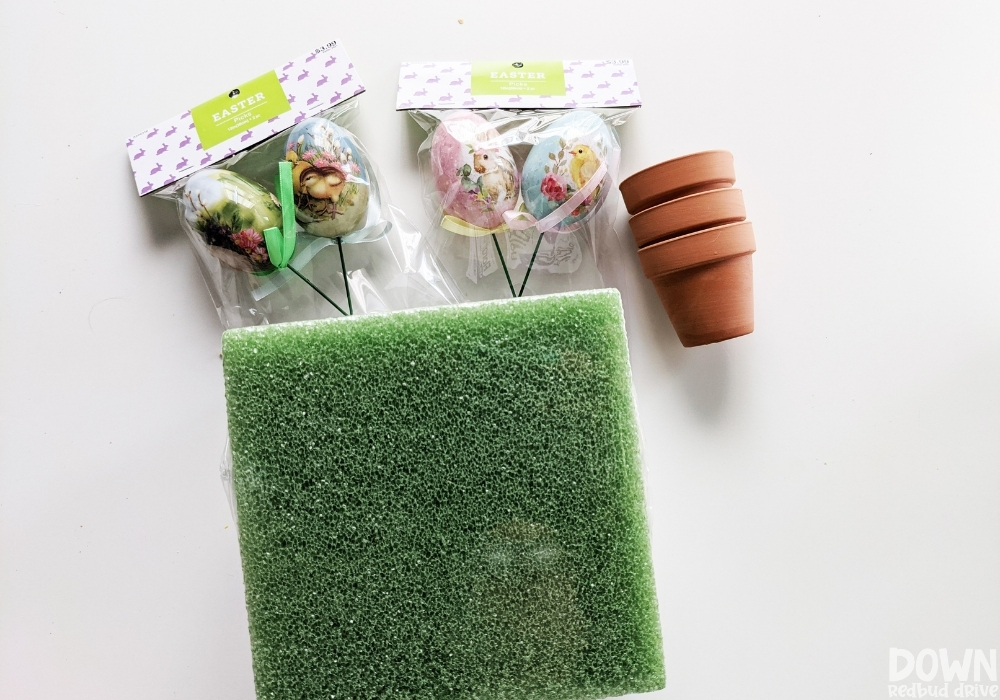

You will need:
- Mini Clay Pots (found mine in a three-pack at the dollar store)
- Easter Egg Wire Decor (found mine at Hobby Lobby)
- Floral Foam
- Spanish Moss
- Ribbon
- Acrylic Paint (I used a cream color)
- Foam Paint Brush
- Knife
- Hot Glue Gun
Step 2: Paint your clay pots.
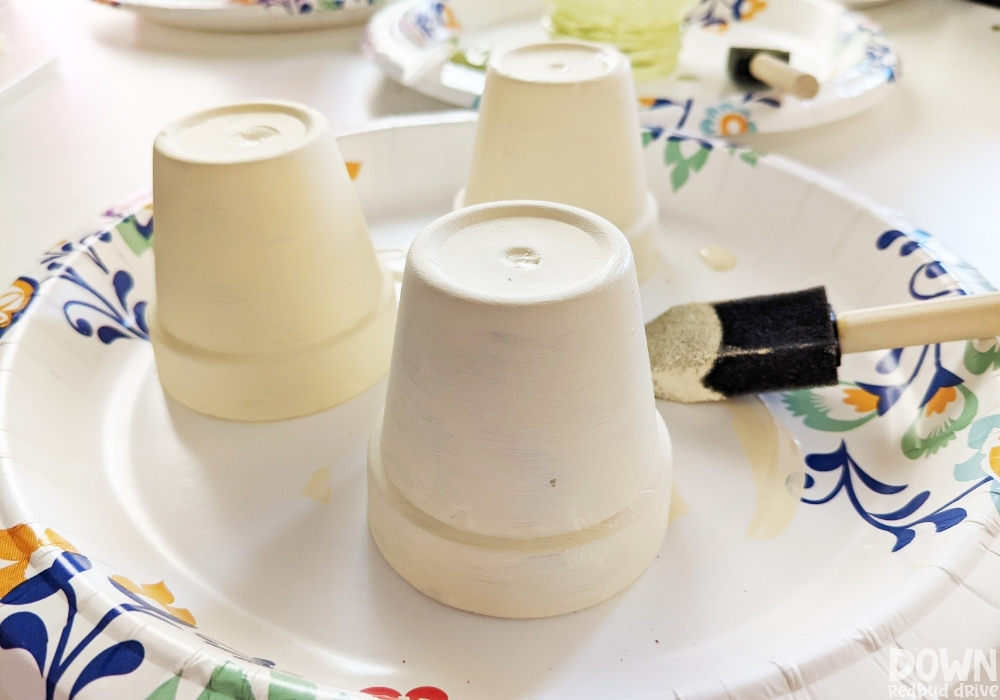

Use a foam paintbrush to paint your little clay pots the color of your choice. I used a cream-colored paint because I wanted them to be a neutral vessel.
Acrylic paint works well for this and is cheap to get at Walmart or craft stores. One coat of paint was enough for me, but if you want better coverage, do two coats.
Step 3: Insert the floral foam.
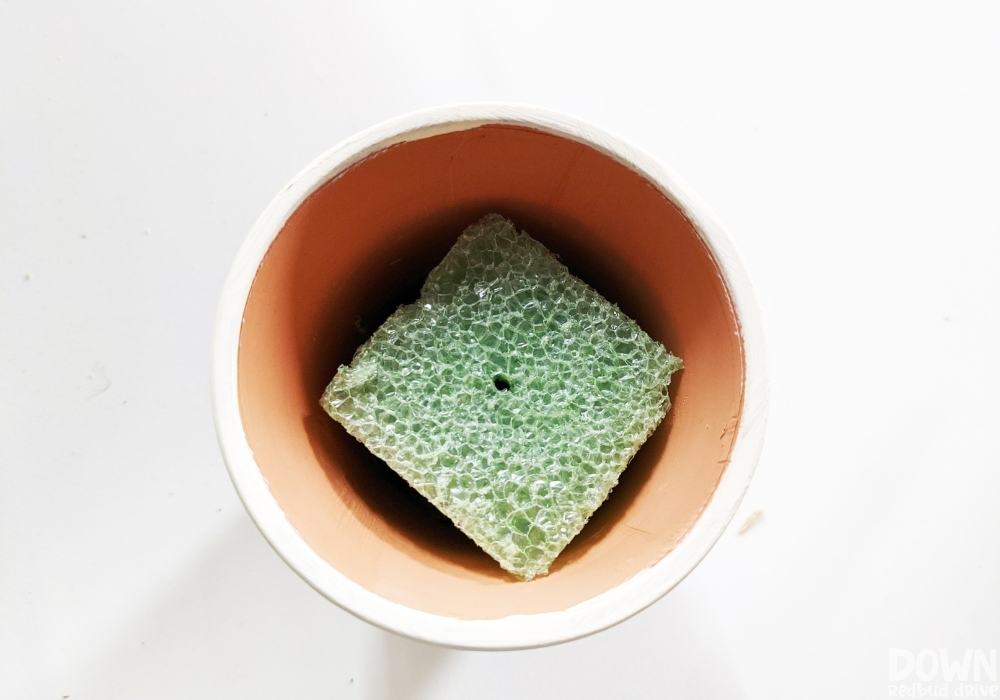

Cut a small piece of floral foam using a knife to put in your little clay pot.
You don’t need to glue this in place if you cut it just bigger than the pot and then wedge it into place. Press it firmly down with your fingers.
Press the wired egg into the center of the foam where you want it to go to make a guide hole.
Pro Tip: If you can’t find wired eggs, you can make your own with floral wire or mini dowel rods or bamboo skewers and styrofoam eggs!
Step 4: Glue the wired egg in place.
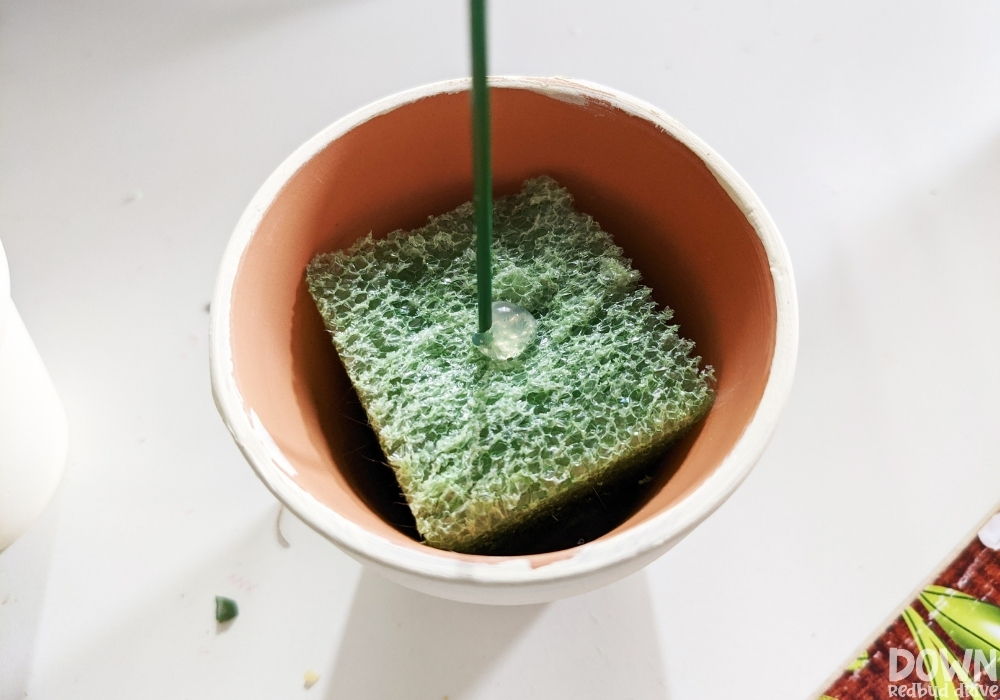

Use wire cutter to cut the wired egg to the desired height.
Then put hot glue on the end of the wire and press it into the foam. This will keep it from being wobbly.
Pro Tip: Remember you can always cut more length off, but you can’t add height once you cut it. So err on the side of too high.Cutting these will determine the height of your DIY Easter Egg Topiary.
Step 5: Add in the Spanish moss.
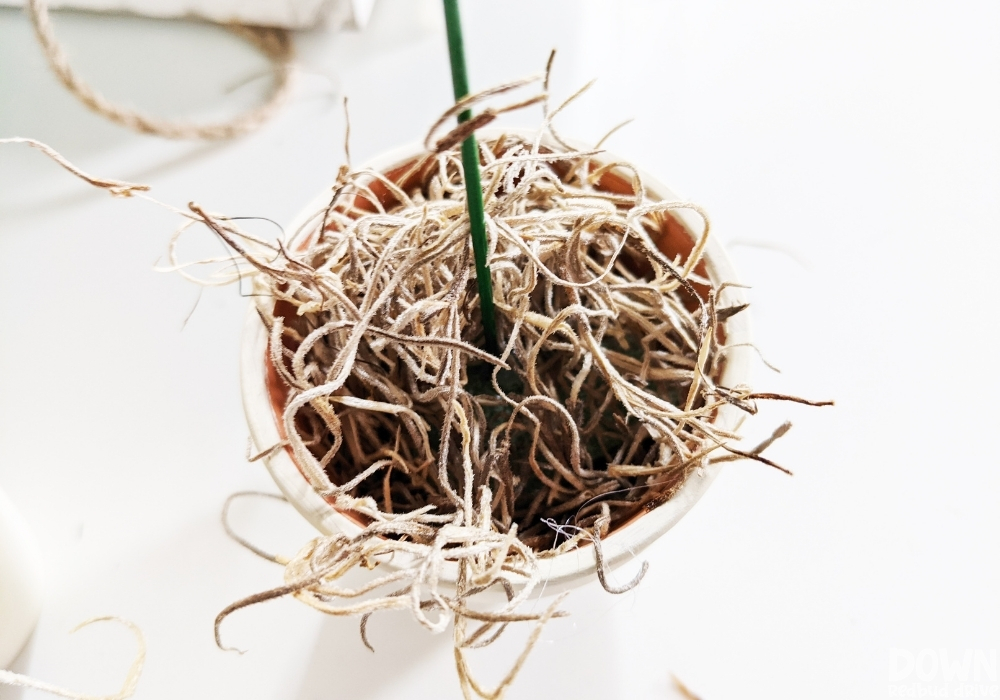

Cover the floral foam with a small bit of Spanish moss. No need to glue, as it will stay in place well on its own.
Step 6: Add a bow.
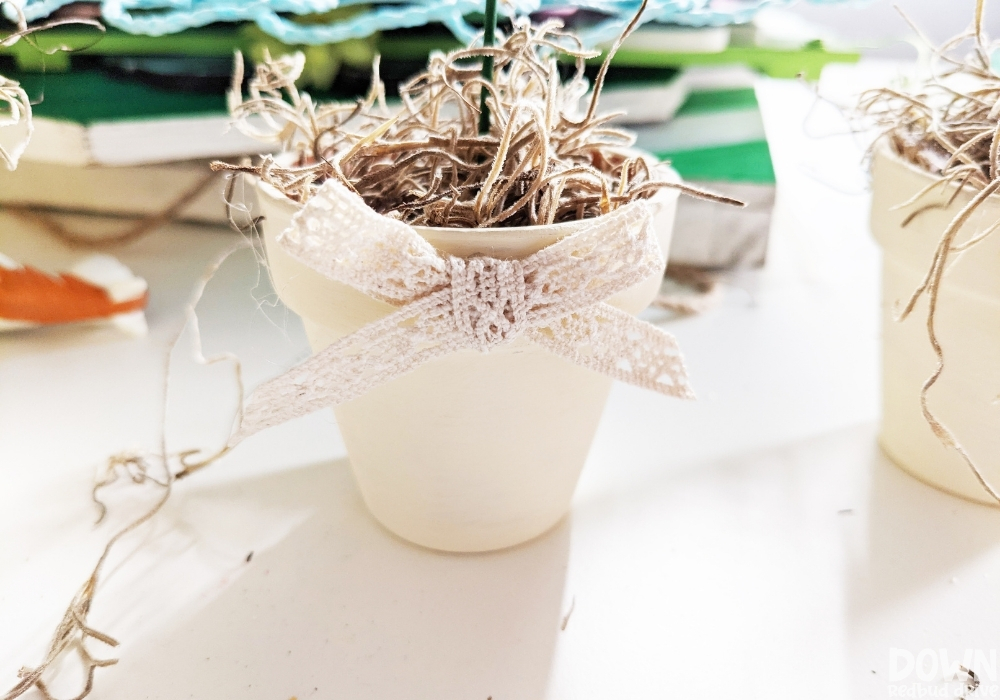

Use the ribbon of your choice and tie it into a little bow. Use hot glue to attach the bow to the front of the little clay flower pot.


I did three to make a cute little piece of Easter decor for my bookshelf and love it!
They had a bunch of different egg designs available so choose the ones that you like the most!
This DIY Easter Egg Topiary is super simple to make and would even be a great craft to make and sell!
Want more DIY Easter projects?
-


2CLICK HERE -


CLICK HERE -


CLICK HERE -


CLICK HERE
- DIY Tutu Easter Basket – This DIY Easter decor is such an easy dollar store craft!
- Easter Candy Jars DIY – This cute DIY cost less than $5 each even when filled with chocolate!
- DIY Concrete Bunnies – These bunnies are adorable concrete home decor and I love the little mossy details!
- DIY Easter Mesh Wreath – don’t be intimidated by mesh wreaths! This tutorial is super simple to follow and has lots of tips and pictures!
Enjoying making this DIY Easter Egg Topiary for your Easter home decor this year! Make one or several to group together!


