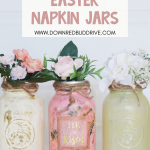
DIY Easter Napkin Jars
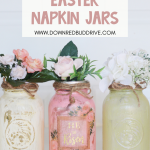

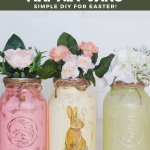

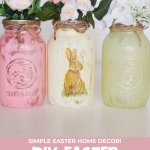

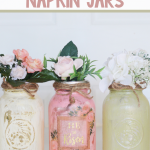

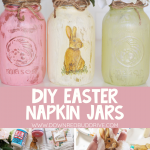

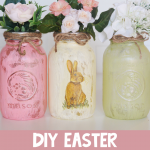

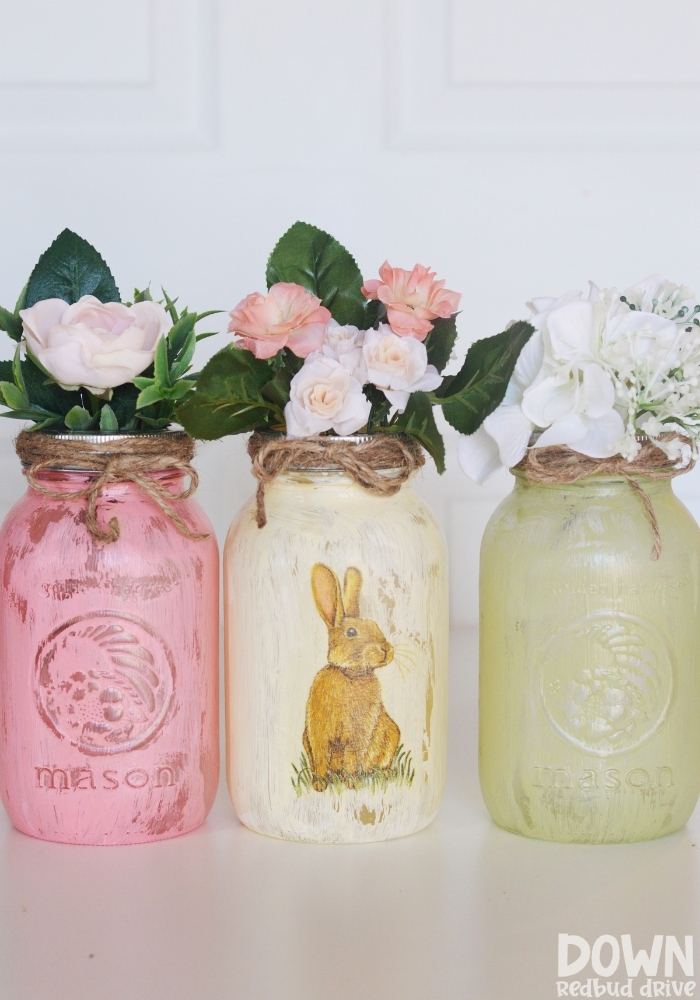
This fun Spring decoupage project makes the cutest DIY Easter Napkin Jars! They’re super easy to make, and turn plain old mason jars into adorable Easter home decor!

This post may contain affiliate links. See my full disclosure policy HERE.
Easter decor is so much fun to make! There’s tons of options and all the bright spring colors after months of winter makes makes my heart happy!
I’ve used napkins to make awesome crafts like these Napkin Ornaments, Napkin Pumpkins, or a similar process to make these DIY Photo Ornaments.
These super cute painted mason jars make adorable spring decor and the napkins make them perfect for Easter! With all the cute Easter napkins out there, the options are endless!
How do you make these DIY Easter Napkin Jars?
Step 1: Gather your supplies.
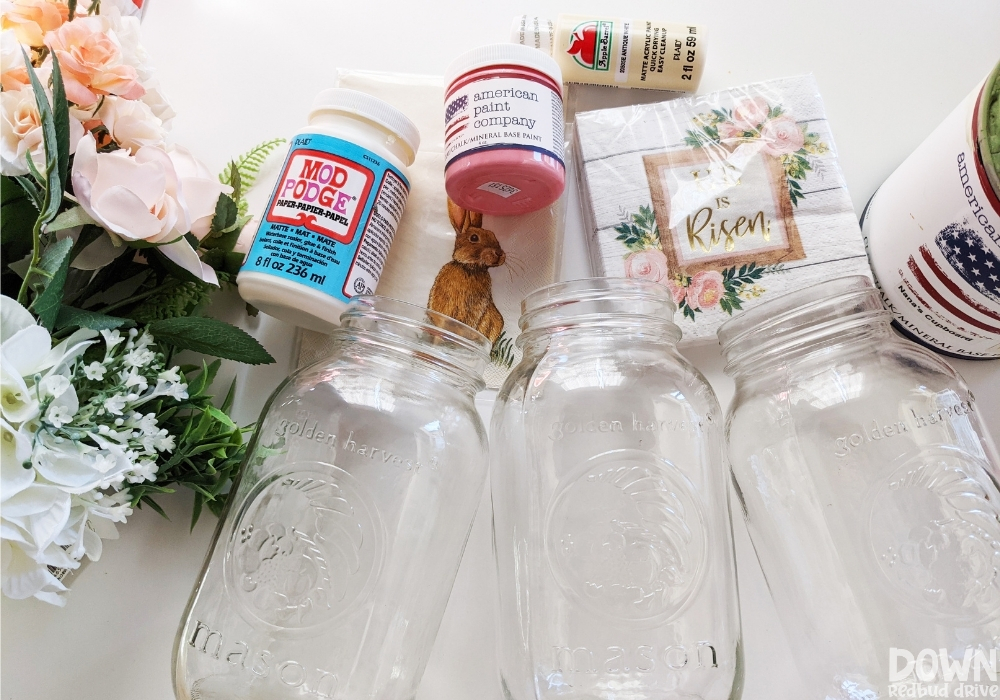

You will need:
- Quart Mason Jars
- Easter Paper Napkins
- Chalk or Acrylic Paint
- Mod Podge
- Foam Paint Brush
- Scissors
- Small White Cloth (I used old white t-shirts)
- Twine or Ribbon
- Flowers
Step 2: Paint your mason jars.
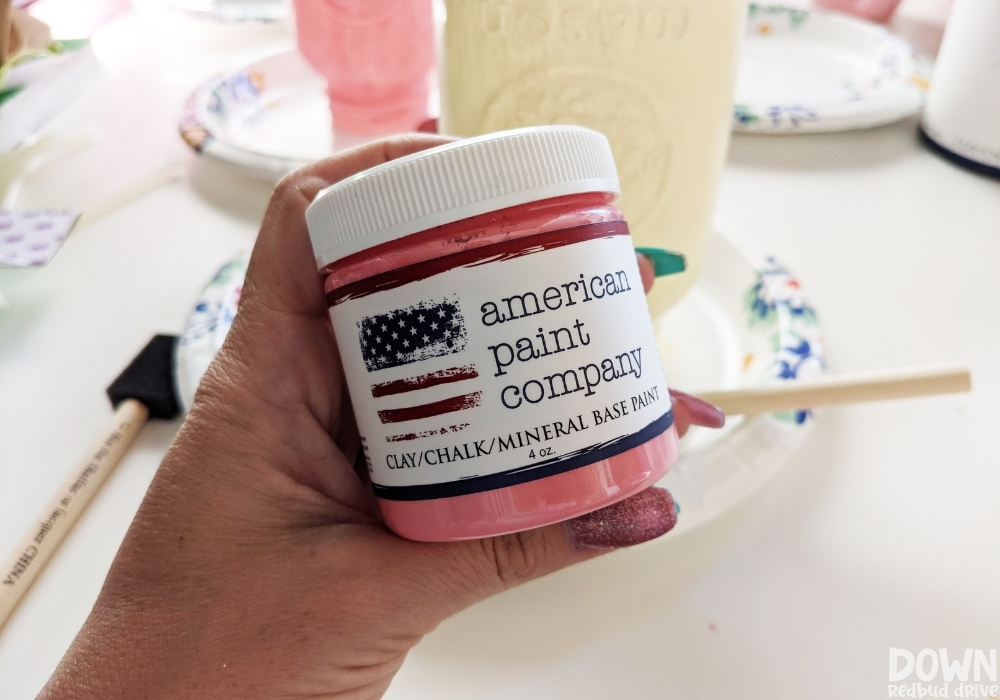

I used chalk paint from American Paint Company, but you could also use acrylic paint. The acrylic paint won’t come off the same way the chalk paint will using the method I use, BUT it will still work.
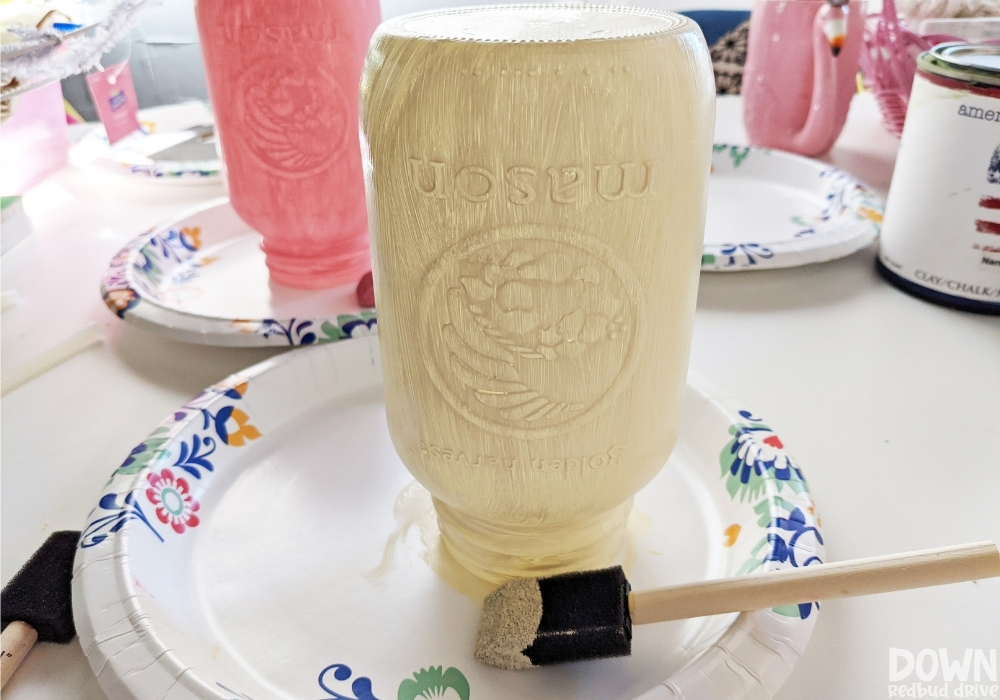

Put your jar upside down, and use a foam paint brush to put a nice coat of paint on your mason jar.
I wanted mine to have a rustic look, so I just did one coat, but if you want full coverage, do two coats of paint.
Step 3: Age your jars to show detail.
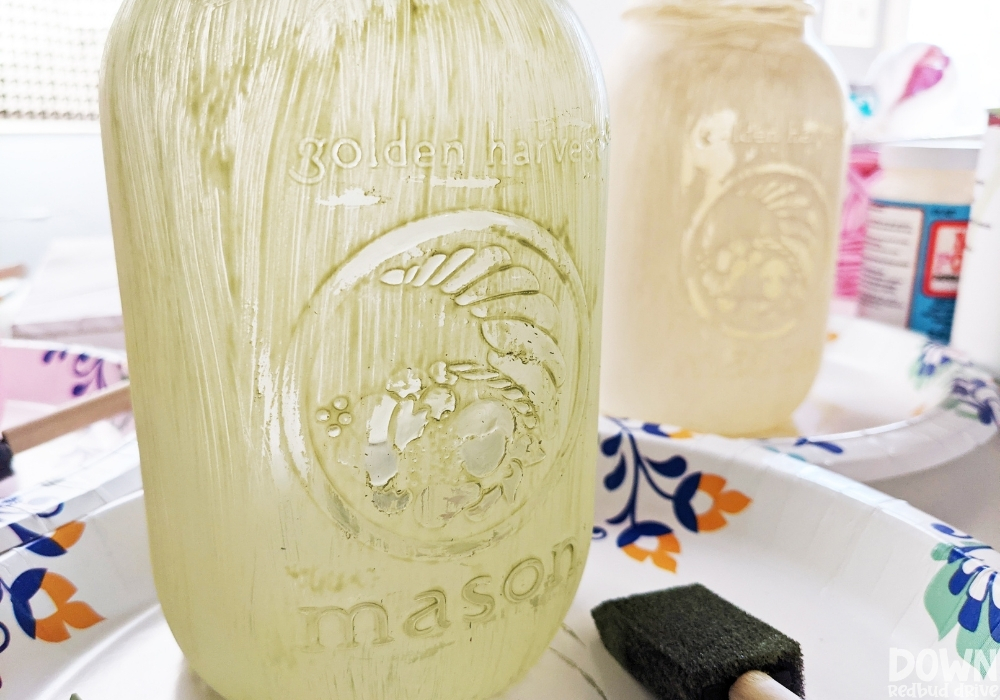

Use a clean white cloth (I use old white t-shirts) and some water, and gently rub the detailed areas of your jars to help them pop.
I use this same method with chalk paint to age my chalk painted furniture with water before waxing it to seal. See how I do that HERE.
Step 4: Get your napkin ready for your jar.
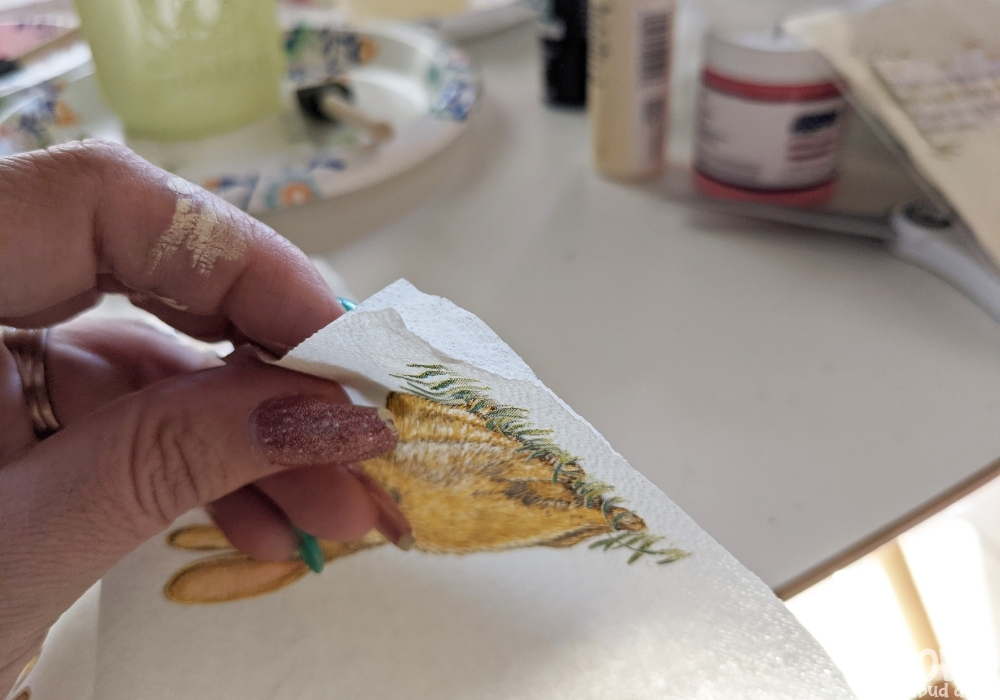

Paper napkins have layers. Gently rub the corner of the napkin between your thumb and forefinger and you should see the layers separate like this.
Most napkins will just have two layers, but some have three. Gently pull apart all the layers to make the layer with the design on it as thin as possible.
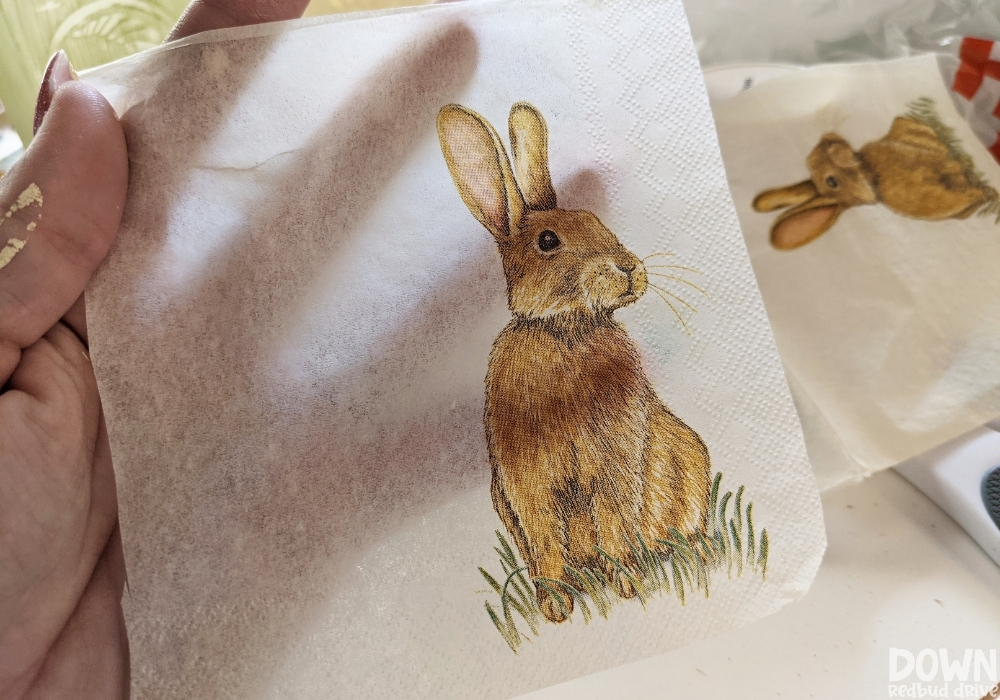

Cut out the square your design is on. I found these cute rabbit napkins on Amazon, but you can find all kinds of Easter napkins at Hobby Lobby, Walmart, and even the dollar store.
How do I choose the best napkin for making these DIY Easter Napkin Jars?
- Paper. Choose paper napkins so they will transfer easily onto your jars.
- Cocktail Napkins. This size works best because it will ensure the design isn’t too big for your jars.
- Background Color. Keep in mind that darker colors will show up even with the Mod Podge, so try to get a plain, light colored napkin.
- Design. Find napkins you can isolate the design for the best end results. This rabbit worked great for that.
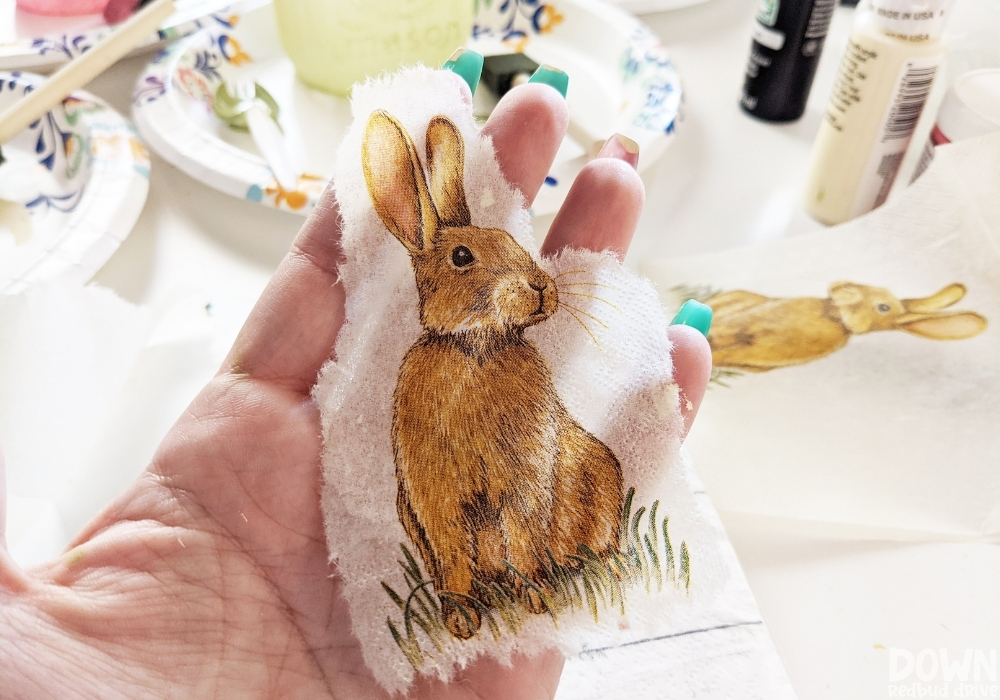

Tear, do not cut, your design out. Go slowly using your fingers and gently tear around the outside of your design, getting as close as you can without tearing into the design itself.
Cutting your design out will leave a harsh edge and will be noticeable on your DIY Easter Napkin Jars when they’re finished.
Step 5: Apply the design to the jar.
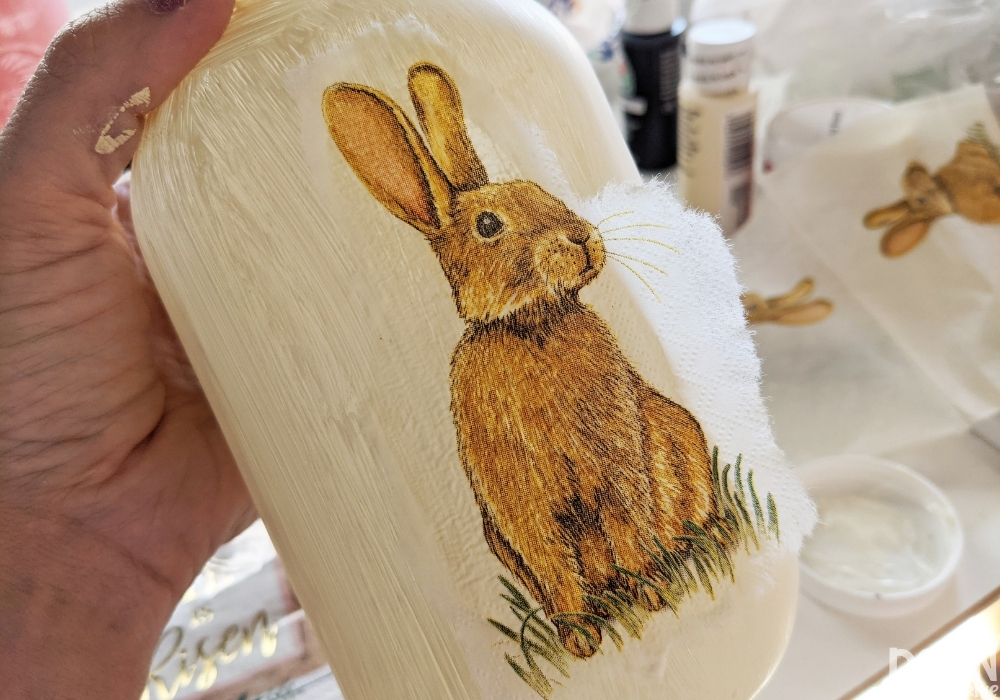

Use a foam paint brush and carefully, but liberally, apply a coat of Mod Podge to the area where your design will go.
Carefully lay your design on the wet area and press gently with your fingers to smooth out any wrinkles or bubbles.
Pro Tip: I find it works best if you work from one side to the other when pressing on your napkin piece to the jar.
Step 6: Add a top coat of Mod Podge to the jar.
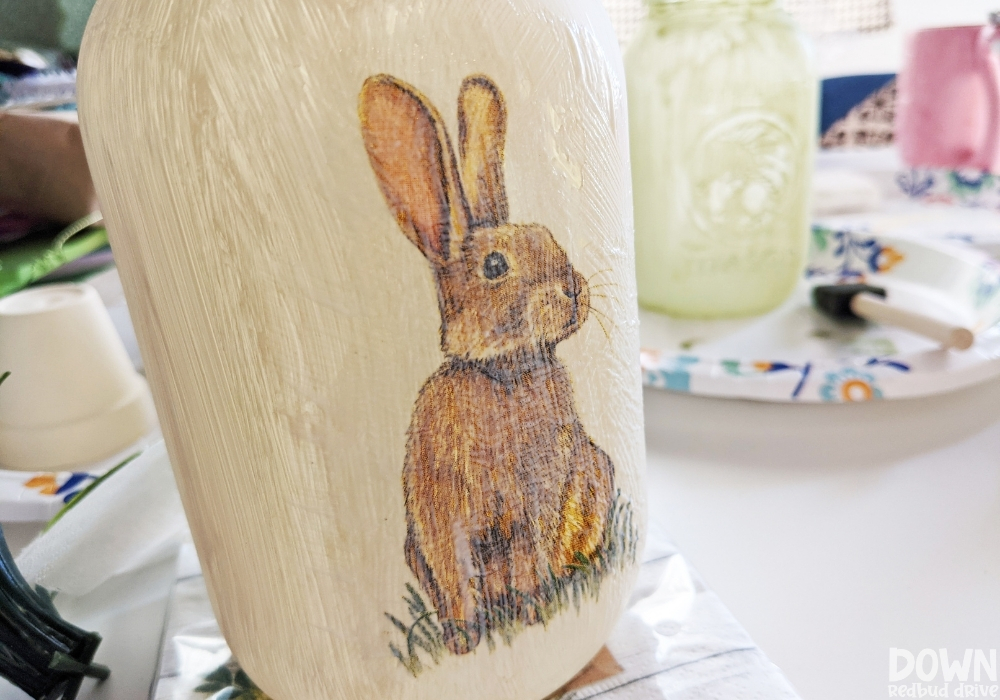

Once your have pressed down the design onto your DIY Easter Napkin Jars, you’re ready to add the top coat of Mod Podge.
Use your foam paintbrush and gently but liberally paint a smooth coat over the entirety of the jar.
Pro Tip: Make sure your paint is totally dry before this step, or it could come off when you paint on the Mod Podge.
Step 7: Add a bow and flowers.
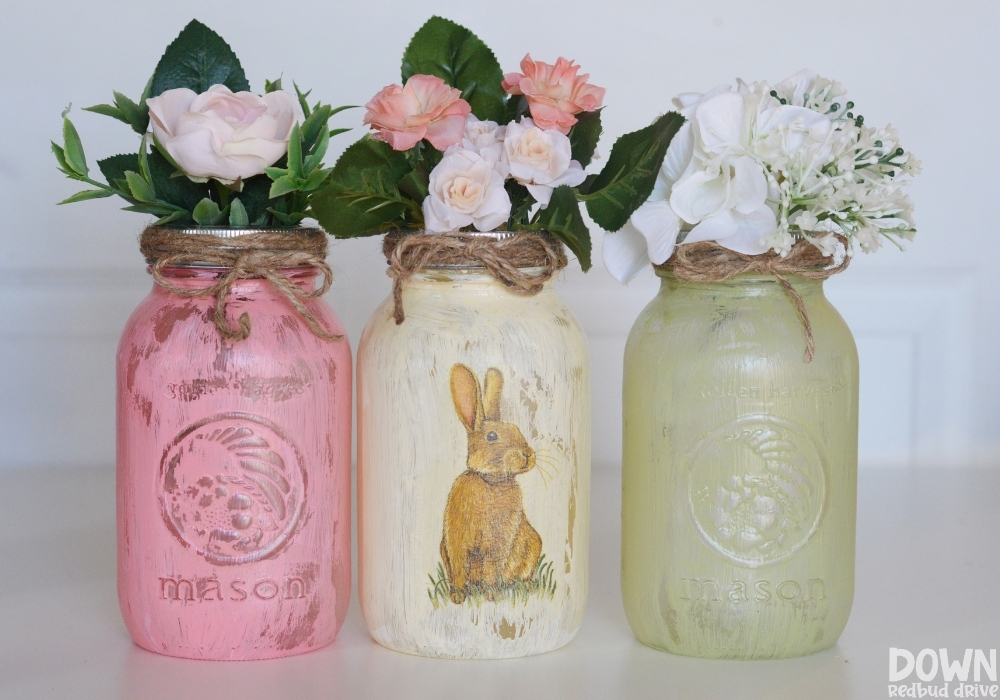

To finish your DIY Easter Napkin Jars, you just need to add some finishing touches!
I used twine to wrap around the top and tie into a bow.
Then I added some artificial flowers to the jars. If you didn’t want to add flowers you could add battery operated tea lights to the jars for a different look too!
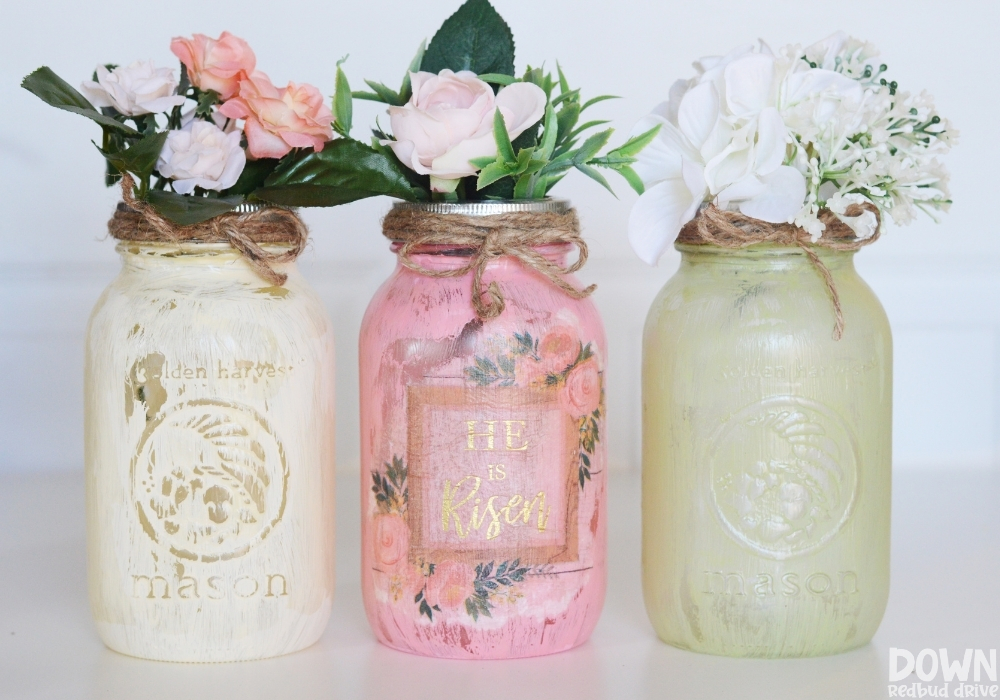

Here’s a different look I did with a cute gold foil napkin design. The great thing about these DIY Easter Napkin Jars is that you can put the design on the back of the jar, and then spin the jar around you want to show the design of.
Want more DIY Easter projects?
-

CLICK HERE -

CLICK HERE -

CLICK HERE -

CLICK HERE
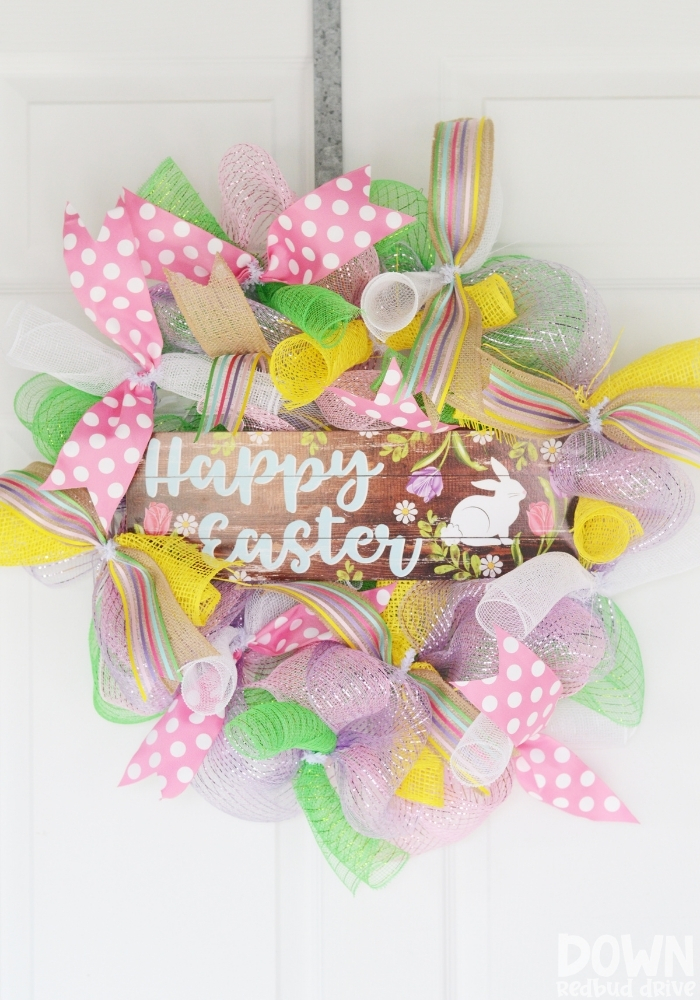
- DIY Easter Mesh Wreath – This project is SUPER simple to make and looks lovely on any front door!
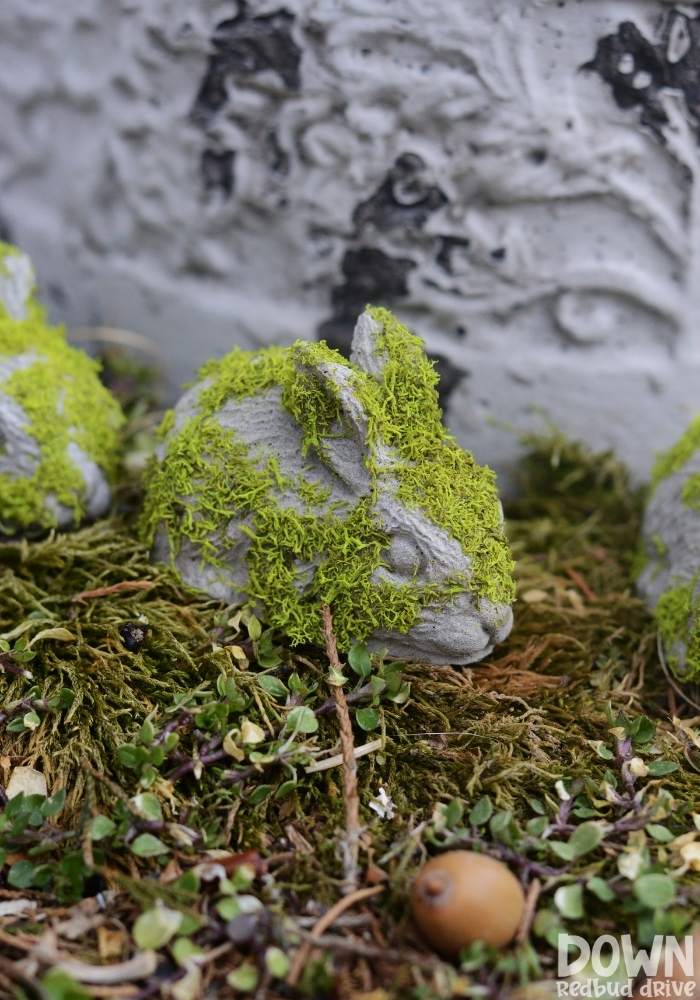
- DIY Concrete Bunnies – They’re adorable concrete home decor and I love the little mossy details!
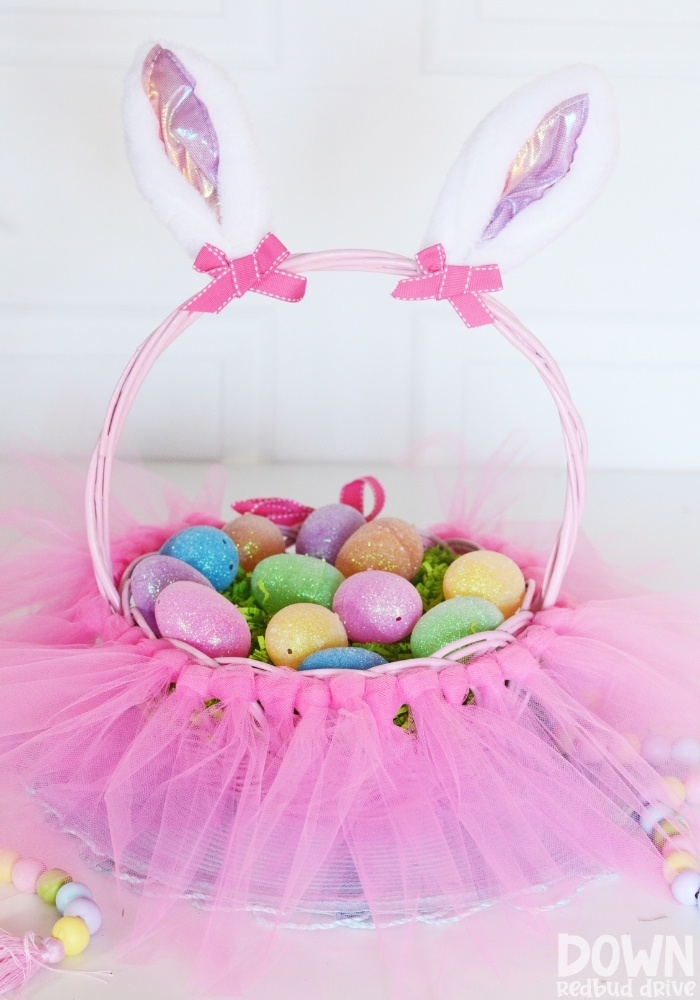
- DIY Tutu Easter Basket – This Easter basket decor is such an easy dollar store craft!
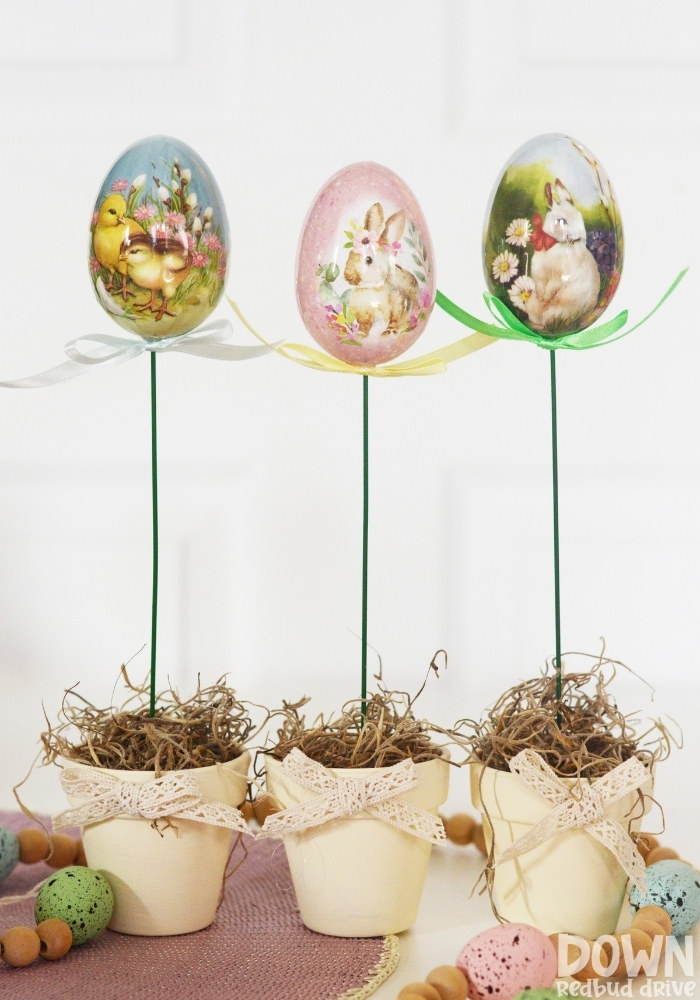
- DIY Easter Egg Topiaries – these are so cute and easy! They make adorable Easter home decor!
Whatever design you choose to put on your DIY Easter Napkin Jars, I’m sure they will turn out cute!


