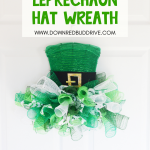
DIY Leprechaun Hat Mesh Wreath
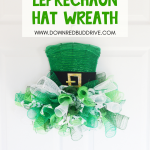




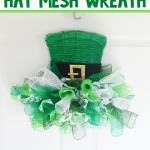


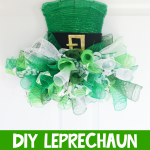

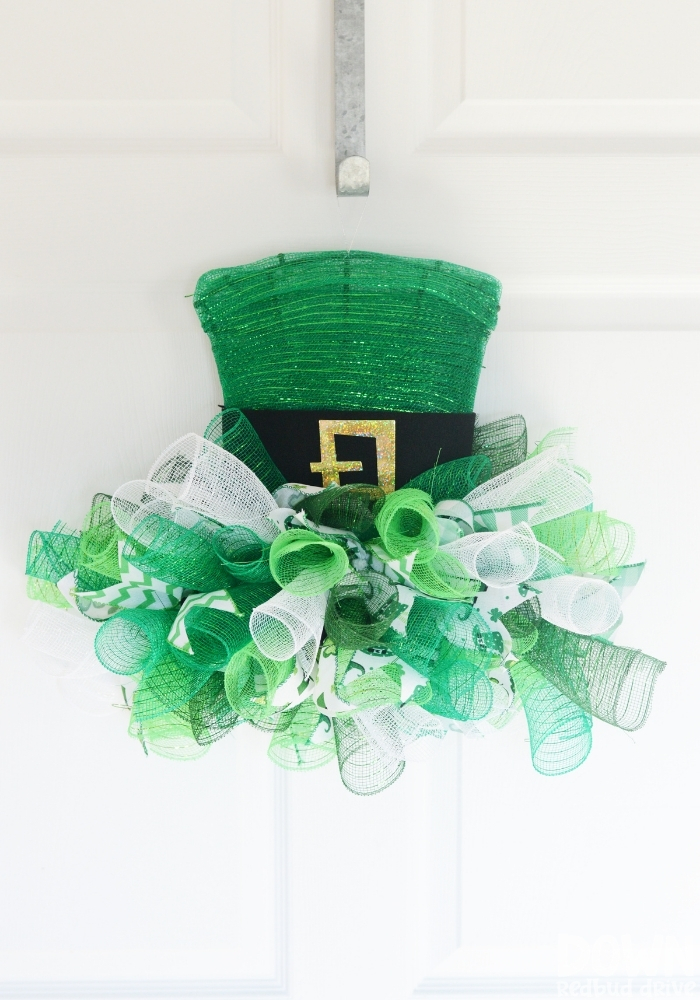
Make your home a little more magical with this DIY Leprechaun Hat Mesh Wreath for St. Patrick’s Day! It’s the perfect St. Patrick’s Day wreath you can make yourself and it’s SUPER easy!

This post may contain affiliate links. See my full disclosure policy HERE.
I LOVE making my own holiday home decor. St. Patrick’s Day is such a fun holiday to decorate for between Valentine’s Day and Easter.
I don’t usually do a lot of home decor for St. Patrick’s Day, but this fun wreath was super simple and is easy to put up and take down.
Do NOT let the fact that this is a mesh wreath intimidate you! I’ve made other simple holiday wreaths like my Patriotic Bandana Wreath, my Pumpkin Wreath, and my cute burlap fall wreath, but had never attempted mesh before.
Mesh isn’t scary and is SO SO simple! I’ve included a ton of step-by-step pictures on making a mesh wreath below, and I promise you’ll love how easy it is!
How do you make these DIY Leprechaun Hat Mesh Wreath?
Step 1: Gather your supplies.
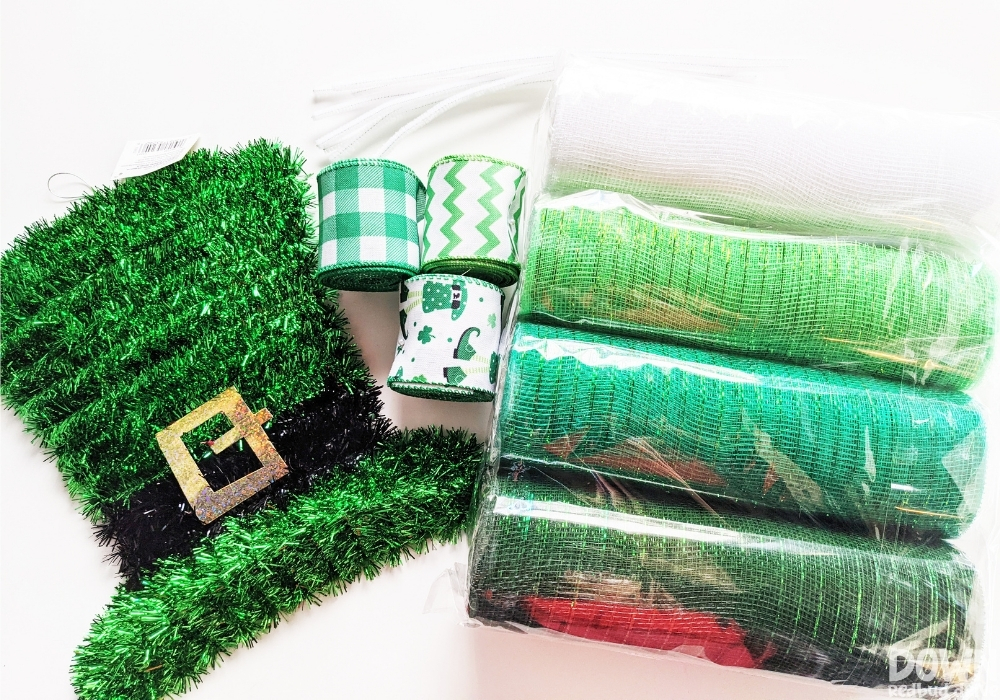

You will need:
- Cheap Hat Door Hanger (you can find them at the dollar store or you can get this one on Amazon by clicking the link)
- 10″ Mesh (I used the pack I linked to, but if you have greens and white already on hand use those)
- 2″ Wired Ribbon (optional, but I loved the dimension it added)
- Pipe Cleaners (green are best, but neutral colors like white work well too)
- Black Felt (I used the 12″ x 18″ size, but it’s much cheaper to buy in stores)
- Scissors
- Rotary Cutter (makes cutting your mesh SO much easier!)
- Cutting Mat
- Hot Glue Gun
Step 2: Remove the tinsel from the hat.
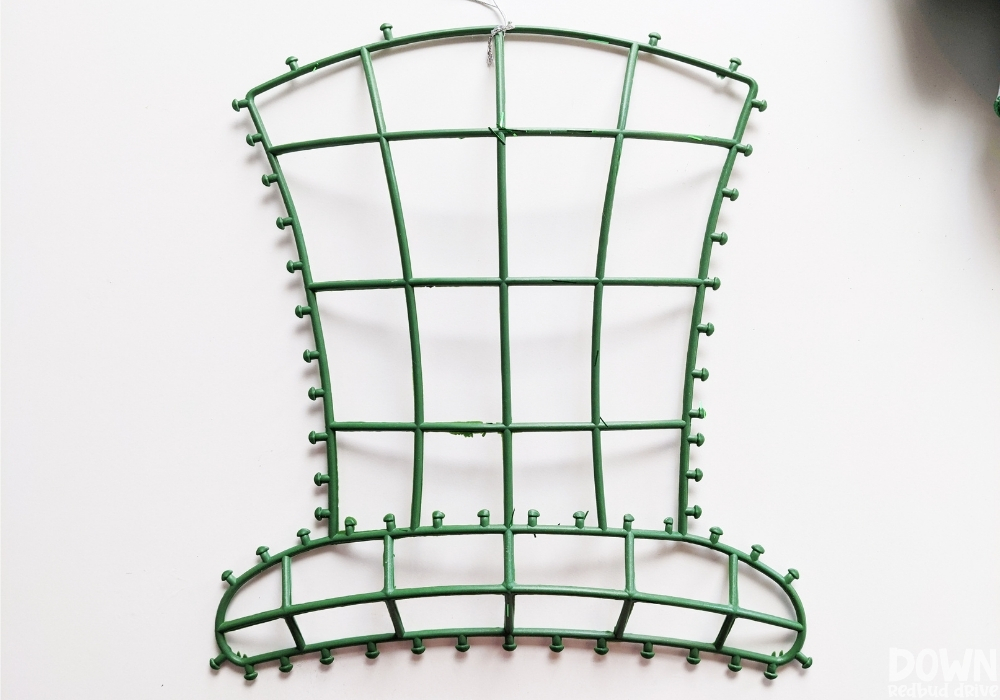

The only hat frame I could find as a stand-alone frame, was handmade on Etsy and cost about $30 with shipping.
If I was going to pay $30 just for the frame, I may as well just buy this style wreath from someone else.
I found a cheap hat door hanger and decided to use it as the frame for my DIY Leprechaun Hat Mesh Wreath. It worked great!
You can find these at the dollar store, or you can buy the one I bought on Amazon HERE.
Use your hands, or scissors, and remove all the tinsel from the hat wreath frame. Save the little gold buckle if you want to use it later.
Step 3: Add the pipe cleaners to the bottom.
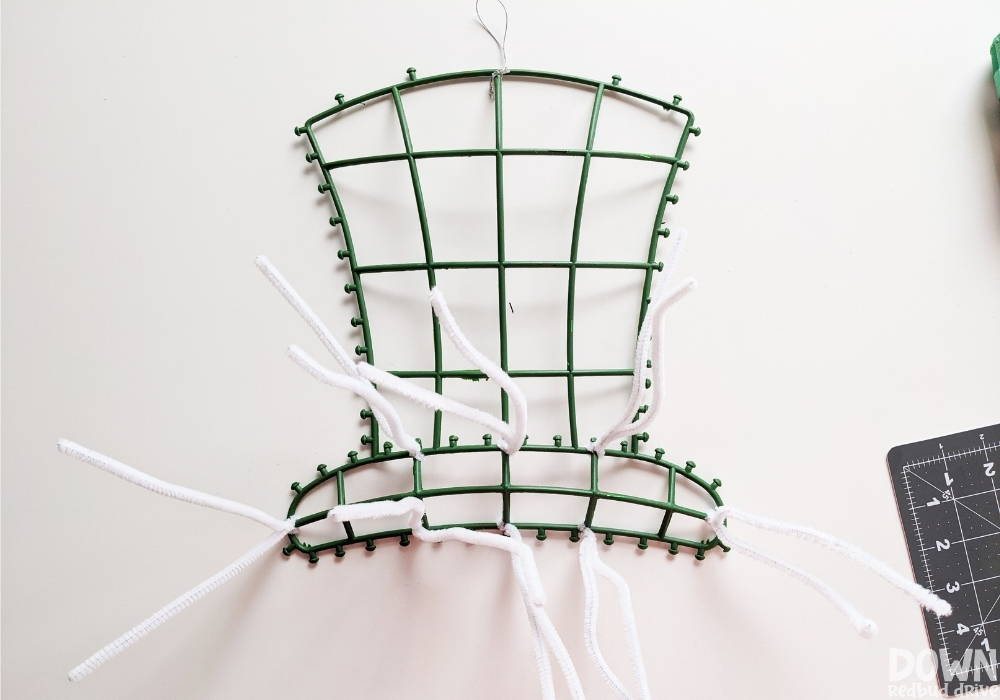

The bottom of the wreath is where you’re going to add the mesh, so that’s where you will need the pipe cleaners.
Green pipe cleaners would be best, but for some reason that was the ONLY color I didn’t have on hand, so I used white and some black.
In addition to the white ones I twisted on here, I added four black ones down the center as well.
Just twist them around the frame tightly like shown.
Step 4: Cut the mesh pieces for your wreath.
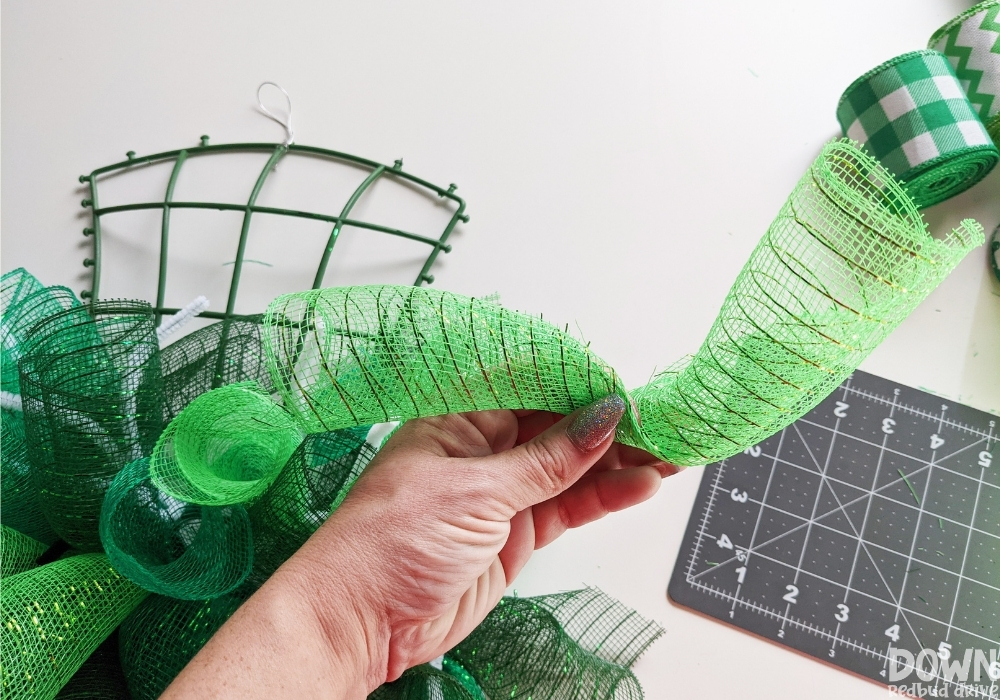

I had a hard time finding instructions on how to clearly do the mesh part, so I want to make sure I over-explain here so you feel confident going into this mesh wreath DIY.
I used rolls of 10″ mesh to make this wreath. You could also use 6″ or 8″ mesh, but I wanted it to be big and full, so I used 10″.
I used a rotary cutter and cutting mat and cut 8″ sections of mesh.
Then, one piece at a time, I rolled them, and then pinched them like shown above right before attaching them to the wreath.
Pro Tip: You can find 6″ mesh at the dollar store often, or can get “holiday” mesh at craft stores for cheap after the holidays have passed with clearance sales if you want to cut costs on making this mesh wreath.
Step 5: Attach the mesh to the wreath.
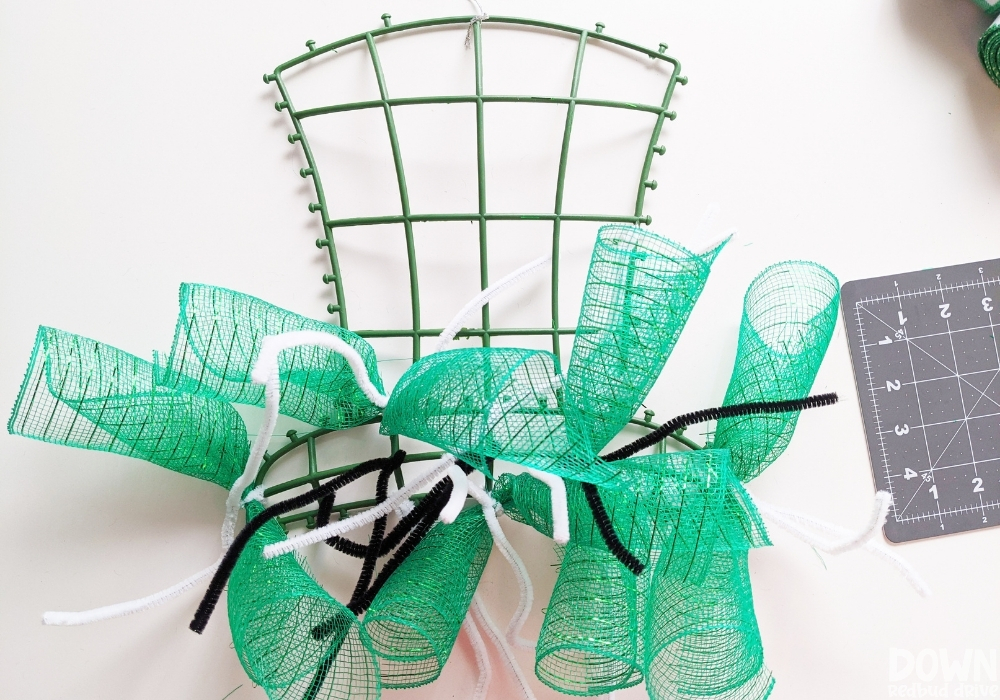

Then to attach them to the wreath, you simply twist the pipe cleaner around the middle pinched section of the mesh.
Initially it will look flat and like it’s not going to work, but trust the process. Do not panic like I did and assume you have failed or are doing something wrong.
I almost quit when mine looked like the above picture, but I kept going and it worked.
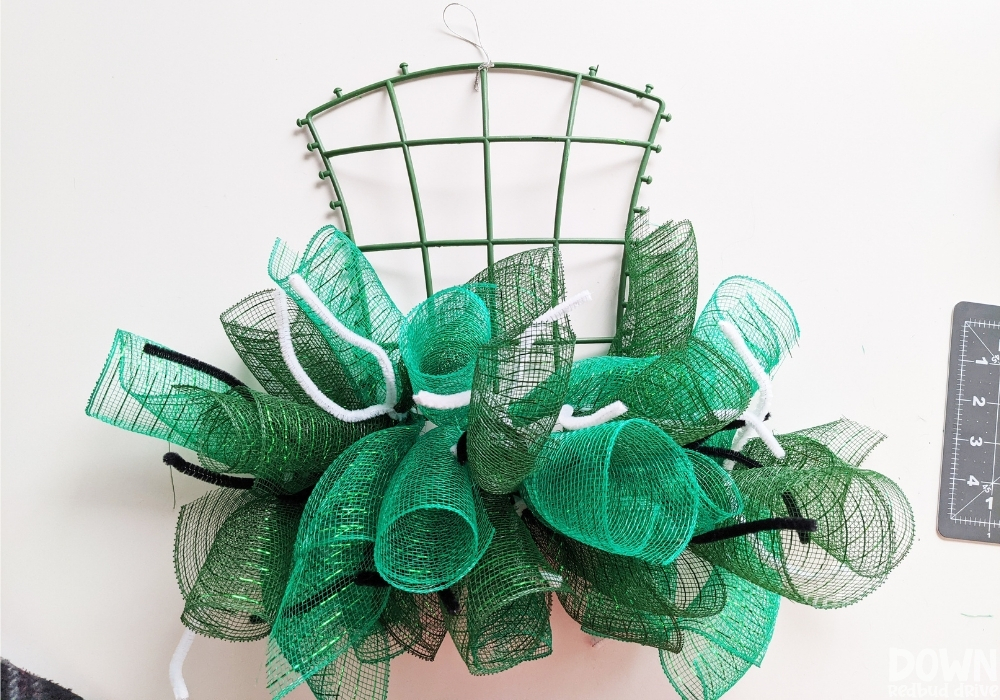

I did one color at a time to ensure my colors were spread out and even since I was using one color at a time.
Start by putting one piece of mesh on a pipe cleaner at a time. Then when each pipe cleaner has at least one piece on mesh attached to it, attach another on top.
So each pipe cleaner will have multiple mesh rolls attached to it, stacked on top of one another.
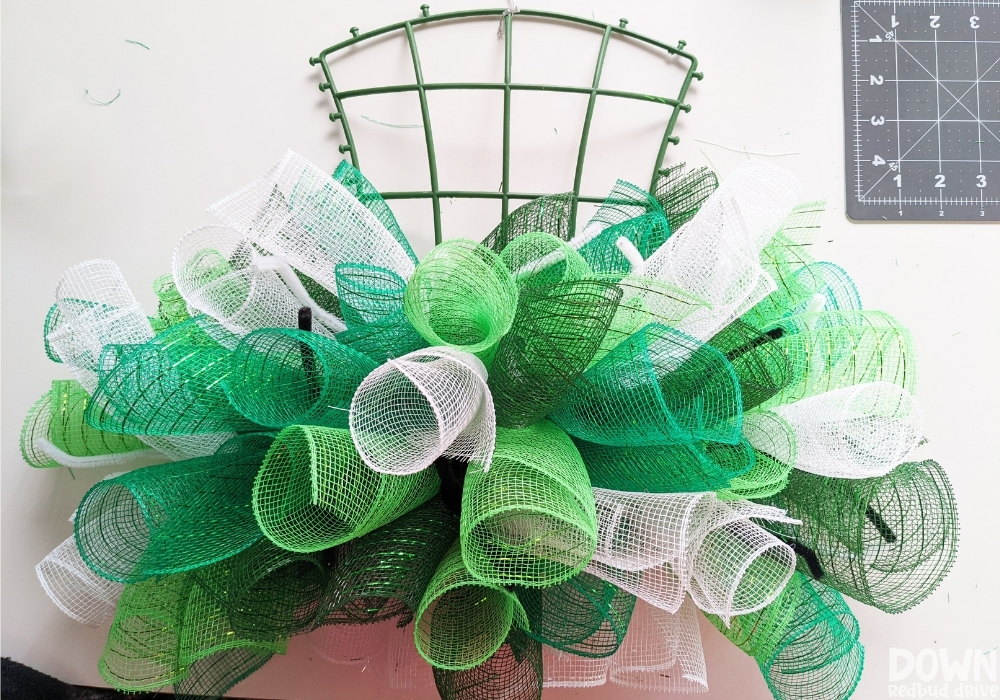

Once I attached all my colors, this is what it looked like. No fluffing had occurred yet, and this was big and fluffy like I wanted.
Step 6: Cut and add the ribbon pieces (optional).
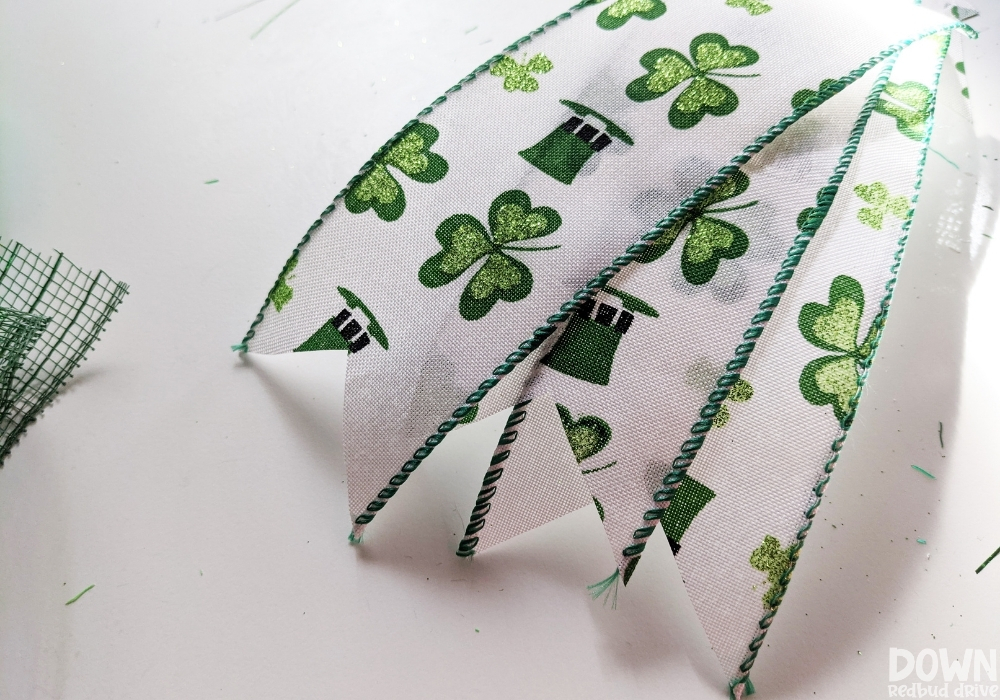

Instead of just mesh, I wanted to add another layer of dimension to my DIY mesh wreath with ribbon.
I used 2″ wired ribbon.
Cut your pieces 2″-4″ LONGER than the length of your mesh for best results. So if you’re using 10″ mesh like I did, then cut your ribbon pieces to be 12″-14″ long.
Use scissors to cut a V shape in the ends like shown above.
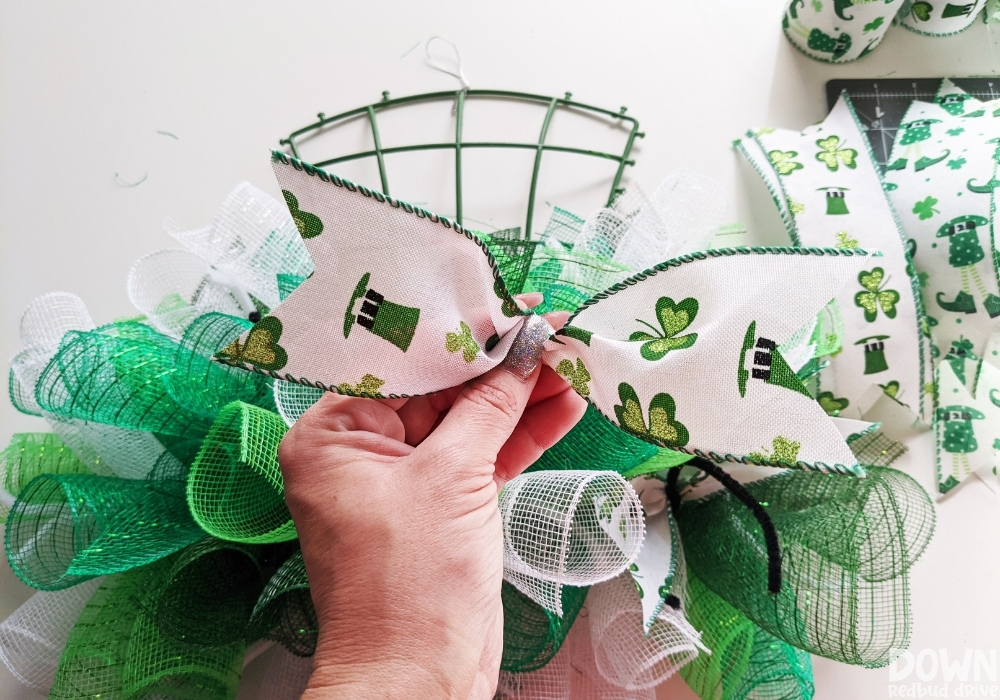

Once your pieces are cut, you will pinch them like shown and then attach them to the pipe cleaners like you did your mesh.
You will attach the ribbon with the pattern side up, like shown.
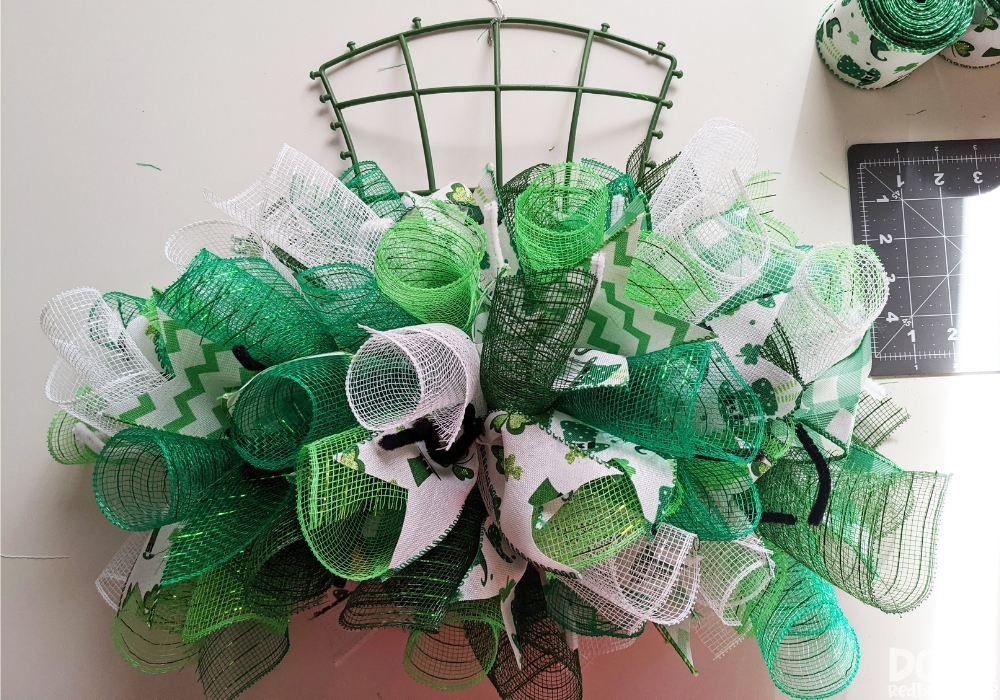

Spread out your ribbon pieces to make sure they’re all over your wreath.
I used four different kinds of ribbon, so I cut 3-4 pieces of each pattern.
Re-shape your ribbon and spread it out.
Use wire cutters or old scissors to then trim the pipe cleaners so you can’t see them any longer.
Step 7: Add the top of your Leprechaun Hat mesh wreath.

Firsy you will need to wrap the top of your hat wreath form in green mesh.
Since I used the 10″ mesh, I cut long strips, then cut those in half to make 5″ strips, so it was easier to manage, but you don’t NEED to do that.
Wrap until you’ve covered the hat form with at least a couple of layers of mesh.
Use hot glue to secure the mesh in place.
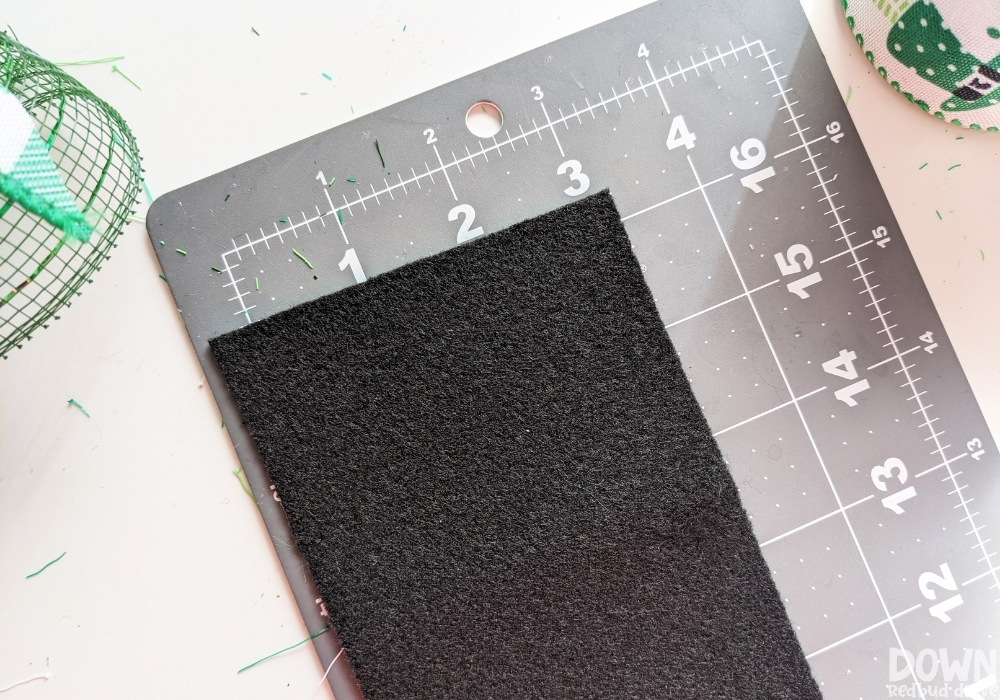
I wanted a black band for my hat, so I used black felt to create that.
I used a 12″x18″ piece of black felt. I cut a strip that was the full 18″ long and 3″ wide.
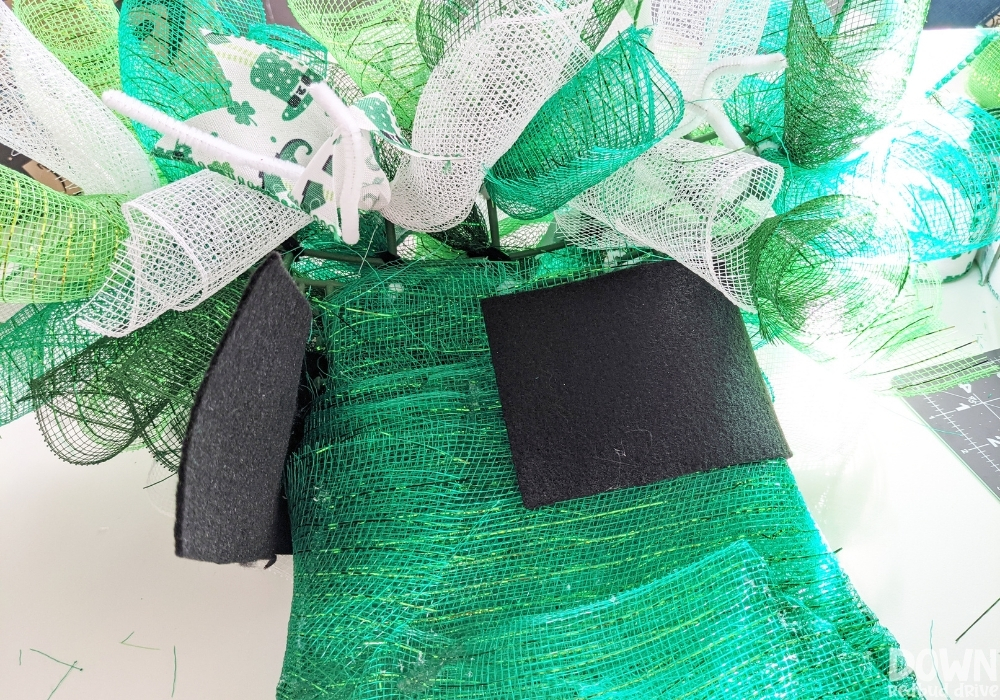

Use hot glue to attach it onto your DIY Leprechaun Hat Mesh Wreath.
Step 8: Attach the buckle to your hat wreath.
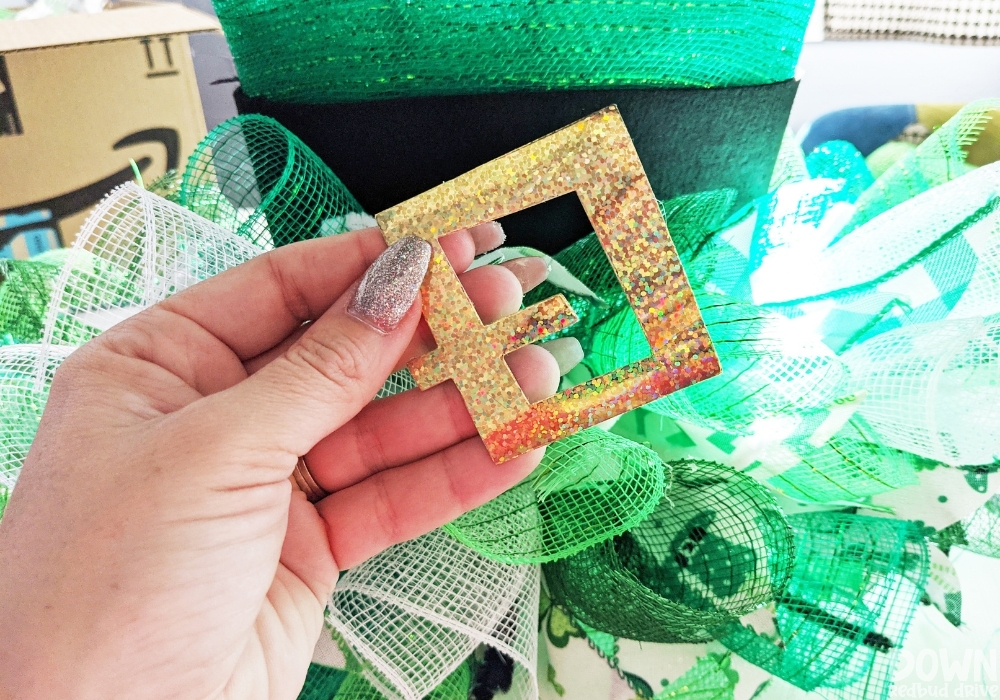

I saved the paper buckle that came with my original hat form, and hot glued it to the front center of the black felt band.
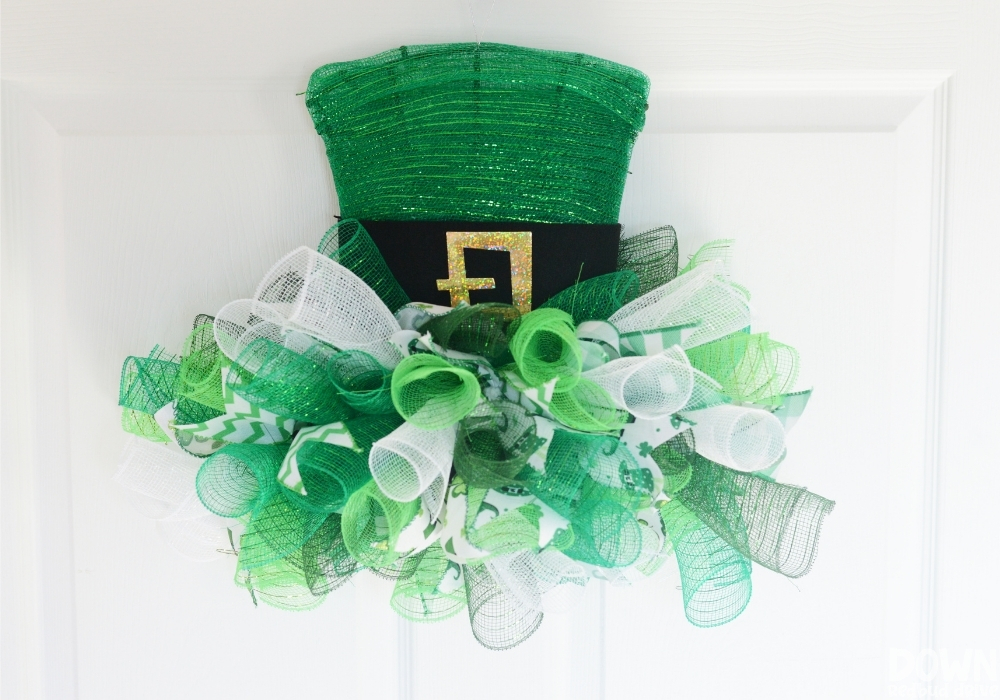

When it’s finished, it should look like this!
This DIY St. Patrick’s Day wreath was SO much easier than I thought it was going to be! It didn’t take long, and is adorable on my front door!
Similar wreaths sell on Etsy for $40+, so you’ll save a ton making your own!
Want more DIY St Patricks’ Day projects?
-


CLICK HERE -

CLICK HERE -


CLICK HERE
- Rainbow Seeds Skittles Gift – They’re super simple, and the printable label is free!
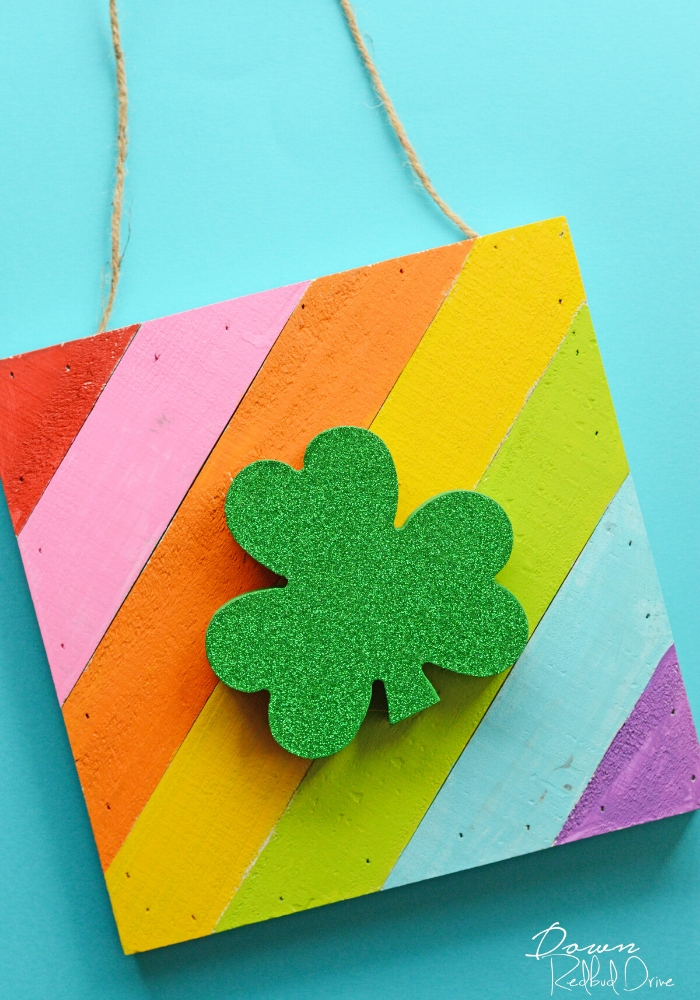
- Rainbow Shamrock Art DIY – It’s a fifteen-minute St. Patrick’s Day craft and makes the perfect St. Patty’s Day home decor!
- You Got Lucky Chocolate Coin Treat – This little chocolate coin treat is the perfect little St. Patrick’s day gift!
Make your front door festive for St. Patrick’s Day with this easy DIY Leprechaun Hat Mesh Wreath!


