
DIY Lucky Blessed Sign











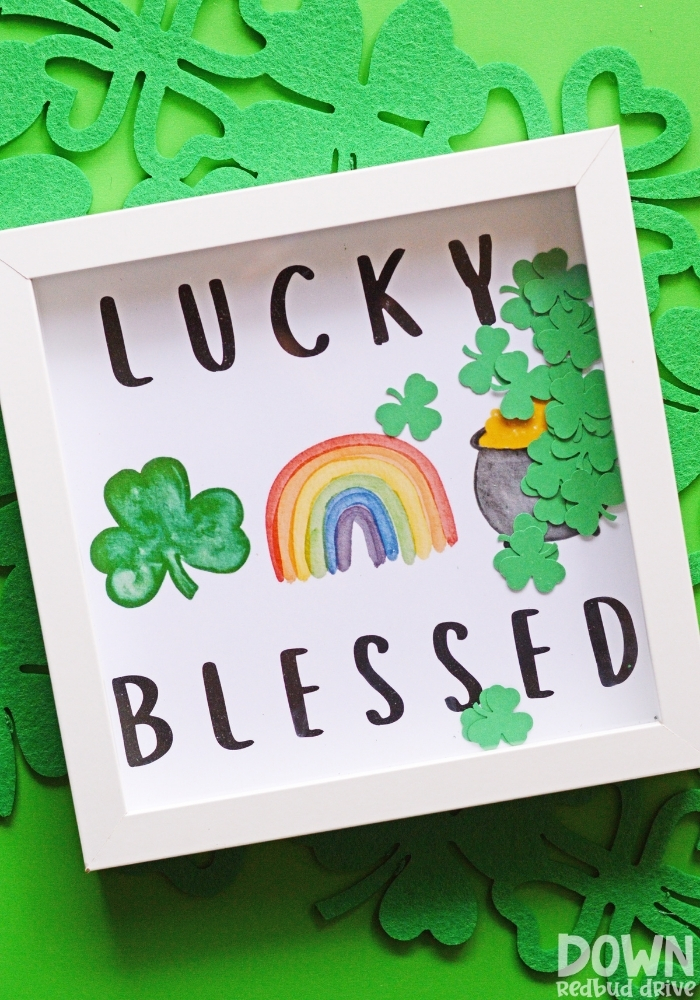
This cute DIY Lucky Blessed Sign makes adorable St. Patrick’s Day home decor! Use the free printable to make this a super simple craft!

This post may contain affiliate links. See my full disclosure policy HERE.
Holiday home decor you make yourself doesn’t need to be difficult to look good!
It’s pretty rare for me to BUY holiday home decor anymore because I enjoy making my own version so much more.
This Lucky Blessed Sign is SUPER simple to put together. The main part of the sign is a free printable, so it saves you a bunch of time.
I used these same shadow boxes to make these awesome Father’s Day Lego Superhero Shadowboxes.
This Lucky Blessed Sign works great as St. Patrick’s Day home decor and can easily be sat on a bookshelf or hung on a wall.
If you’re just here for the free printables, and don’t want to read the tips on printing and instructions on how to put these together below, then you can get those HERE.
How do you make this DIY Lucky Blessed Sign?
Step 1: Gather your supplies.
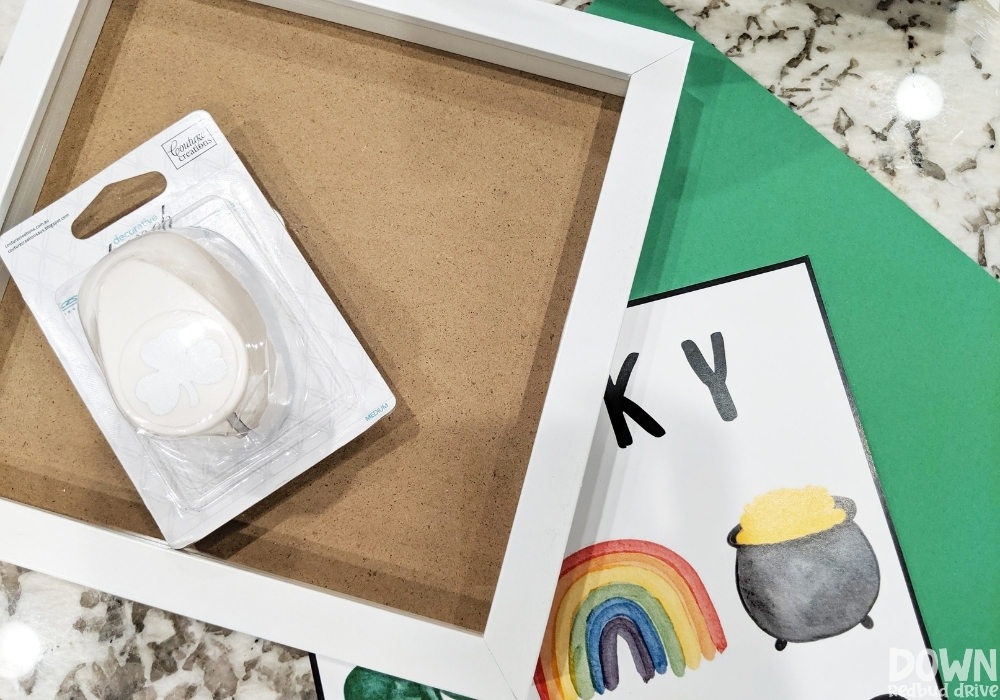

You will need:
- Free Printable Lucky Blessed Sign
- 8″x8″ Shadowbox
- Clover Paper Punch (optional)
- Green Cardstock Paper (optional)
- White Cardstock Paper
- Scissors
Step 2: Print out your sign.
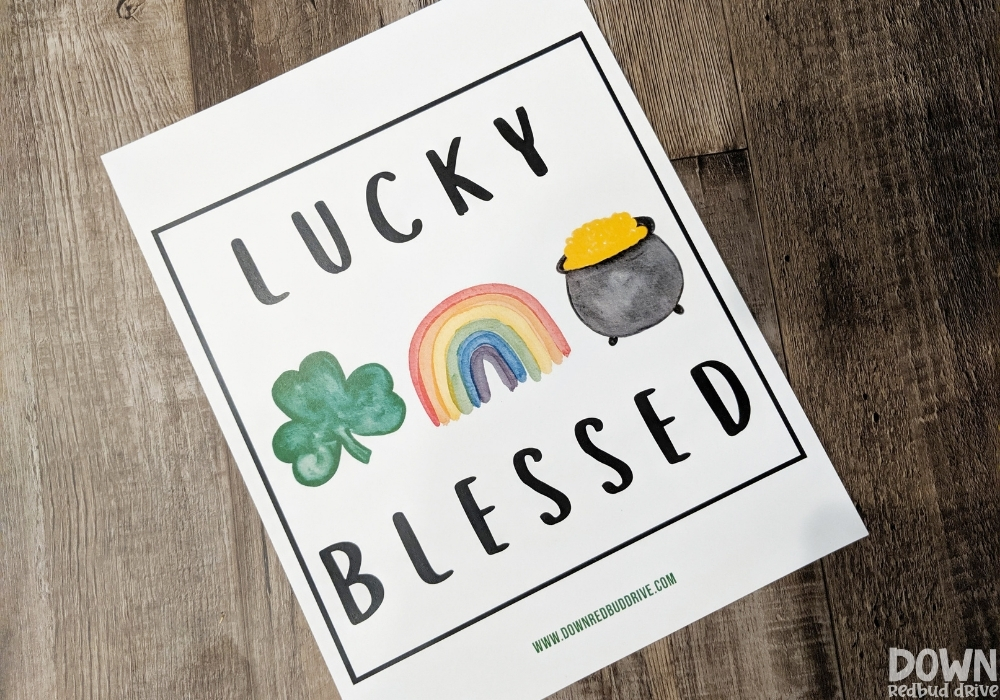

Print out your Lucky Blessed Sign on cardstock paper. Regular paper will bend too easily and won’t fit as nicely in your shadow box.
When it prints it will look like this.
Use a sharp pair of scissors and cut out around the black border.
Pro Tip: This is designed specifically to fit in an 8″ x 8″ shadowbox, so make sure NOT to select “fit to page” on your printer settings when printing.
Step 3: Punch out green shamrocks (optional).
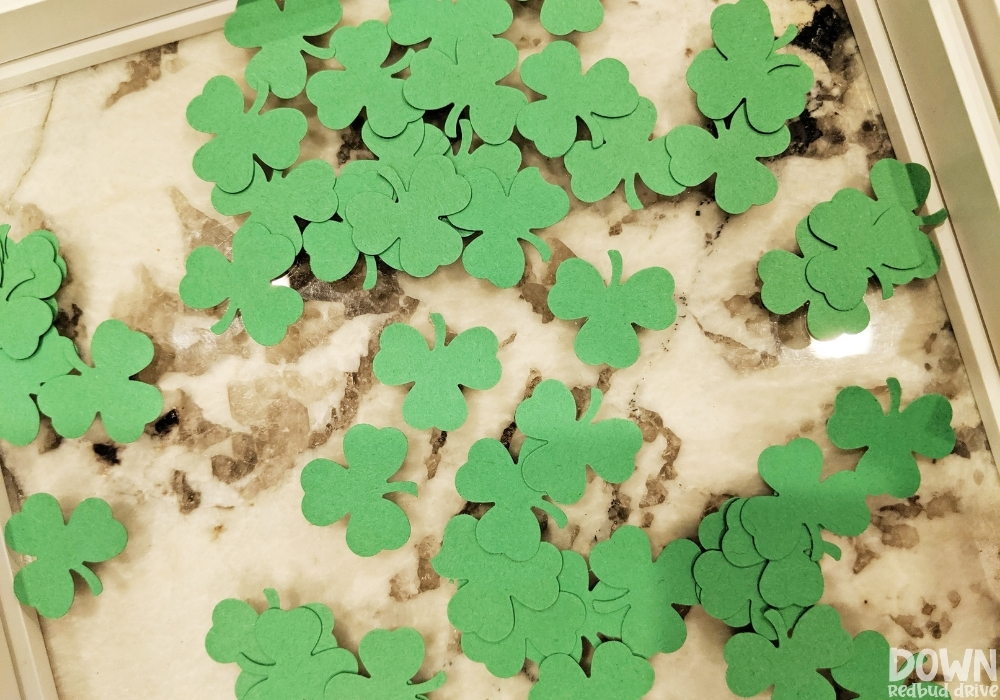

Instead of just the printable in a frame, I wanted to jazz up this Lucky Blessed Sign!
To make this a more fun piece of St. Patrick’s Day home decor, I punched out a bunch of green shamrocks from green cardstock using this hole punch.
Punch them right into your shadowbox. You can do as few or as many as you want.
Pro Tip: Keep in mind, if you will be hanging this on the wall or displaying it upright, the clovers will drop to the bottom, so if that’s your plan either add a lot or skip this step.
Step 4: Add in the printable to finish up your sign.
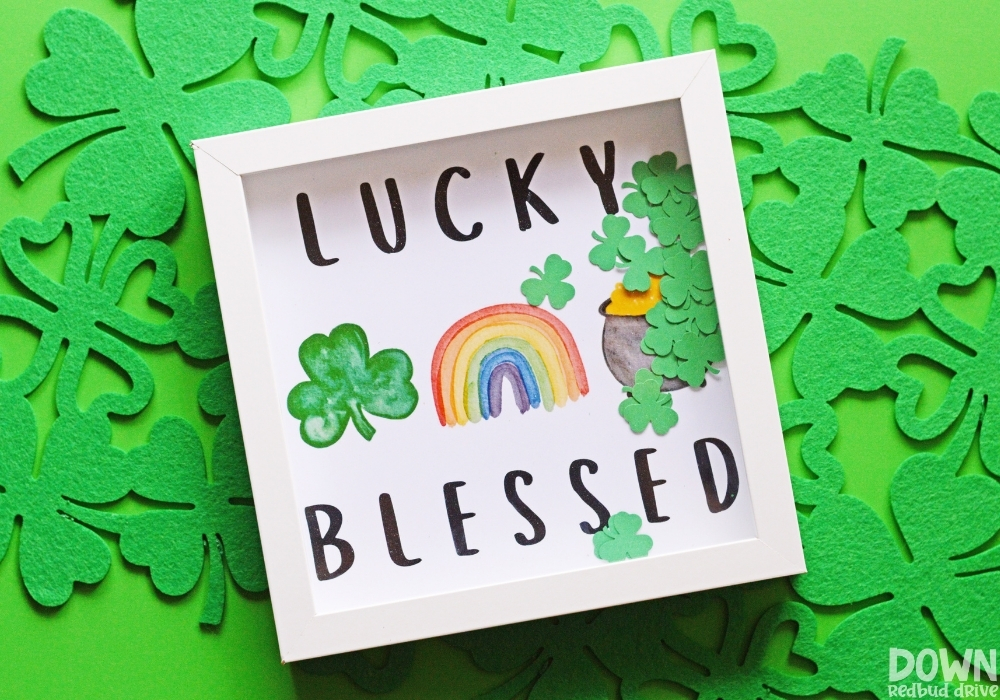

Add in your printable on top of the shamrocks.
Add the back to your shadowbox back and seal it up to finish your cute piece of St. Patrick’s Day art!
This is one of the easiest DIYs you’ll ever make! It’s super simple and the printable makes it even easier!
Want more DIY St. Patrick’s Day projects?
-

CLICK HERE -

CLICK HERE -

CLICK HERE
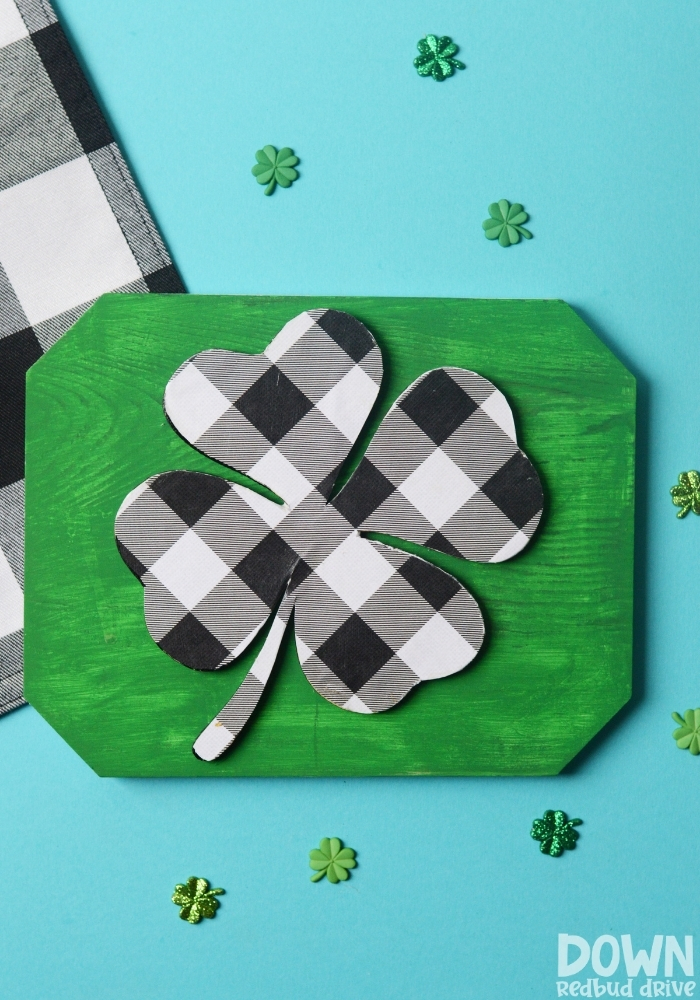
- DIY Buffalo Plaid Shamrock Sign – This cute buffalo plaid St. Patrick’s Day sign is almost effortless to put together.
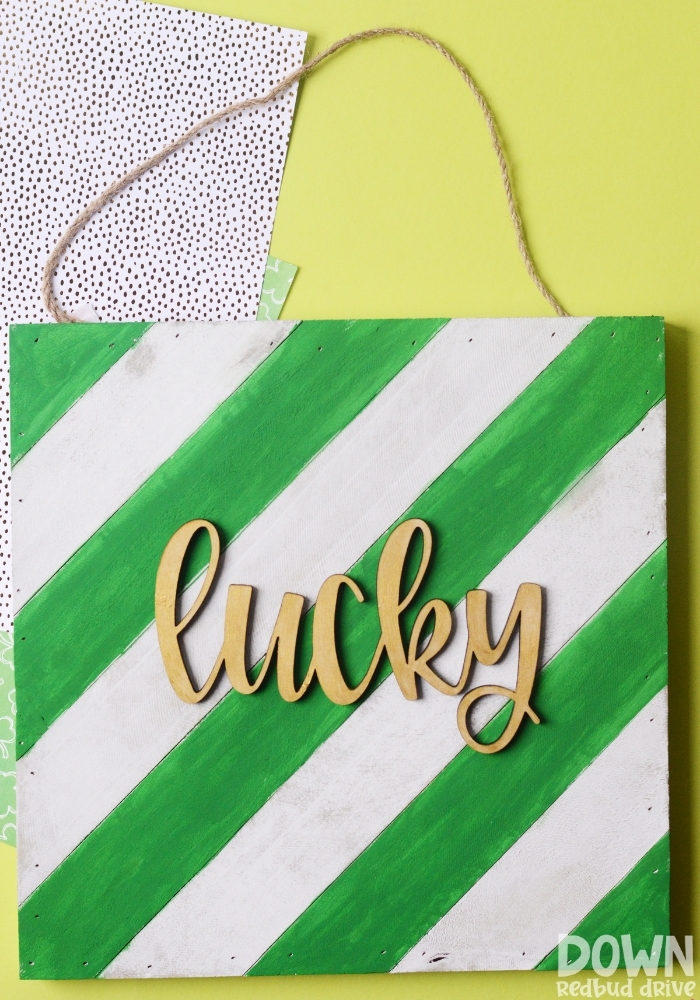
- DIY Wooden Lucky Sign – This cute St. Patrick’s Day wall art is super easy to make!
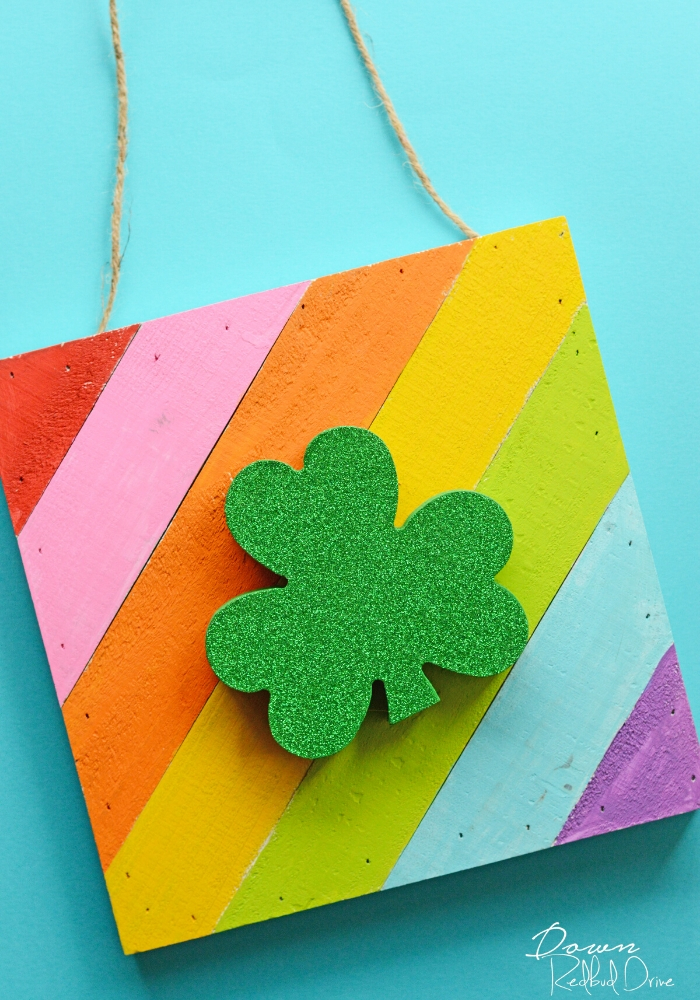
- Rainbow Shamrock Art DIY – It’s a fifteen-minute St. Patrick’s Day craft and makes the perfect St. Patty’s Day home decor!
Make this fun Lucky Blessed Sign to help you celebrate St. Patrick’s Day this year! It’s such a simple DIY craft!


