Glitter Pumpkins DIY

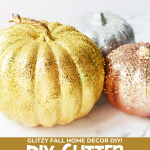

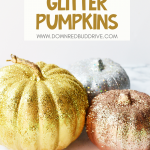

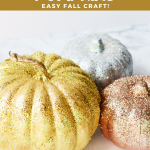

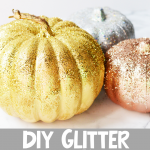

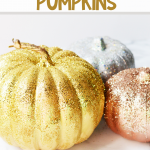

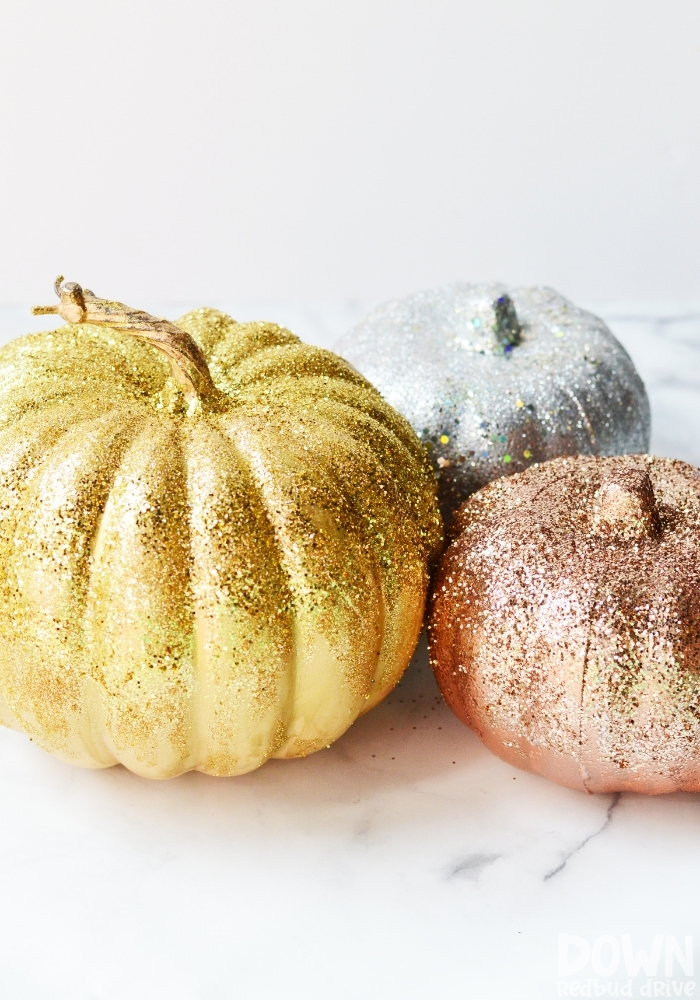
About the only thing that could make pumpkin fall decor better are glitter pumpkins! This DIY method is simple, and you can even use pumpkins from the dollar store!

This post may contain affiliate links. See my full disclosure policy HERE.
I’m a big fan of glitter. Yes, it gets everywhere and will make everything sparkle, but is that really such a bad thing?
You absolutely need to plan on that happening when you make these glitter pumpkins. It’s absolutely worth it for how these turn out, and I’m obsessed with the glam they’ve added to my fall decor!
How do you make these glitter pumpkins?
Step 1: Gather your supplies.
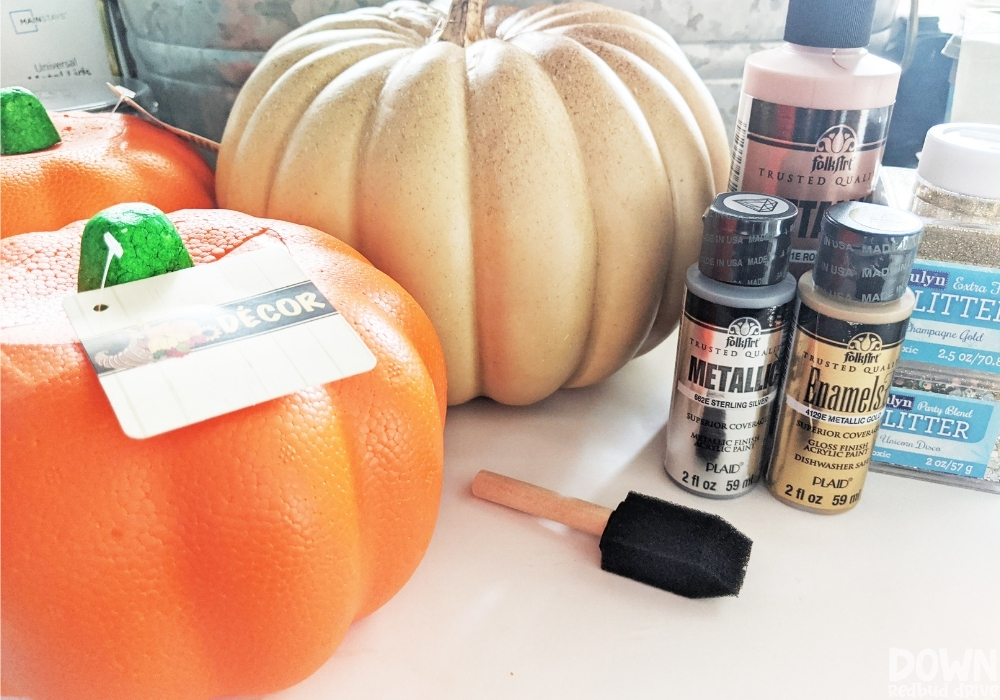

You will need:
- Acrylic Paint (I used metallics and enamels)
- Fake Pumpkins
- Mod Podge
- Glitter (chunky and fine)
- Foam Paintbrushes
Step 2: Paint a base coat on your pumpkins.
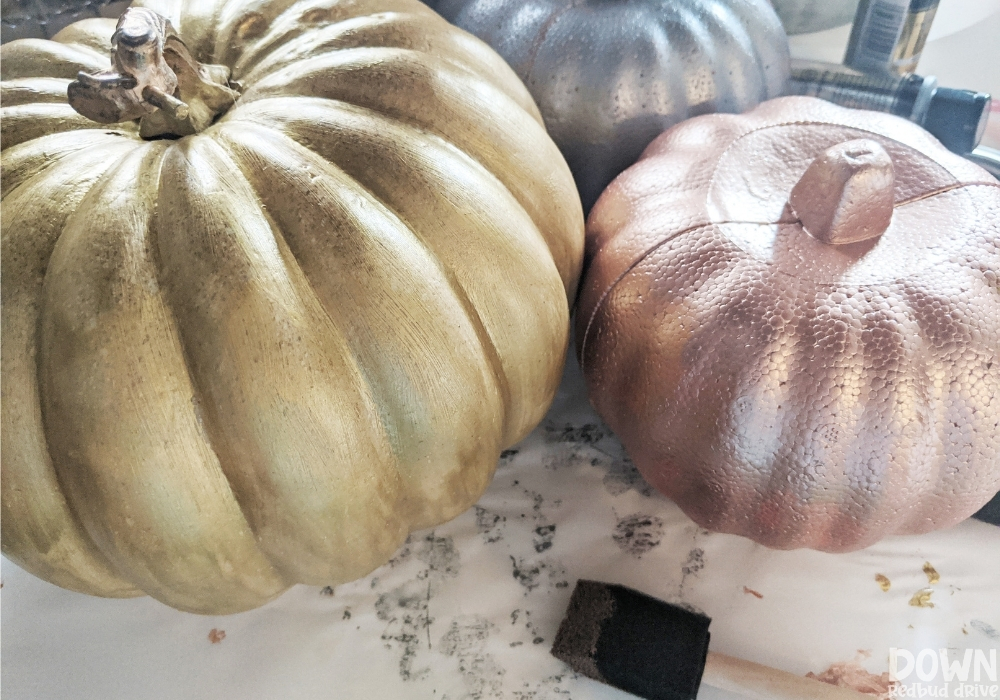

I wanted to make sure the base of my pumpkins were in a similar color to the glitter I was going to use on top of them, so it wouldn’t leave any weird gaps.
Which paint is best for pumpkins?
Since I used fake pumpkins, not real ones, getting the paint to stick to the pumpkin wasn’t rough. I used enamel and metallic acrylic paints and a foam brush.
This method worked great on the bigger pumpkin I got from Walmart for about $6. It only needed a single coat.
However, the smaller pumpkins were styrofoam, bright orange and from the dollar tree and did NOT favor this method. If you use these pumpkins, I’d suggest using spray paint to get your base color instead.
Step 3: Apply the Mod Podge.
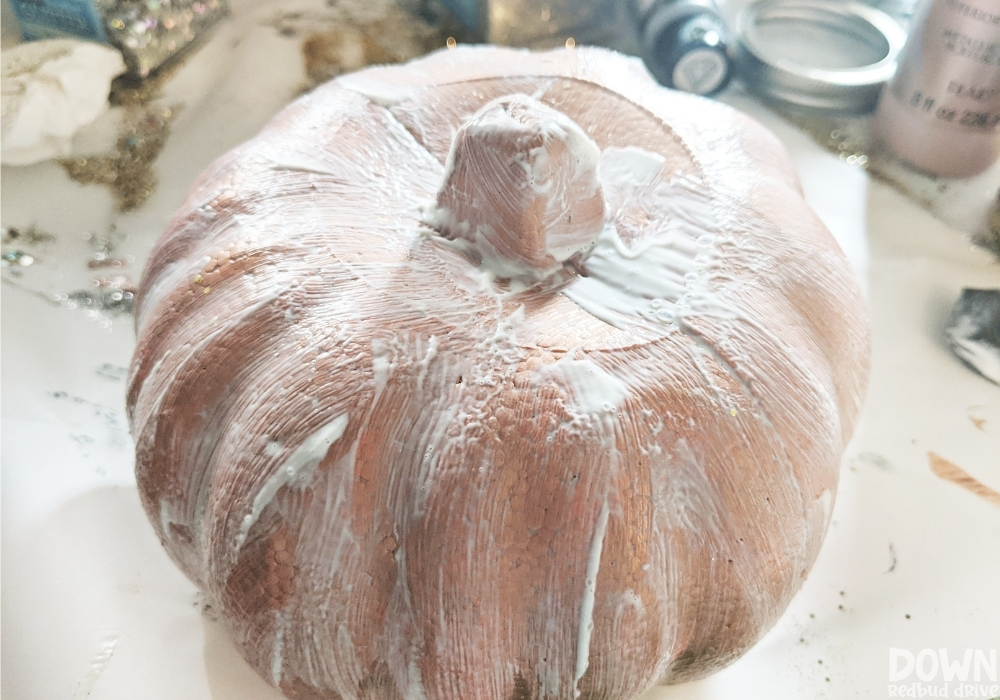

If you want to know the best glue to use on a pumpkin to get glitter to stick, that’s absolutely Mod Podge. It doesn’t dry super fast, so you’ll have time to cover the pumpkin and then sprinkle glitter.
Use a foam brush and apply the Mod Podge liberally over the pumpkin as shown above. It will dry clear, so don’t worry about it.
Step 4: Glitter the pumpkins.
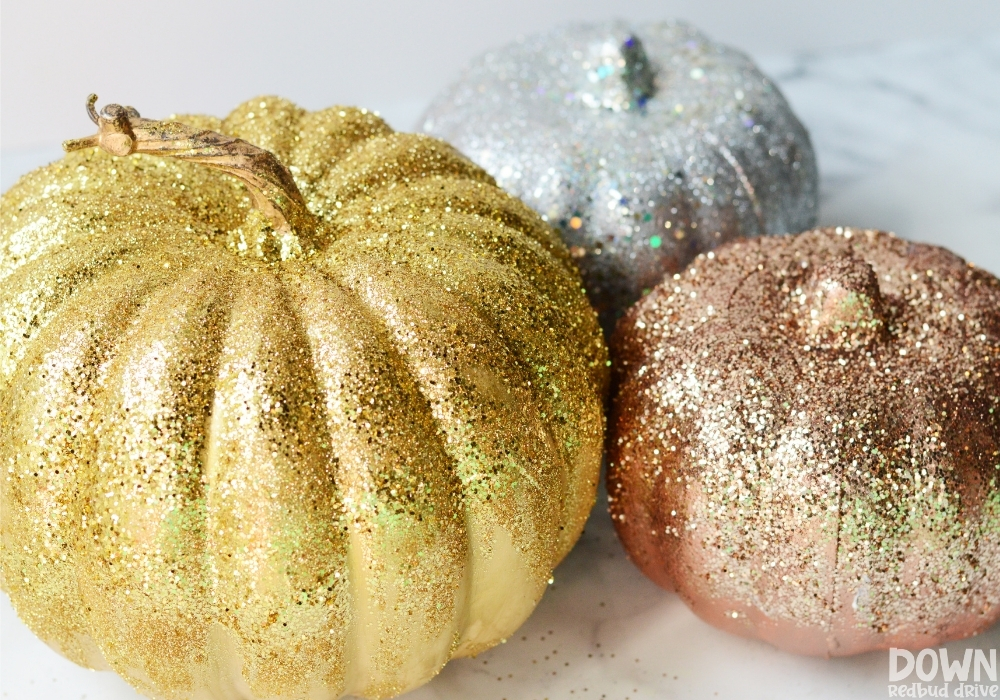

Making glitter pumpkins is as simple as covering that liberal layer of Mod Podge in glitter.
I used two different sizes of glitter to get the effect I wanted. Start with the largest size glitter and work your way down.
I sprinkled on my large glitter first, then finished off with a fine glitter for maximum coverage.
Shake off any excess glitter and then let it dry for an hour. Then your Glitter Pumpkins are done!
As with any glittery item, there will be some glitter fall off when they’re moved or bumped. We all get glittery when putting up Christmas decor or shopping at Hobby Lobby for too long, just think of it like that.
Want more pumpkin DIY projects?
-
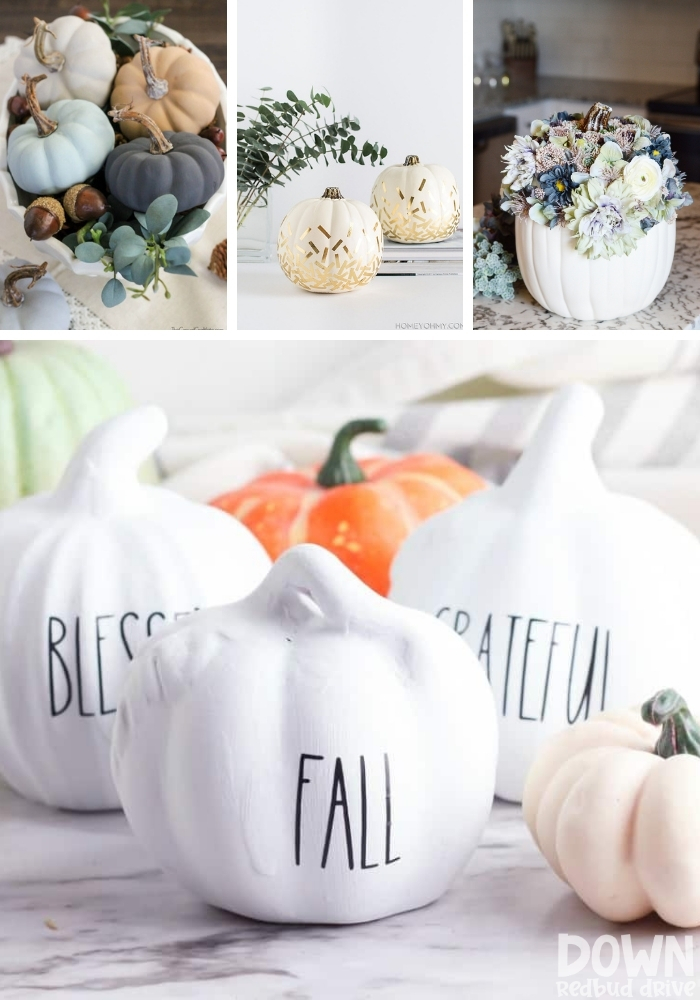

CLICK HERE -
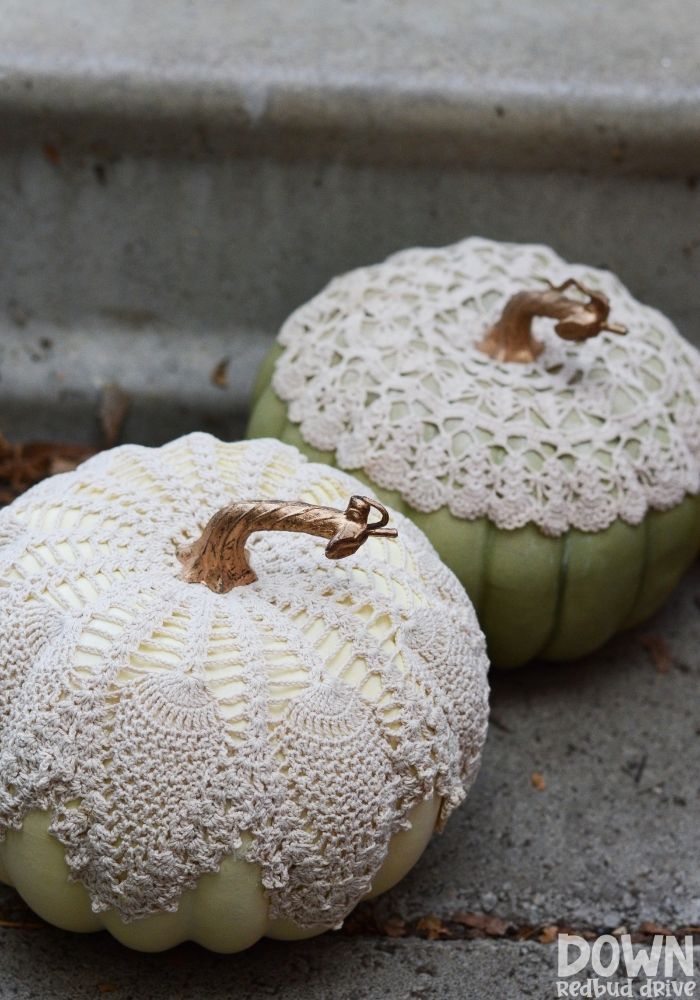

CLICK HERE -
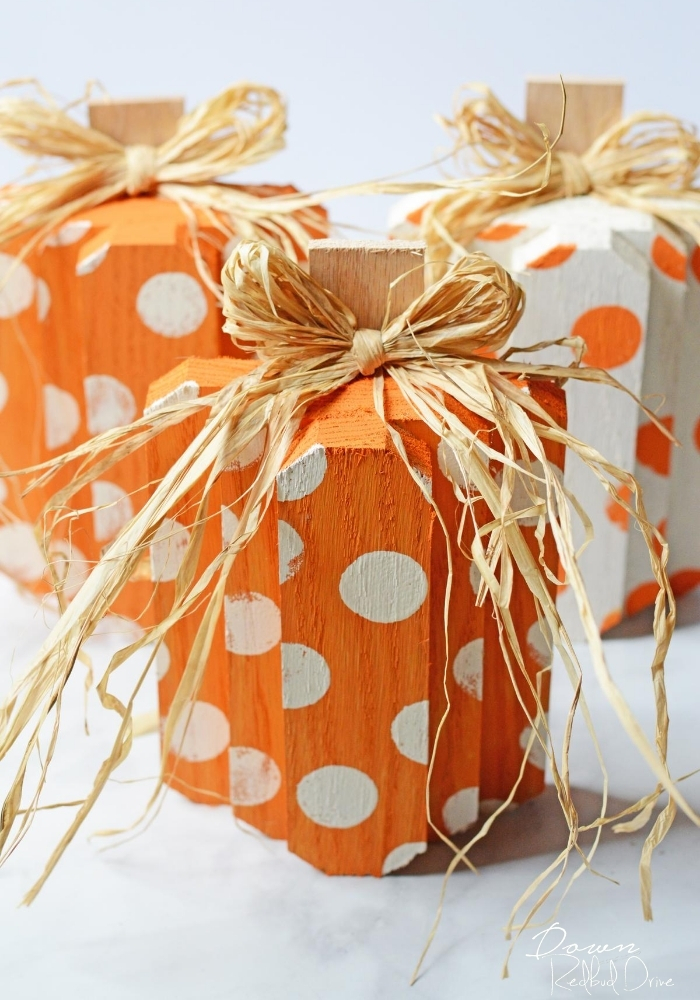

CLICK HERE
- 100+ Pumpkin Crafts – Here’s a collection of some of my favorite pumpkin crafts for adults!
- DIY Doily Pumpkins – These doily pumpkins might be the easiest and cutest craft you do this fall!
- Wood Pumpkins DIY – These cute wood pumpkins are the perfect fall decor for your home!
Whatever color you make your Glitter Pumpkins in, I know you’re going to love the sparkle they add to your fall decor! Happy crafting!


