Jeweled Christmas Tree DIY

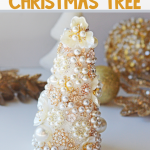

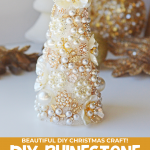




Use this tutorial to make these stunning Jeweled Christmas Trees DIY to add to your Christmas decor this year! It’s easily done using old or new rhinestones and jewels!

This post may contain affiliate links. See my full disclosure policy HERE.
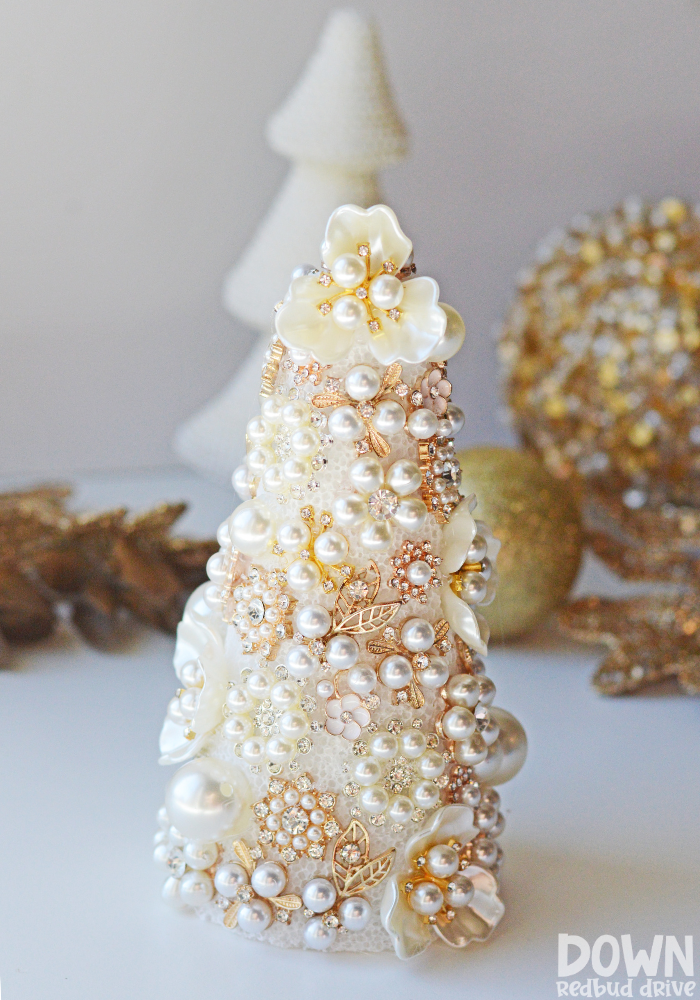
Didn’t this Rhinestone Christmas Tree turn out beautifully? I’m in love with how sparkly and magnificent it looks with my other Christmas decor!
Easily use old brooches or broken jewelry to make this if you have it, or utilize new buttons and rhinestone pieces if need be as well.
If you like how this Rhinestone Christmas tree turned out, you should also see my Pearl Christmas Tree, Feather Christmas Tree, and vintage button Christmas tree! They’re easy DIYs that have a stunning final result!
How do you make these Jeweled Christmas Trees?
Step 1: Gather your supplies.
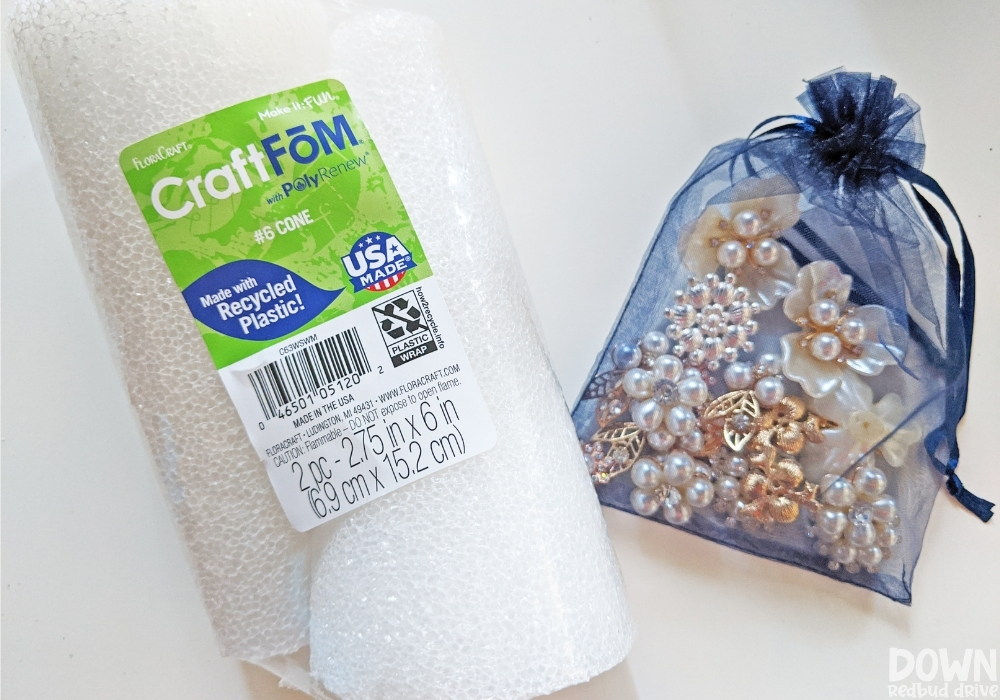

You will need:
- 6-inch Foam Cones
- Rhinestones (or old jewelry, or rhinestone buttons or jewels)
- Hot Glue Gun
Step 2: Evaluate what jewels you have to work with.
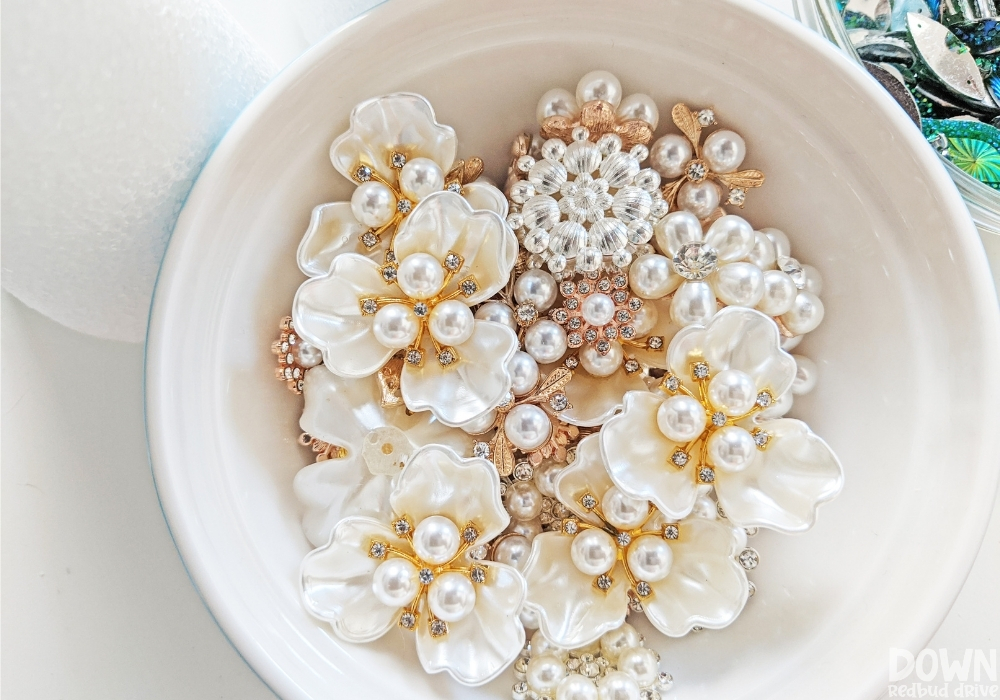

To make these Jeweled Christmas Trees, you will need a lot of pieces to cover even a small tree. I used 6-inch foam cones, and still needed most of what I had on hand to use.
Put it in a container near you while you glue to keep them easily accessible.
Some ideas to use on your jeweled Christmas tree DIY:
- Old Jewelry
- Jeweled or Rhinestone Buttons
- Brooches
- Pearls
Step 3: Start from the bottom.
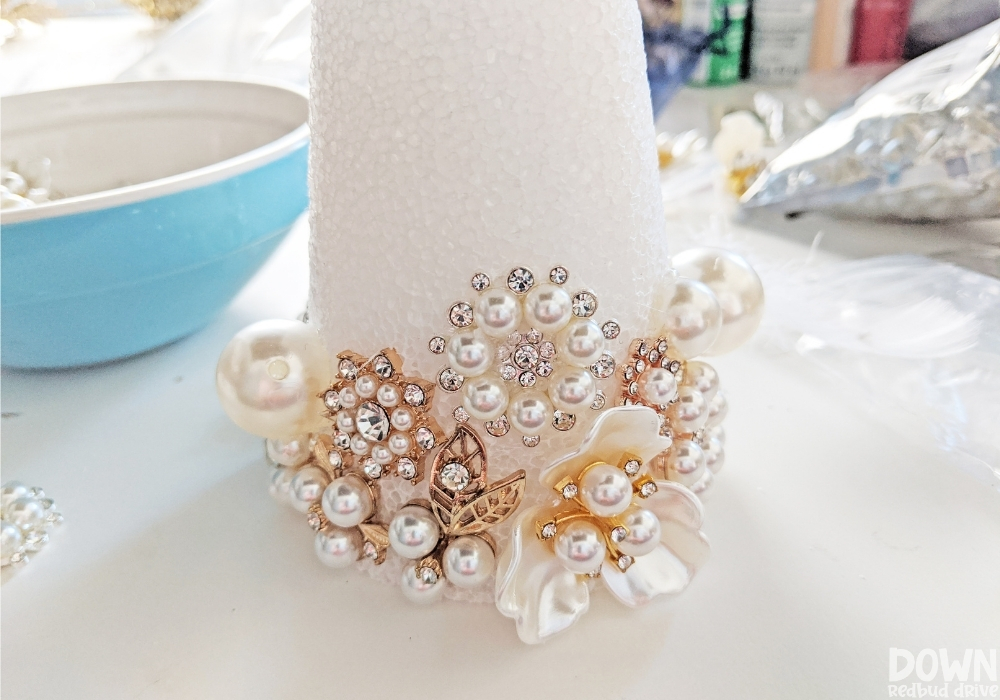

If you want to prep the base of your foam cone by painting it, I recommend spray paint. I used a gold spray paint as the base of one of mine and it gave it a really nice finished look.
For this tree, I just left the base white to give it more of a clean, crisp look and to let the jewels stand out.
Use your hot glue gun and start from the bottom and work your way up. Make sure to line up the edges of your pieces with the bottom of the cone so it still stands straight up when you’re finished.
Take your time and try to get the pieces to fit as snugly together as you can without overlapping.
Pro Tip: Use a lot of hot glue on each piece, and press it firmly into the foam to make sure it’s glued well.
Step 4: Add the top.
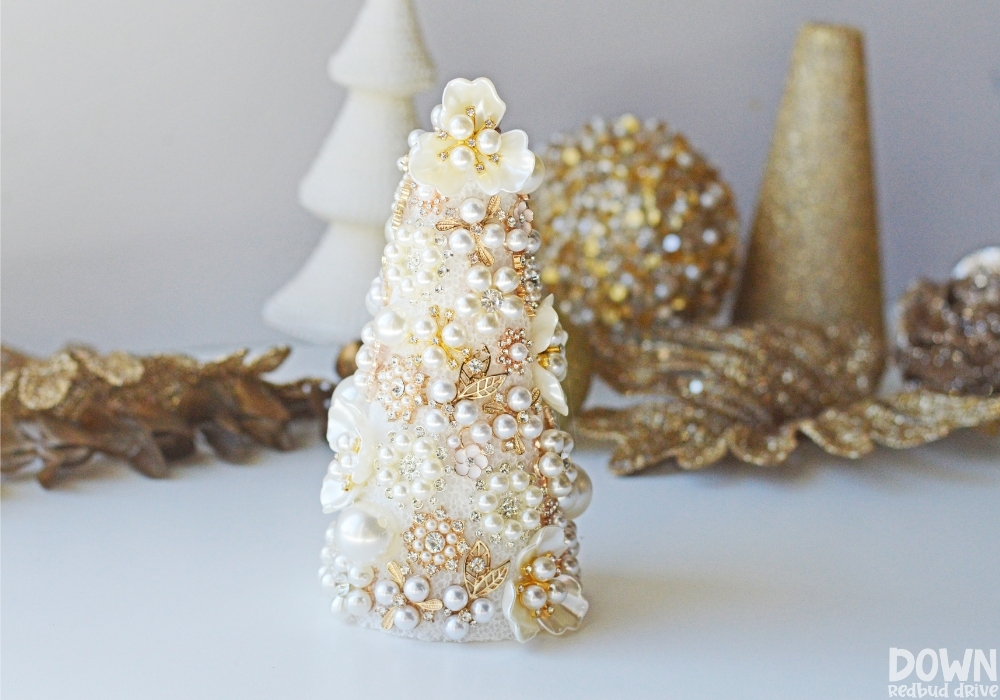

Once you get to the top, you’ll want to make sure to give it a little something special. I took one of the big floral pieces I had and glued it to to the top and it worked out well.
Leave your piece to sit for at least thirty minutes so the glue can dry and cure.
Now your jeweled Christmas tree is ready to be displayed for the entire holiday season!
Pro Tip: Treat it with care, as you would any fragile Christmas decoration. It’s sturdy, but if it’s in a place where it’s moved a lot it may not age well.


Want more DIY decorative Christmas trees?
-

CLICK HERE -

CLICK HERE -

CLICK HERE
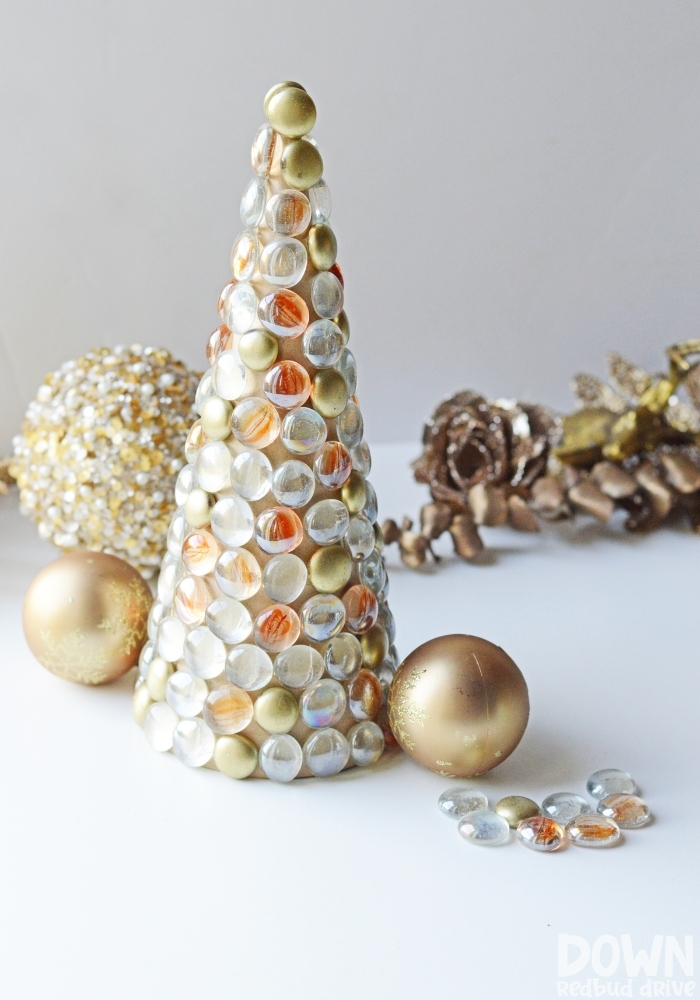
- Glass Gem Christmas Tree DIY – Make a super cute decorative jewel Christmas tree with just a foam cone and some hobby store gems!
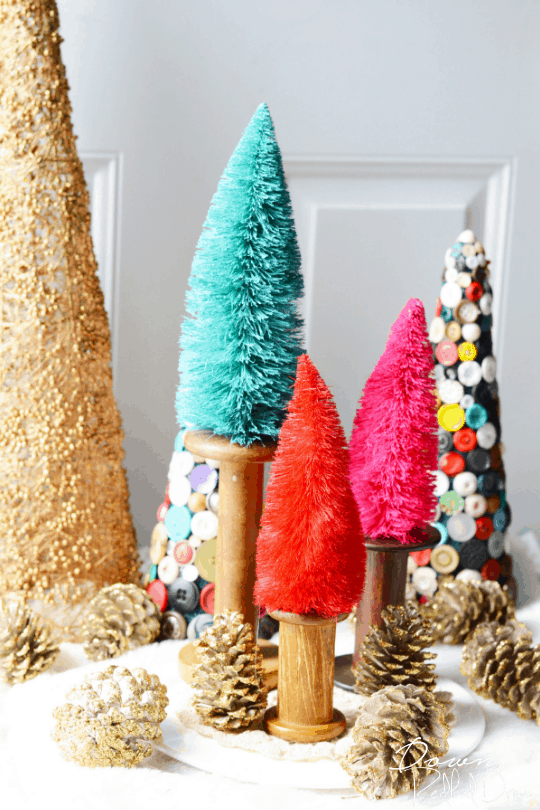
- Bottle Brush Trees DIY – These quirky bottle brush Christmas trees are so incredibly easy to make!
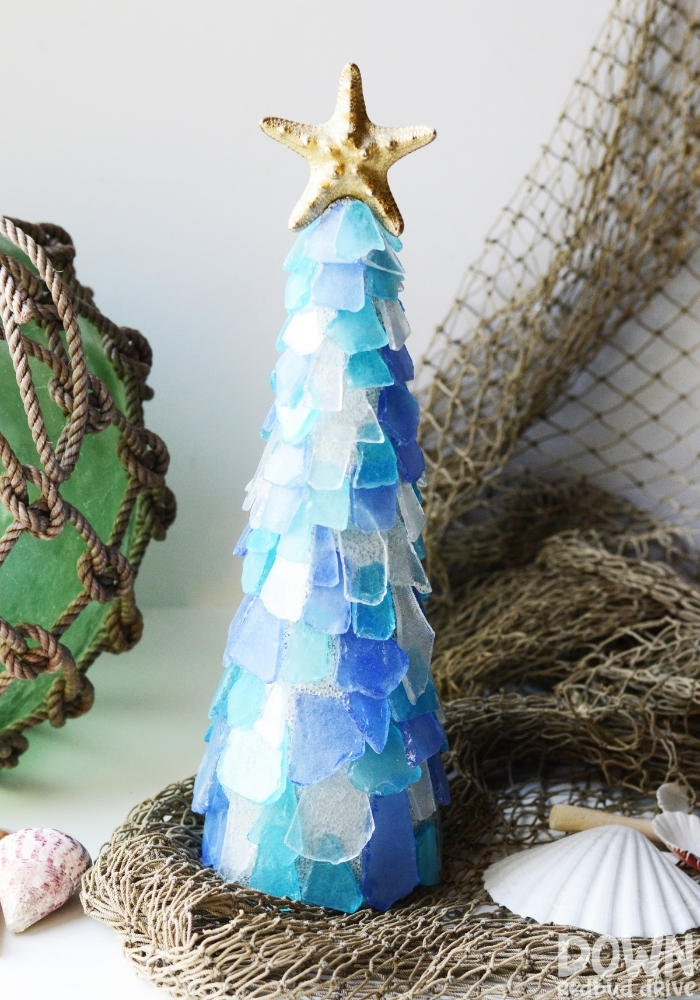
- Sea Glass Christmas Tree DIY – If you want a beautiful beach-inspired piece of Christmas decor, you need to make this gorgeous Sea Glass Christmas Tree!
Whether you use new jewels or old jewelry to make this Jeweled Christmas Tree DIY, I’m sure yours will turn out beautifully and bring you joy for many Christmases to come!


