Grinch Trees Christmas Decor | DIY Christmas Decorations


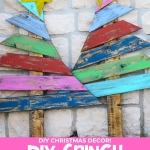






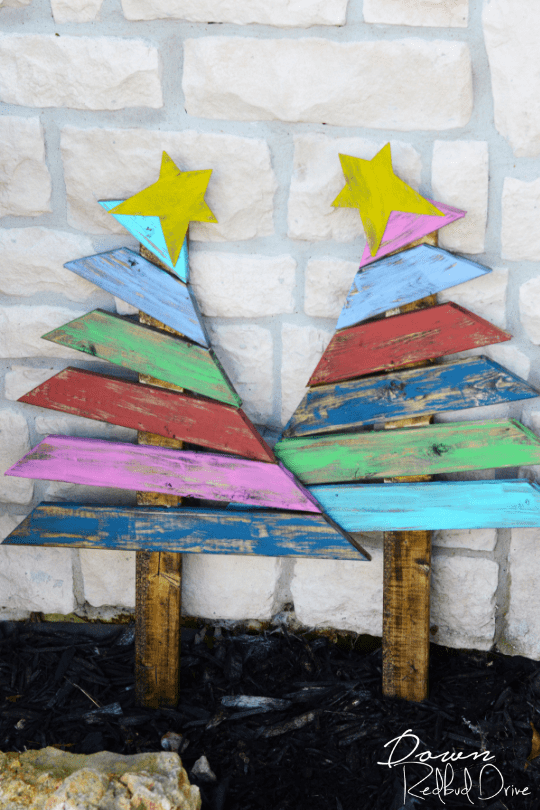
When I was making these Grinch Trees, I just let myself paint them fun colors keeping in mind that childlike whimsy and I’m in love with how they turned out! Make them for your Christmas decor this year!

This post may contain affiliate links. See our full disclosure policy HERE.
You don’t need amazing carpenter skills to make these, as they’re really very simple to DIY. Once you make one, you’re going to want to make a whole little forest of Grinch Trees to put outside your house!
How The Grinch Stole Christmas is one of our favorite Christmas movies. I have always loved the color and extravagance of Whoville and love the whimsy and color it brings to Christmas decor.
If you love whimsical Christmas decor like this, and you’re a fan of DIY then you should also check out my vintage button trees, my upcycled bottle brush trees, and my mason jar lid snowman! They’re easy to make, and so cute!
How do you make Grinch Trees?
Step 1: Gather your supplies.
- 1 – 1″ x 4″ x 10″ Pine Board
- Miter Saw OR Angle and Hand Saw
- Wood Glue
- 1 ½-inch Wood Screws
- Foam Brush
- Stain
- Old T-Shirt
- Drill
- Finishing Sandpaper
- Chalk Paint (or acrylic paint)
- Whimsical Wooden Stars (these are my favorite and were SO perfect for this project!)
- Antiquing Wax (for sealing)
Step 2: Cut your boards.
Begin by cutting your pine board into 8 separate pieces with a 31.25-degree angle of the following lengths in inches: 4.25, 7.5, 10, 12.5, 20.5, and 23.25.
Next cut two pieces of wood with only one angle on each end. Use the same degree angle as the other boards. The two lengths need to be 11.25 inches and 22.75 inches.
Step 3: Sand the edges.
Once all your boards are cut, take your finishing sandpaper and sand by hand each one of the boards just to sand off any rough edges. (It’s not as hard, and doesn’t take as long as it sounds).
Step 4: Attach the pieces together.
Line up the first set of boards you cut, all touching on one end as the photo shows. Whichever end you choose doesn’t matter. However, make sure they go in order of size.
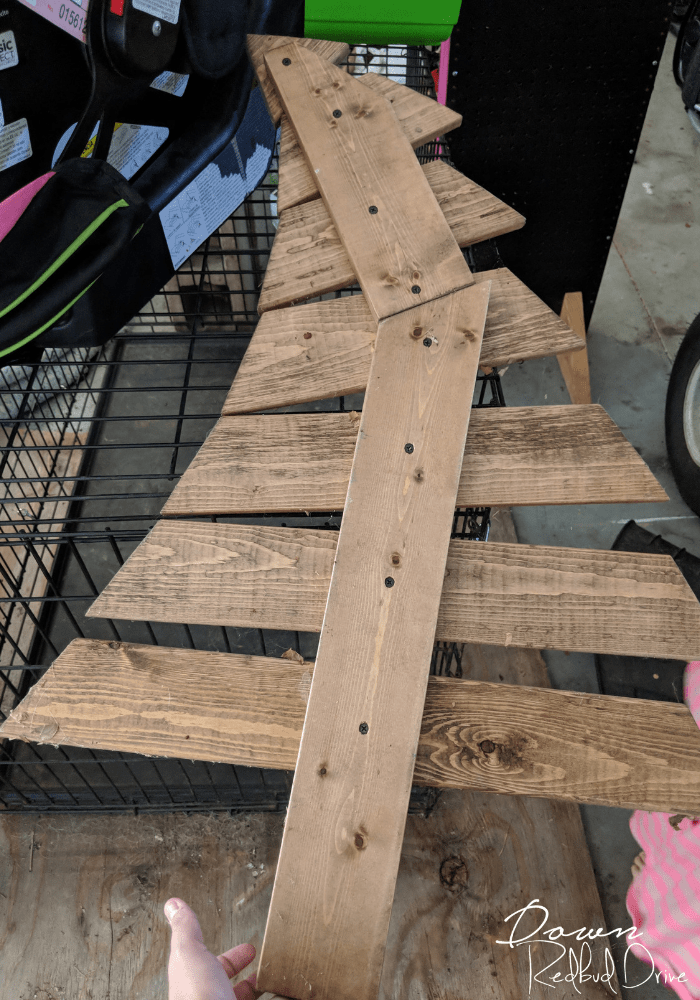

At this point, take your longest board and lay it on the back of your lined up boards to find your spot.
Lift up the board once you found your spot and put some glue under it where each board hits. Immediately screw one screw into the middle of the board where each board hits.
This will apply the pressure the glue needs to help secure your boards in place instead of allowing them to spin.
Do the same with the last little piece for the two upper boards but make sure to angle it sideways like the photo shows.
Step 4: Stain and paint your Grinch Trees.
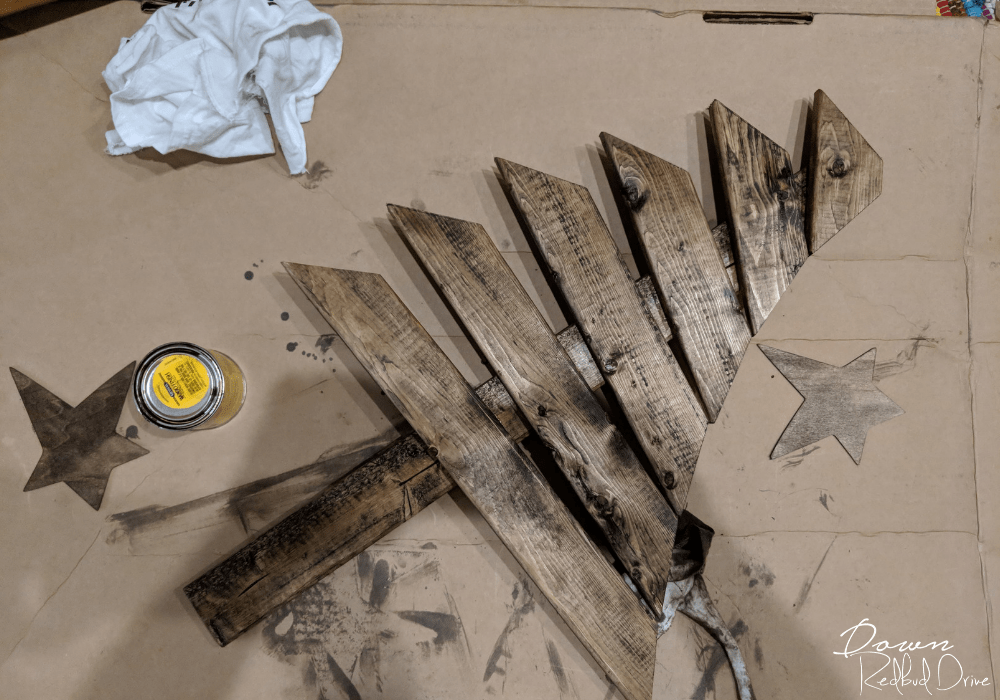

The first thing you’re going to do is stain your Grinch Trees. I used Walnut because it was a dark color.
Use whatever color stain you want to peek through your paint. Don’t forget to stain your wooden stars too. I found these stars on Amazon and they were ABSOLUTELY perfect for the whimsy I wanted to maintain in these Grinch Trees.
I used an old white t-shirt and liberally stained the trees and stars. Let the stain dry completely before moving on to painting.
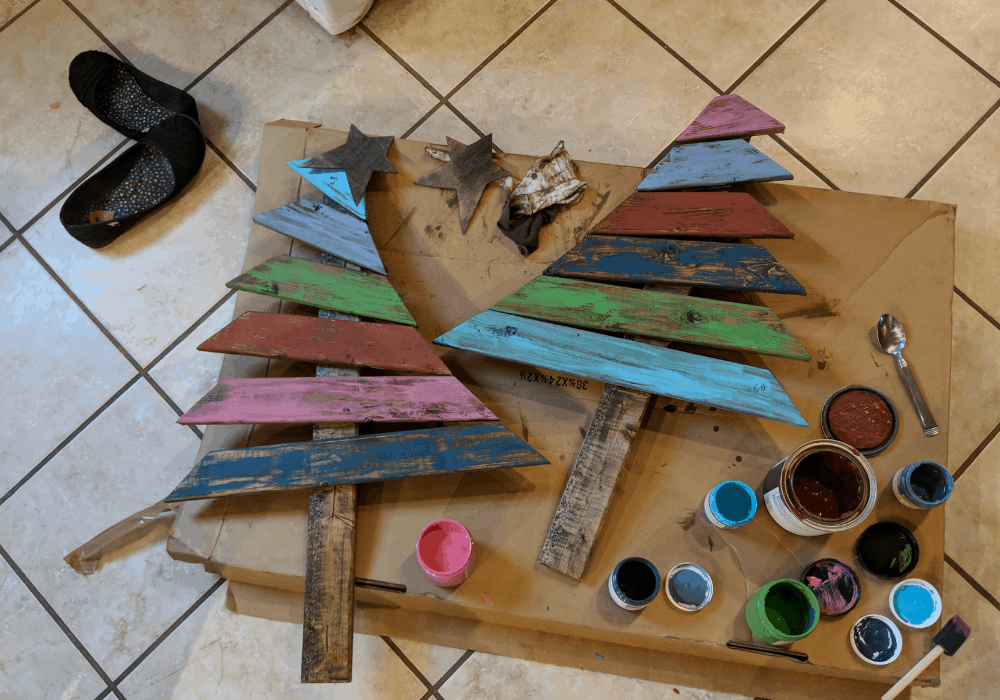

It’s been cold, so I didn’t want to stain and paint in the garage, so I did this all in my kitchen (my husband was thrilled) so I used a giant cardboard box to keep most of my mess off the tile.
I used a little foam wedge paintbrush (you can see it in the bottom right of the photo) I did one board at a time because I wanted my colors to be crazy and whimsical.
What fun are Grinch Trees if you can’t make them bright and colorful? You can keep yours plain, or add just one or two colors of paint, it’s up to you.


I used a variety of chalk paints (because I had them on hand) and used those to paint each board.
I made sure to brush lightly so I didn’t get full coverage because I wanted mine to look “rustic” when they were finished.
Step 5: Attach the stars.
Once you’re done painting your trees and your stars, you will need to glue your wooden stars on. I used a bit of wood glue and let them dry overnight.
Step 6: Seal the trees with wax.
Once the paint and glue are all completely dry, the last step is to use an antiquing wax to seal them.
This will keep them from being ruined in the weather outside, and will keep them bright and pretty for years to come.
Just paint on the wax in a thin layer, and let it dry for 8-12 hours before putting them outside.


Stick them wherever you want to spread some Christmas cheer! I love how cute mine turned out. I think next I will make a bigger one so I can have a trio of Grinch Trees outside. Aren’t they just so fun?!


Want more DIY Christmas decor?
-

CLICK HERE -


CLICK HERE -

CLICK HERE
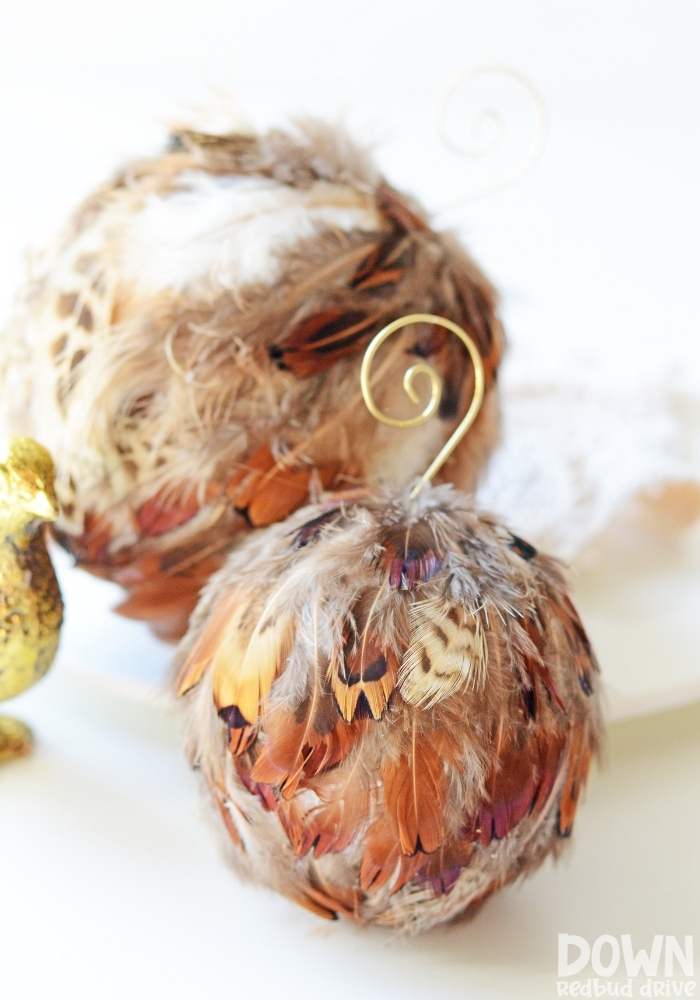
- Feather Ornaments – these look STUNNING, but are so easy to make yourself!
- Reindeer Stocking Holder – this one is crazy easy, and includes the free SVG files!
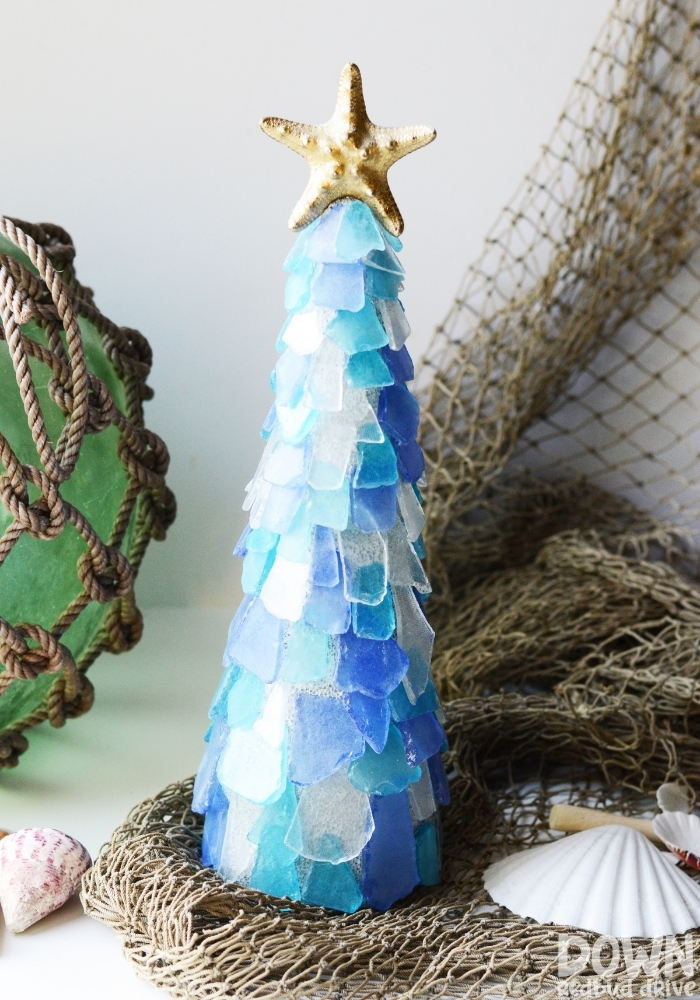
- Sea Glass Christmas Tree – this is one of my favorite Christmas DIYs because of how much I love the beach!
I just love the pop of color these Grinch Trees have given to my porch for the holidays, and I’m sure yours will turn out awesome too! Happy making!


