
How to Decorate a Christmas Tree Like a Pro!


If your family was anything like mine growing up, your parents put on the lights, and kids got to put on the ornaments. When I finally had my own tree in my own home as an adult, I wanted to know How to Decorate a Christmas Tree Like a Pro and found very little info out there. Here’s my method.
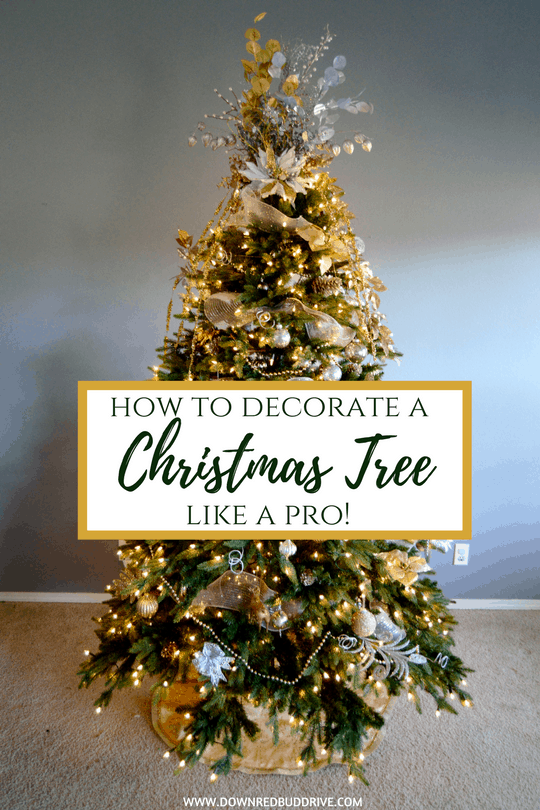

I change the theme of my Christmas tree every single year. Each year I decide what I want the next year’s theme and color scheme to be, and I buy the stuff after Christmas so I can get it on clearance. It’s the best! I love doing it! That being said, I basically have an entire storage room dedicated to Christmas. Don’t judge.
The presents under the tree need to be just as pretty as the tree in my opinion. I made these cute FREE printable Christmas tags for gifts and some sized just for mason jars that you can see HERE!
How to Decorate a Christmas Tree Like a Pro!
Lights
Okay, so my first step is to buy a dang pre-lit tree. I went two years without one, and I will never do that again. The time it takes to do lights properly is ridiculous, not to mention how labor intensive the work is. If you cannot afford or get a pre-lit tree, and you must do them manually, there’s a right way to do it.
First, you will need a lot of lights. More than you think you need, so just go ahead and clear Walmarts shelves. You’re not couponing, so it’s acceptable. On the minimum you will need 100 lights per foot of tree, but ideally 200 for every foot. Then, start at the bottom of the tree, and work your way around, and up. The most important thing to remember is to weave the lights around each branch, first going in toward the inside of the tree, and then come back out. Go around the tree and work your way up, don’t go up and down.
Try to keep the light tips on the outside of branches so you’re getting the most effect. If you get to the top of the tree and have several lights left on your strand, just weave your way back down a bit until you run out.
Garland
The next step after you get the lights on, is to add the garland. You can use a variety of things as the garland. I’ve used beading, mesh wrap, tulle, burlap, and even fabric. Depending on the theme of your tree, you may use one or more of the materials I just listed on your tree. This year I did a silver and gold theme, and used a silver mesh, and gold beads.
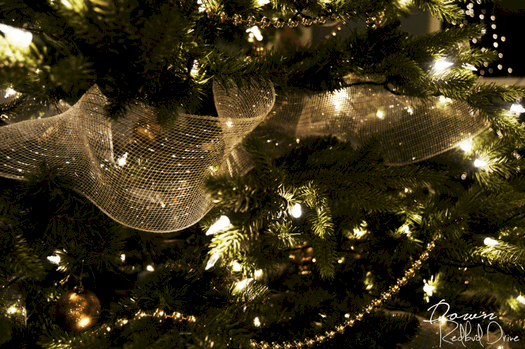

You will need about 9 feet of garland per foot of tree for best results. I start at the top for garland, and work my way around and down. I use garland to cover holes in the tree. As in, any time you might be ale to see into the trunk of the tree, I like to use the garland to cover that up. Think of garland as filler to make your tree look as full as possible. If you want to know How to Decorate a Christmas Tree Like a Pro, layering is the biggest tip I can give you. It’s all about layers.
Back to the garland. So when I use two types of garland, like this year with the mesh and beads, I layer where they go. I started with the big silver mesh, then when I was finished with it I added the gold beads in between the mesh sections. I tie the mesh to the very top of my tree (which will be covered by a topper later anyway), then start bunching and layering. Weave and tuck in the mesh making it peek in and out of the tree. Tuck a pinched section under a little branch to hold it in place if need be.
Ornaments
The next step in How to Decorate a Christmas Tree Like a Pro is the ornaments. There’s a specific order to this, so don’t just go all willy nilly and sticking ornaments on your tree. Even my seven year old knows this. I will list out the order in which you need to put these on.
Plain Ornaments
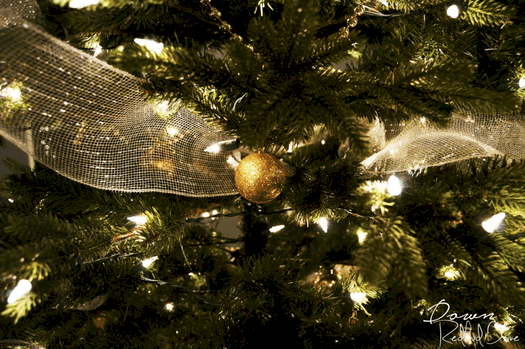

Following these steps is essential in How to Decorate a Christmas Tree Like a Pro! On the very inside of the tree, and I’m talking very inside, you need to place all your plain ornaments. I’m talking ones you can buy multiples of like plain ball ornaments, or those little boxes of glittery solid color ornament shapes (like icicles, snowflakes, etc). Absolutely fill the inside of the tree with these. Put none of these on the outside of the branches. These will exist to add color, make your tree look more full, and to reflect light.
Pretty Ornaments
Next on How to Decorate a Christmas Tree Like a Pro you will move on to the pretty ornaments. Not the specialty ones, just the pretty ones. These will still go on the inside of the tree, but some can be on the outside. Spread these out and don’t put these in big open places where you can place specialty ornaments. Leave specific room for specialty ornaments.
Specialty Ornaments
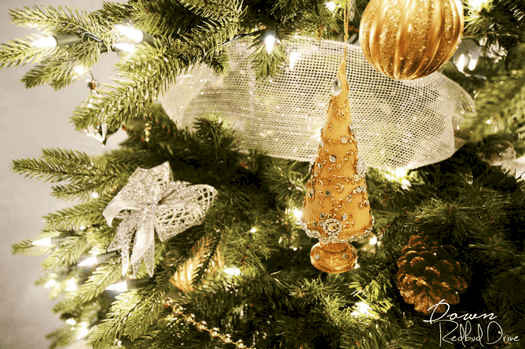

These ornaments are the ones you can’t buy in packages of 96. As in, you buy them one at a time, or buy them at most in packs of 4. These are the ornaments you want to be the star of the show. Put these in key places around your tree to fill in holes, and create accents and highlights. Spread them out.
Branch Decor
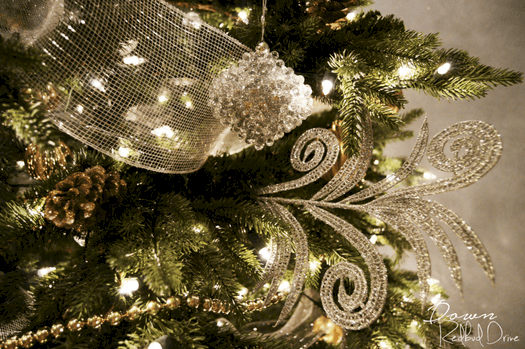

You thought you were done after the ornaments didn’t you? You aren’t. You’re getting closer, though! Next you need to decorate the end of the branches. I get floral picks, clip on flowers, bows and decor, pinecones etc and go to town. Hobby Lobby has a crap ton of this stuff in one of their Christmas aisles. I typically get like 6-7 of one thing, 4-5 of another couple things, 6-7 of another, and then like 15 each of a couple different smaller somethings. For instance, these big silver glitter picks, I got 6 of those. I also got 6 silver clip on bows and 5 gold clip on poinsettias, 5 big gold glitter leaves, and like 15 gold pinecones and about 15 silver glitter spirals. Spread these out at random around your tree to fill in any holes your specialty ornaments didn’t.
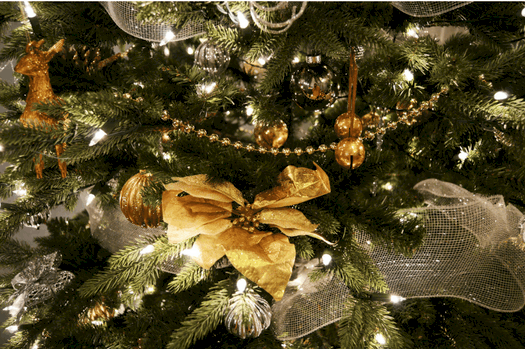

Clip on floral is the easiest, because you literally clip them on the ends of the branches. The floral picks I either just stick in the tree between branches, because they hold tight enough that way, or I wrap the end of the wire around the inside of a branch. Pinecones you just nestle between branches. Just stick ’em in there.
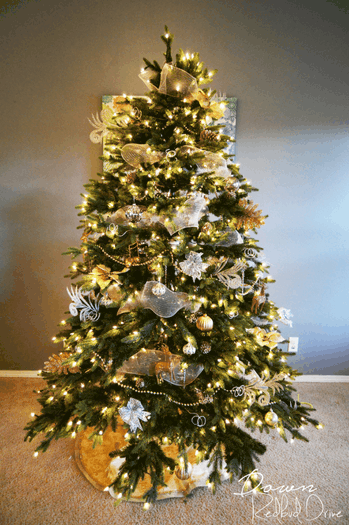

This should be about how full your tree looks BEFORE you add a topper. Now. I’m a little different in the topper department. I kind of go all out, because I really want to add drama with the topper. Every year is different, but I make them from scratch to match the year’s theme. This year was gold and silver like I said, so I basically bought all the crap the At Home store has and Hobby Lobby had in gold and silver and squished it together. I have a history in floral design, but anyone could make these. I’ve had giant white poinsettias, giant bows, and a giant tulle pom pom one year!
I just hold a couple of stems together in my hand, use floral tape to wrap around the stems several times, and just add one stem at a time with floral tape until it’s as big and full as I want. Then I trim the wires to be shorter. Then I use a bit of the mesh garland to literally tie my floral creation to the top of the trunk of the tree securely.
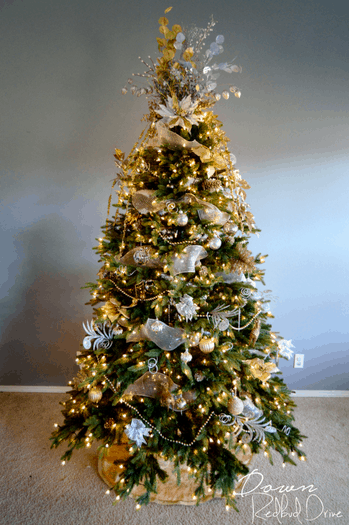

This is my finished tree for this year. It’s so much prettier in person and I wish I could show you! They say a way to a man’s heart is through his stomach, well the way to this girl’s heart is to compliment my Christmas tree- haha! I spend about 4 hours each year decorating my tree and I love it every year. My seven year old has been helping the past two years and I don’t have to move a single ornament she puts on. She’s watched and learned from me for long enough that she’s an awesome help!
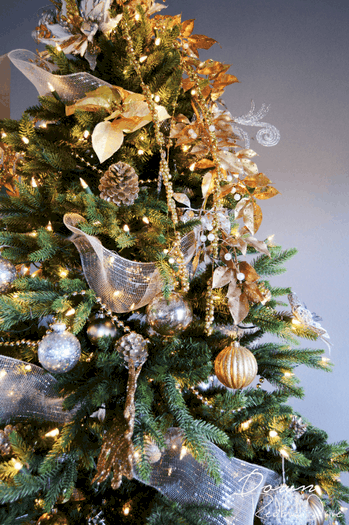

I love the gold leafy garland I added to the topper of the tree this year. It drapes down the side so prettily and adds gorgeous detail. It was just a strip of garland I found at the At Home store. I wrapped the center of it around the top of the tree once before adding the topper, then wove it down through the side so it wasn’t just sitting on top. So this is the method I use for How to Decorate a Christmas Tree Like a Pro!


