Personalized Seeds | Easy DIY with Free Printables!

An awesome way to make a gift personalized or memorable is to customize it. A gift that can grow and keep on giving is something that makes my heart happy, and you can give that gift easily with these DIY Personalized Seeds!
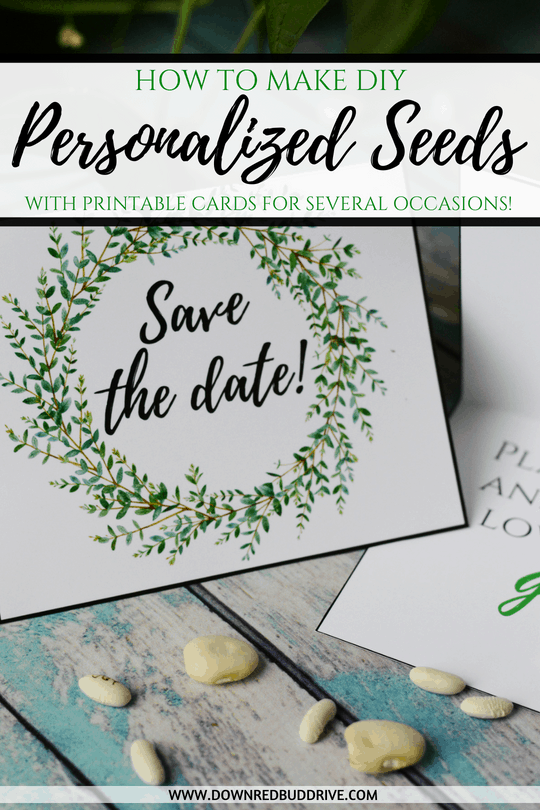
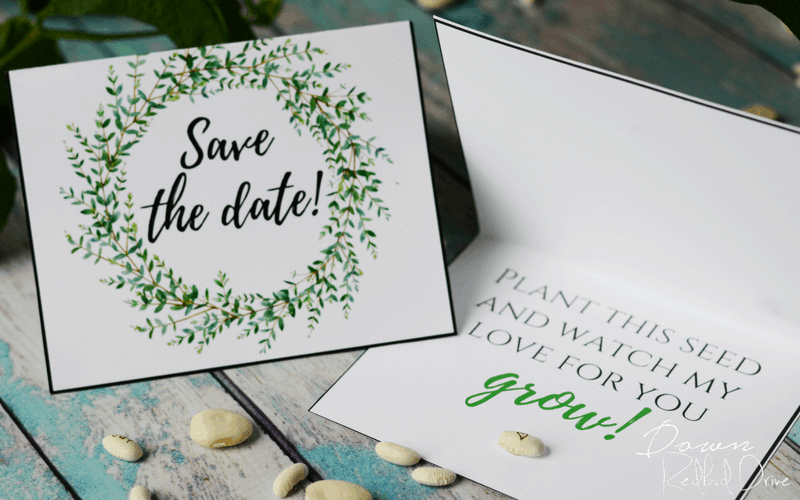
These work perfectly for wedding favors, Mother’s Day gifts, birthday gifts, Save the Dates, Anniversary gifts, or even just because gifts! I even included FREE printable cards for several of these occasions designed around these DIY seeds too!

DIY Personalized Seeds
A while back on Facebook, I saw this company that made personalized seeds. They came in a cute little container and had names or symbols on them, and were like $20 for three seeds PLUS shipping. Y’all, I’m cheap. There was NO WAY I was paying $20 for three little seeds, no matter what they had on them. I decided to figure out how to make them on my own, and I’ve figured it out.
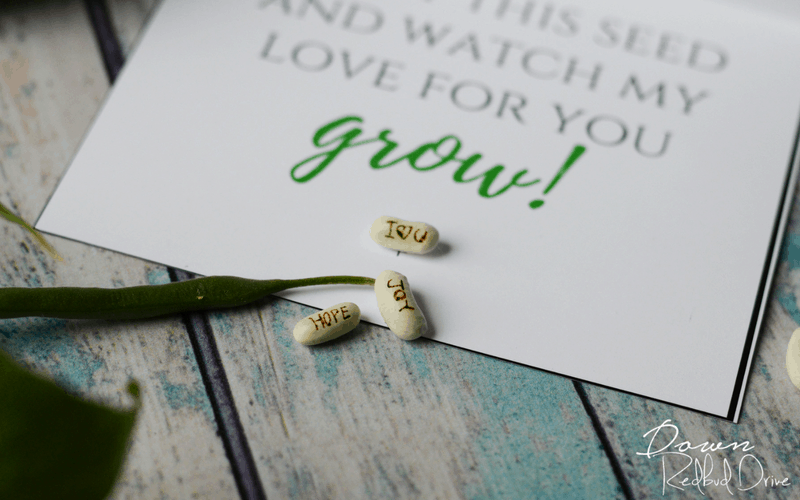

You’re going to love how simple these Personalized Seeds are to make. You will need a wood burner, but don’t let that freak you out. First of all, the first time I tried to make these was the first time I’d ever used a wood burner, so I promise it’s not tough, and I didn’t burn myself, which is more than I can say for when I use a hot glue gun. Secondly, you can get one of these for like $10-$12 at Walmart or Hobby Lobby or THIS ONE on Amazon. These low-end wood burners are all you need for this project.
WANT MORE GIFT IDEAS YOU CAN DIY? CHECK OUT THESE IDEAS!
You will need:
Seeds (big fat seeds like green bean or lime bean seeds work best)
Wood Burner
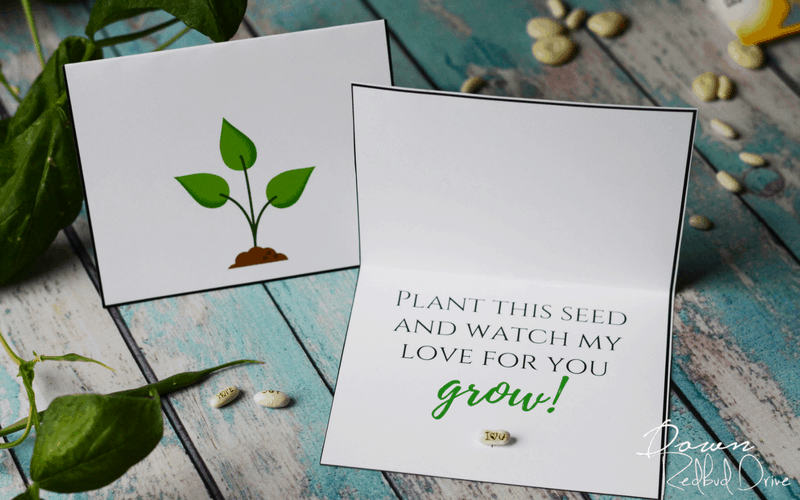
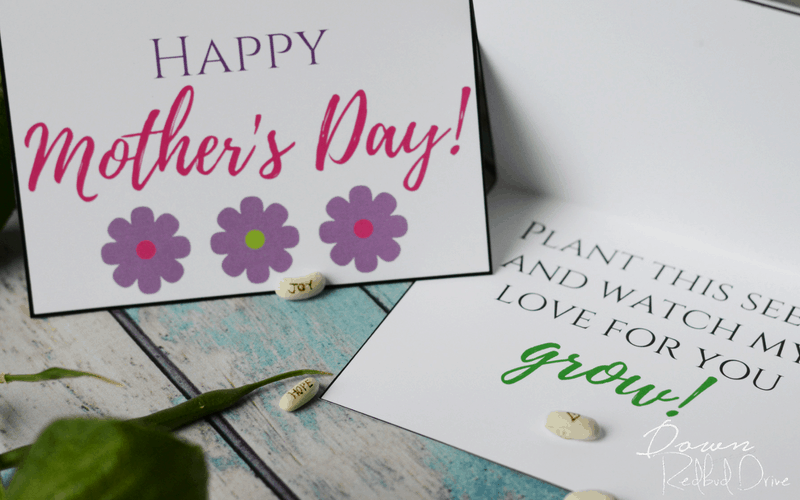
Free Printable Cards (choose from Just Because (generic), Happy Birthday, Save The Date, Wedding Thank You (wedding favors), Mother’s Day)
Hot Glue Gun or Glue Dots (to attach the seed to the card)
4×6 Envelopes


All you need to do to personalize these seeds, is to use a wood burner to gently burn in the message, words, symbols, or dates into the side of the seed. I STRONGLY advise using a tool or tweezers to hold the seed while you burn your message into it. One touch from the end of the wood burner and you will severely regret not listening to me.
If you don’t want to freehand your burned-in message like I do, you can draw on your seed lightly with a pencil first to use as a guide while you burn.
Once you’re done making your Personalized Seeds, you’re ready to attach them to your cards! I’ve used both hot glue or Glue Dots with success in attaching the seeds to the cards. My FREE printable cards have a little spot marked showing you where to attach the seeds.
FREE PRINTABLE CARDS
There are 5 different sents of printable cards you can choose from, depending on what you need. They print two to a page and you will need to set your printer to print collated so they print front and back correctly. I advise printing these on cardstock for best results. Click HERE to get access to my free printable library! Cards for this set include:
- Happy Birthday
- Mother’s Day
- Generic (Blank, Just Because)
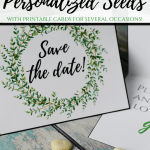
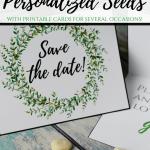
- Save the Date (wedding etc – Use these as your save the date cards, and include a slip of ipaper with additional info your guests may need)
- Wedding Favor (Wedding Thank You cards)

WANT MORE CREATIVE GIFT GIVING IDEAS? JOIN OUR FACEBOOK GROUP!
The free printable cards for the personalized seeds fit perfectly into a 4×6 envelope. You can get them at Walmart, but I love the selection on Amazon. The ones I found on Amazon HERE are made from recycled paper and are really affordable! Get them HERE.

WOODBURNING TIPS
- Don’t hold the wood burner in place on the seed for too long, it will burn too deeply and make writing the rest of your message more difficult that it needs to be.
- Wait for your wood burner to heat up all the way before using it. With the cheaper models, I’ve found this takes about as long as a cheap hair straightener would – about 5 minutes.
- Use the wood burning tip that is sharpest for the easiest way to burn a message onto your Personalized Seeds.

NEED MORE WEDDING DIY? CHECK OUT MY IDEAS FOR DECOR AND MORE!
ADDITIONAL NOTES
Note that your seed will not retain its message once it has grown into a plant. Storing your seeds in a cool, dry place until you’re ready to gift them is the best practice for these Personalize Seeds. This will keep them from growing too early, or from mold or mildew issues that can happen when exposed to moisture.

