DIY Leopard Christmas Ornaments
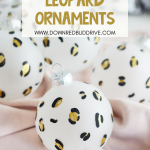



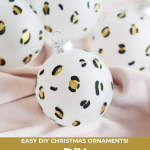

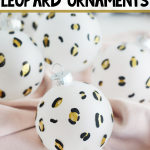



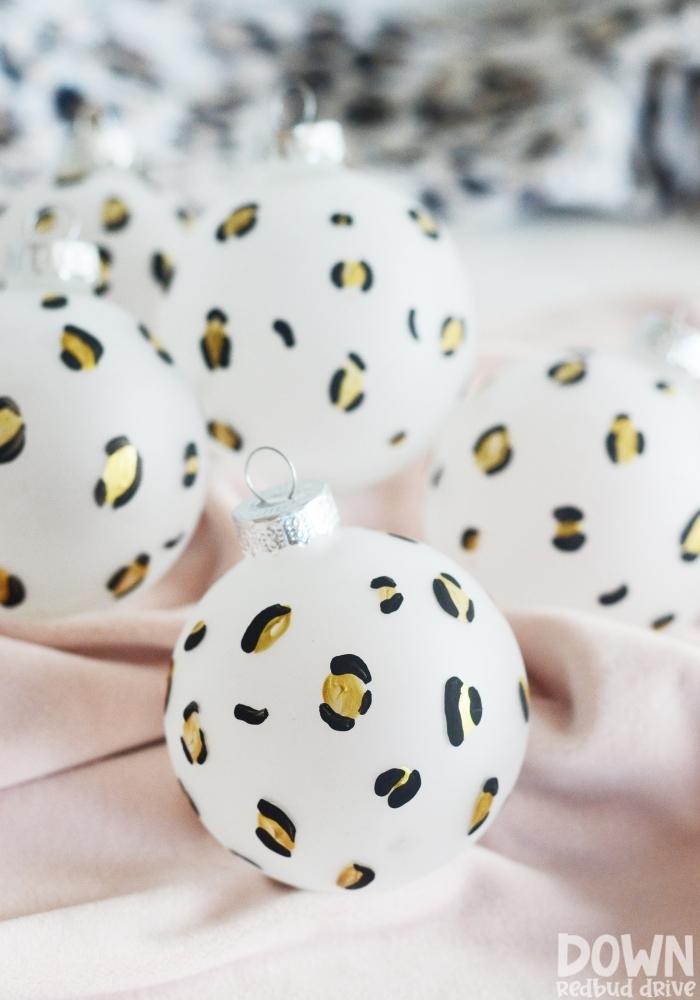
These DIY Leopard Christmas Ornaments are so easy to make! They look impressive, but you can’t mess these up! All you need is a little paint and some ornaments!

This post may contain affiliate links. See my full disclosure policy HERE.
Every year I change the theme of my Christmas tree. I LOVE Christmas and make a lot of my own decorations myself.
This year my tree theme was leopard print, brown, and gold. I had plenty of brown and gold, but I needed to add some leopard to my collection. And apparently, it’s difficult to find leopard print Christmas ornaments.
I used the same technique I’d seen my nail tech use and recreated a leopard print with paint to make my own leopard Christmas ornaments! They’re SUPER easy to do, but can take some time and patience!
I’ve made a LOT of homemade ornaments for my trees before. I’m also using these cute DIY feather ornaments on my tree this year, as well as these doily ornaments, and these cute pom pom ornaments too!
How do you make these leopard Christmas ornaments?
Step 1: Gather your supplies.
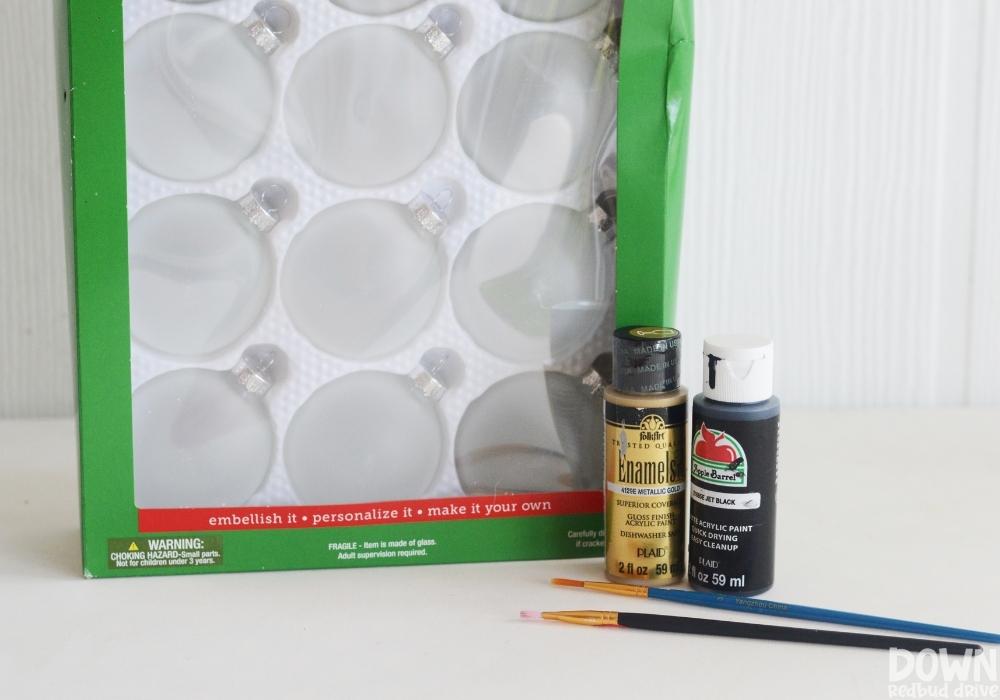

You will need:
- Ornaments (I used round frosted clear ornaments, but you could use any color shape you wanted!)
- Gold Acrylic Paint
- Black Acrylic Paint
- Paintbrushes
Step 2: Paint gold dots.
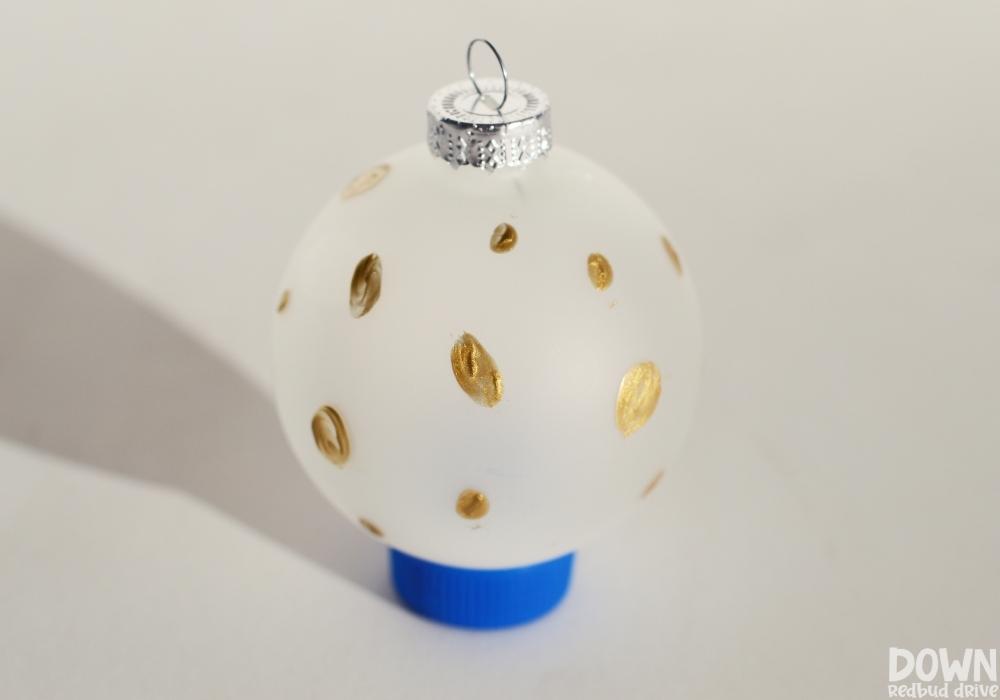

To start these, you will need to use a paintbrush to apply gold dots and ovals over your whole ornament. If you’re making multiples, do this step first for all of them at once.
You can see by my picture above, that it’s not difficult to do these. Trust the process!
Let them dry for 10-30 minutes (or until no longer tacky) before moving to the next steps.
Pro Tip: I used a water bottle cap to set my ornaments in while I waited for them to dry. Worked great!
Step 3: Add the black to the leopard ornaments.
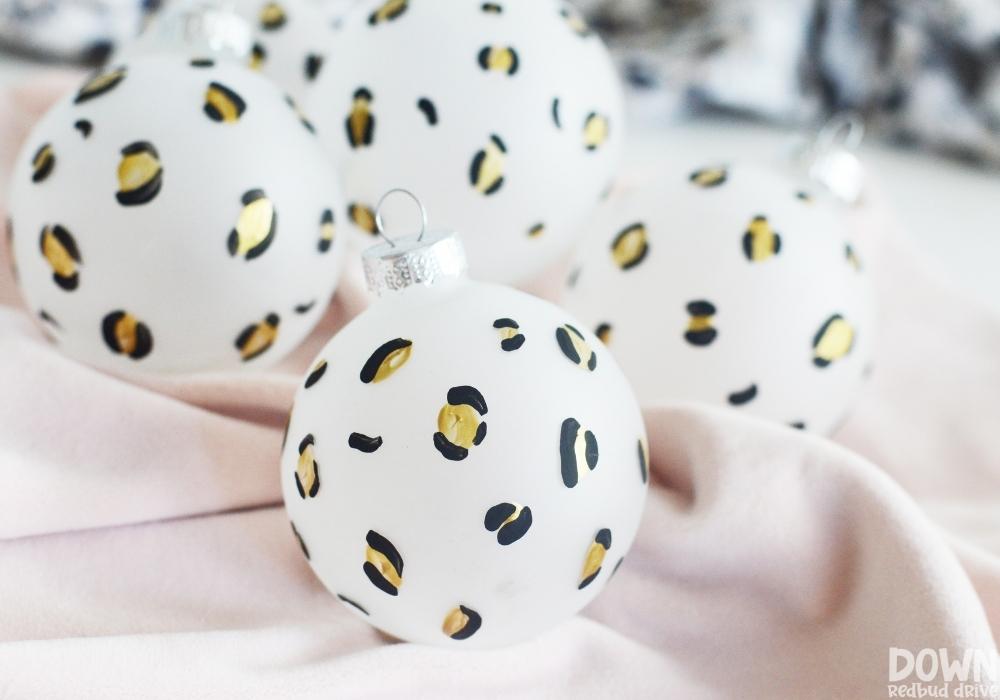

Next, you will need to use a clean paintbrush, and apply the black paint as shown, around the outsides of the gold spots.
You will make 1-3 black marks around the outside of the gold, depending on the size and shape of the gold spots. Mix it up, to keep it looking natural.
I also added some random black marks in between gold dots too.
Once you’ve finished the black, set them to dry for 30-60 minutes so ensure they’re completely dry before storing them.
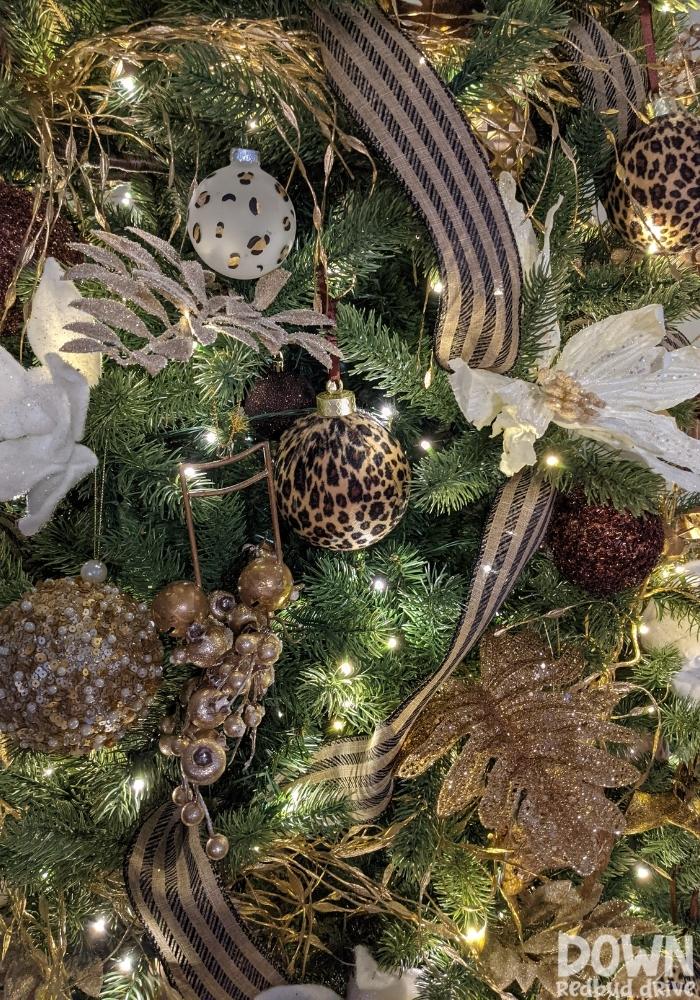

If you look at the top middle of the above image, you’ll see what they looked like on my tree!
These not only look great for YOUR decorations, but would make great gifts, or you could even sell them!
Want more DIY Christmas ideas?
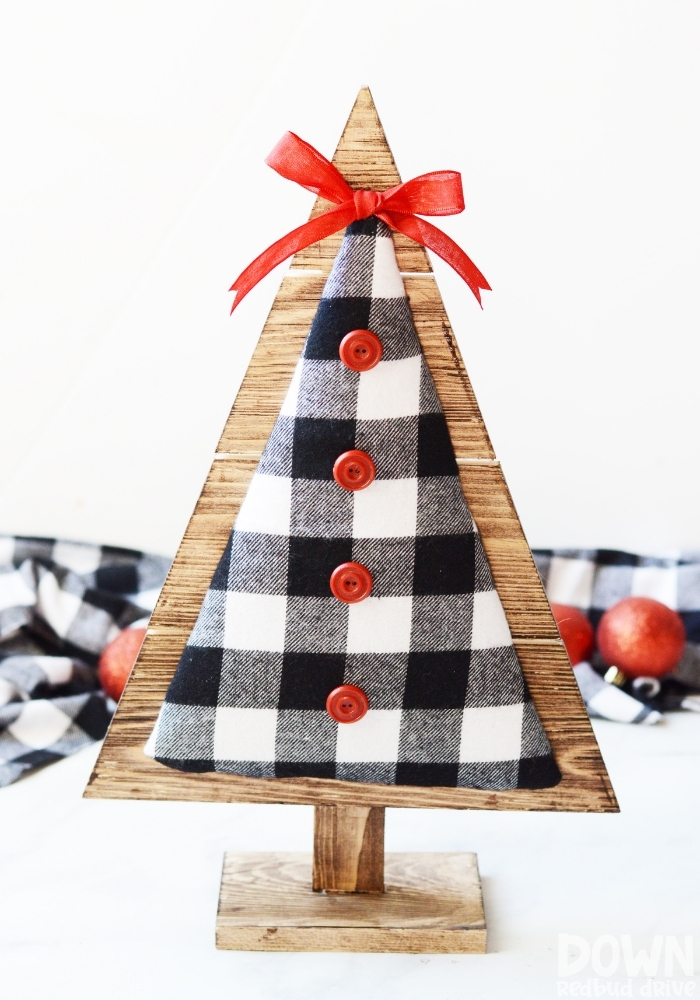




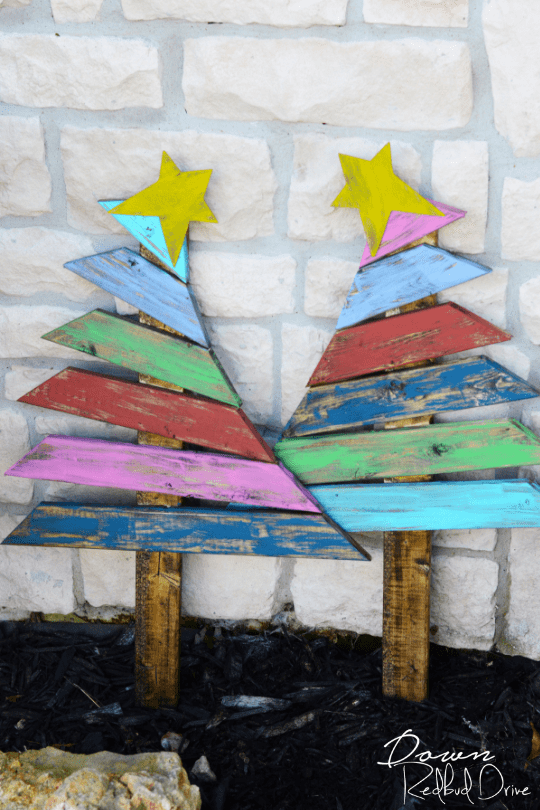

- DIY Wood and Fabric Christmas Trees – These beautiful Christmas trees are super easy to make!
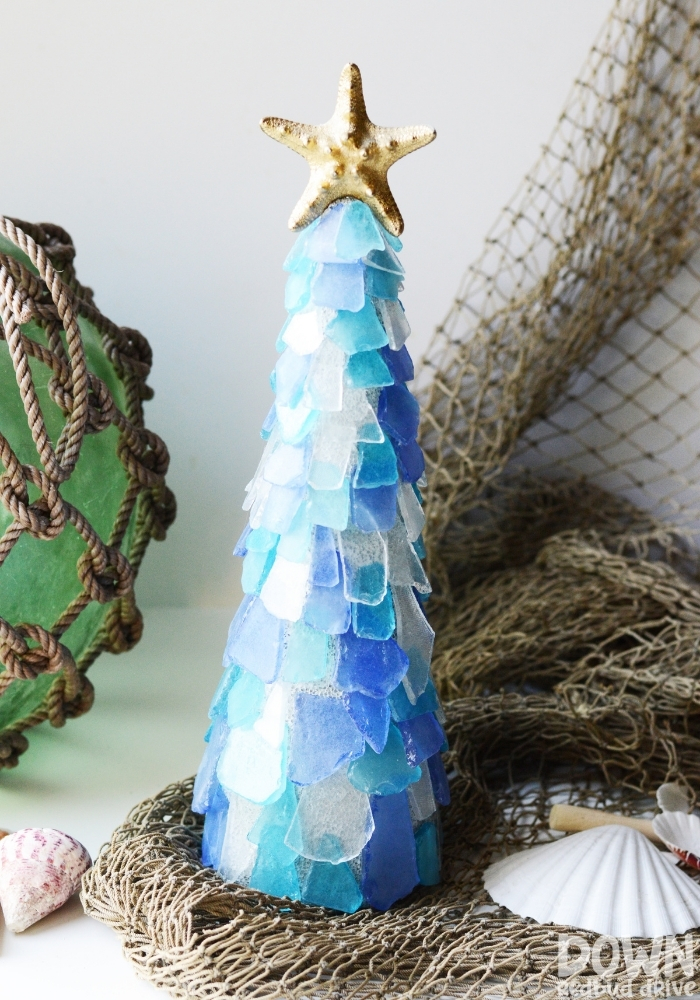
- Sea Glass Christmas Tree DIY – If you want a beautiful beach-inspired piece of Christmas decor, you need to make this gorgeous Christmas tree DIY!
- Elf Leg Oreos – Give your loved ones a sweet treat with this simple DIY gift idea!
- Grinch Trees Christmas Decor – These DIY Grinch Christmas trees turned out SO cute and they’re so easy to make!
Make these gorgeous DIY Leopard Christmas Ornaments this year for yourself or a loved one!


