DIY Nightmare Before Christmas Ornaments

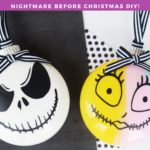

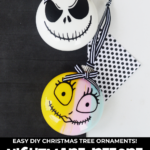

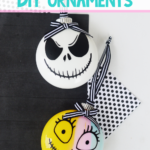

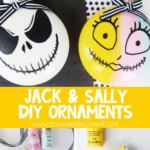

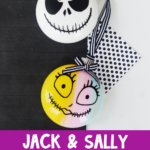

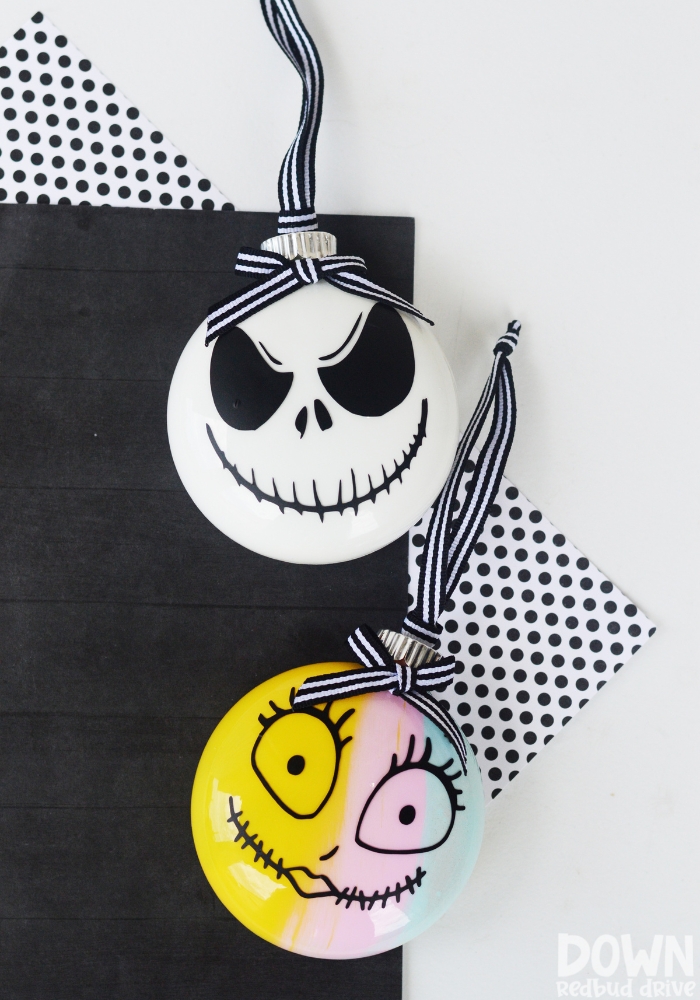
If you love Jack and Sally, you’ll love making these DIY Nightmare Before Christmas ornaments! They’re fun and easy and turn out amazing!

This post may contain affiliate links. See my full disclosure policy HERE.
Is Nightmare Before Christmas a Halloween movie or a Christmas movie? In our house it’s both! We love Halloween and dressing up and the spooky side of Jack and Sally, but their Christmas side is fun too!
I decided I was going to add a little Nightmare Before Christmas to our ornament collection this year, and I love how they turned out! Really, this is one of the easiest crafts you will ever make too!
I’ve made a LOT of homemade ornaments for my trees before. I’ve also made these cute DIY feather ornaments for my tree, as well as these doily ornaments, and these cute pom pom ornaments too!
How do you make these Nightmare Before Christmas ornaments?
Step 1: Gather your supplies.
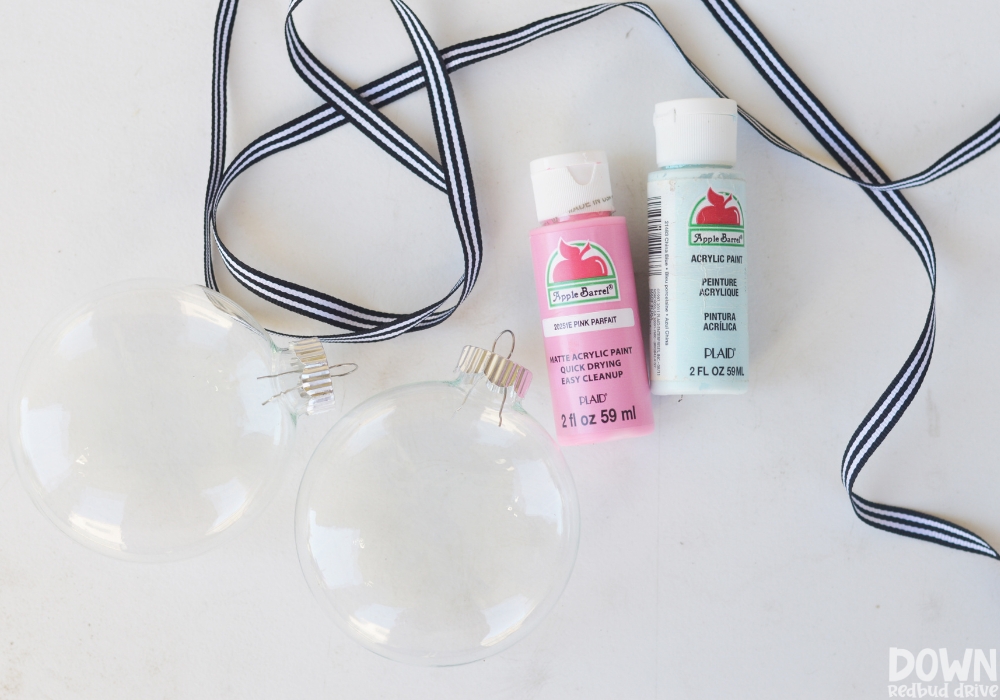

You will need:
- 4″ Flat Clear Fillable Ornaments
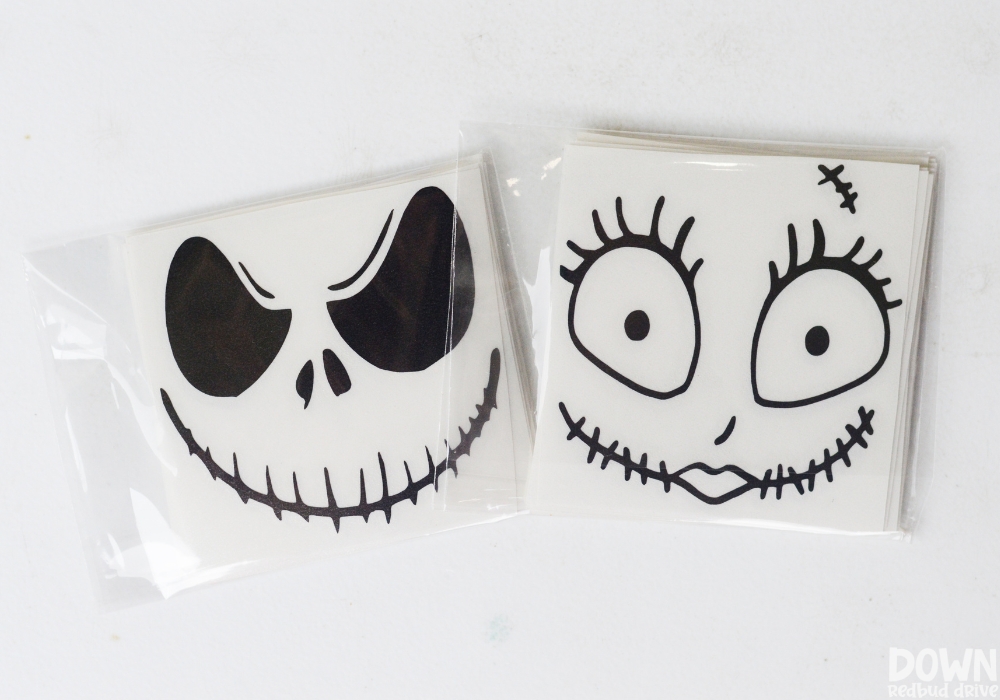
- 3″ Jack and Sally Face Decals (I got mine on Amazon, but I couldn’t find the exact ones I use, so I’m linking to some similar ones on Etsy here)
- Acrylic Paint (I used just white for Jack, and a dark yellow, pastel pink, and aqua for Sally)
- Black and White Striped Ribbon
- Disposable Cups (Optional)
Step 2: Paint the inside of your ornaments.

How do you paint the inside of ornaments?
I know what you’re thinking. I said this was gonna be easy, then told you to paint the inside of the ornament – but it’s easier than you think!
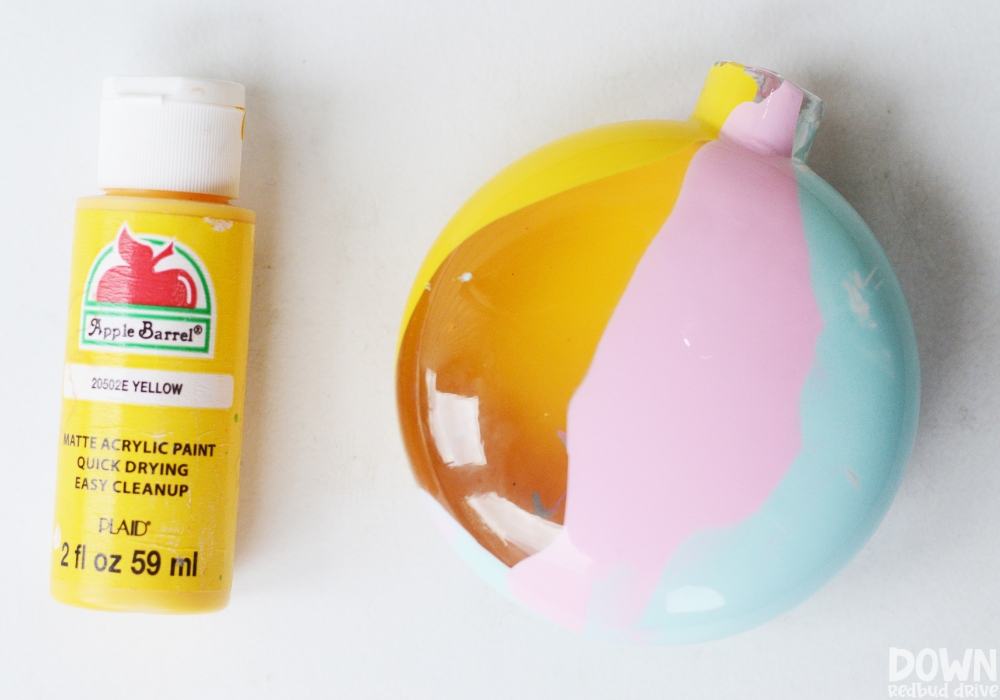
To paint the inside of the ornament, you only need to squeeze the paint inside, then let the excess drain out of the opening.
For the DIY Jack Skellington ornaments, it’s simple. Pour in white paint, twist and turn the ornament to coat the entire inside, then set it upside down over a disposable cup to let it drain overnight.
For the Sally ornaments, you need multiple colors. I did one color at a time. I squeezed in the aqua blue on one side, let it coat one side. Then I squeezed in the light pink paint, turn the ornament to get the coverage I wanted, and lastly did the yellow to cover any remaining gaps in coverage.
Then take your Sally ornament, and turn it upside down overnight over a paper plate or disposable cup.
Pro Tip: A little goes a long way, and a little more goes a LOT further. Meaning, don’t overdo the paint or you’ll end up with a huge mess. If you don’t want to babysit your draining ornaments, you can place them upside down to drain over a disposable cup.
Step 3: Add the Jack and Sally faces.

Make sure your paint is dry enough on the inside it’s no longer dripping before replacing the tops and adding the vinyl.
I found these high quality pre-cut 3″ Jack and Sally faces on Amazon and they’re perfect! They worked great for my DIY Nightmare Before Christmas ornaments! However, bad news for you I can’t find them on Amazon anymore, BUT these have very good ratings for Jack on Etsy, and these would be great for Sally on Etsy!
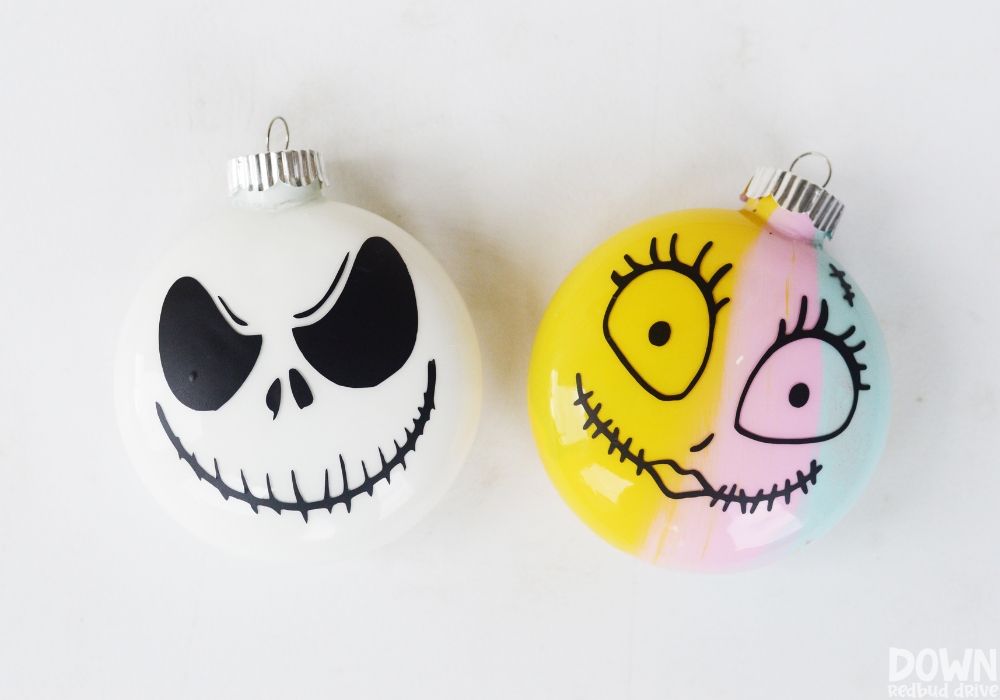

When smoothing down the vinyl (read the instructions the vinyl stickers came with if you’re not used to working with vinyl stickers), be careful not to press too hard so you don’t crack or break your ornament!
If you need more than the included stickers, here’s a great article on how to apply vinyl to ornaments!
Step 4. Add a hanger and a bow.
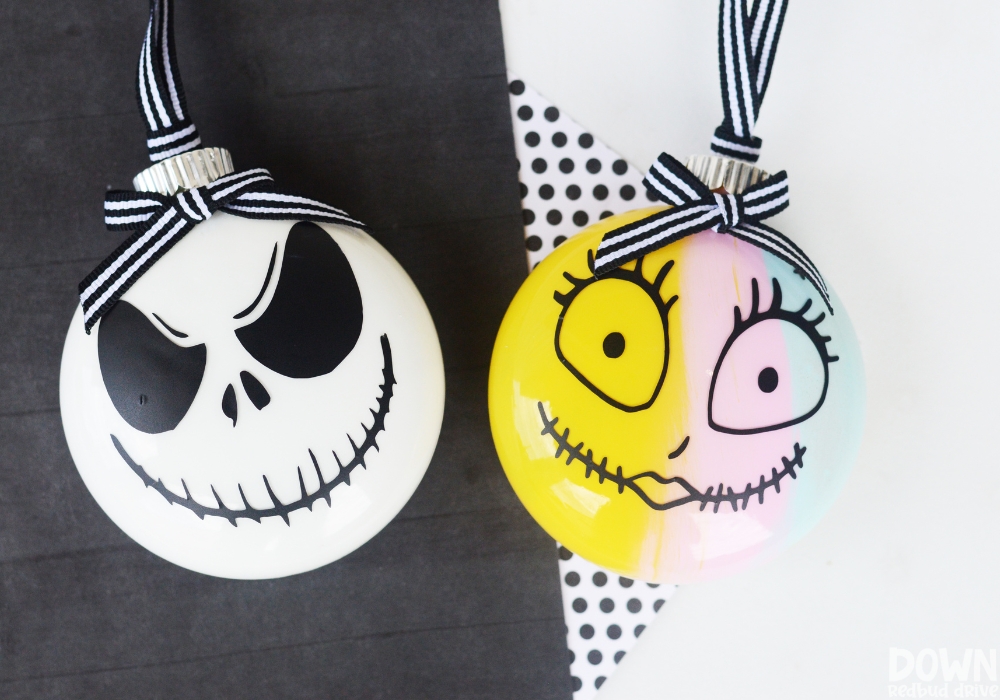

I found an amazing black and white thin striped ribbon on Amazon, that really pulled these ornaments together!
I added a bow and a hanger using the ribbon, but you could use whatever you like! I had a hard time finding NBC ribbon for Christmas, so black and white stripes it is and I’m not mad about it!
Ideas for these Nightmare Before Christmas Tree Ornaments:
- Sell. These would sell super well at craft fairs or on Etsy! Feel free to make and sell these on your own!
- Gifts. Give these as gifts, maybe even make a whole set of characters or pair it with the movie itself!
- Halloween. Realistically you could put these out for Halloween and Christmas! They work for both!
Want more DIY Christmas ideas?
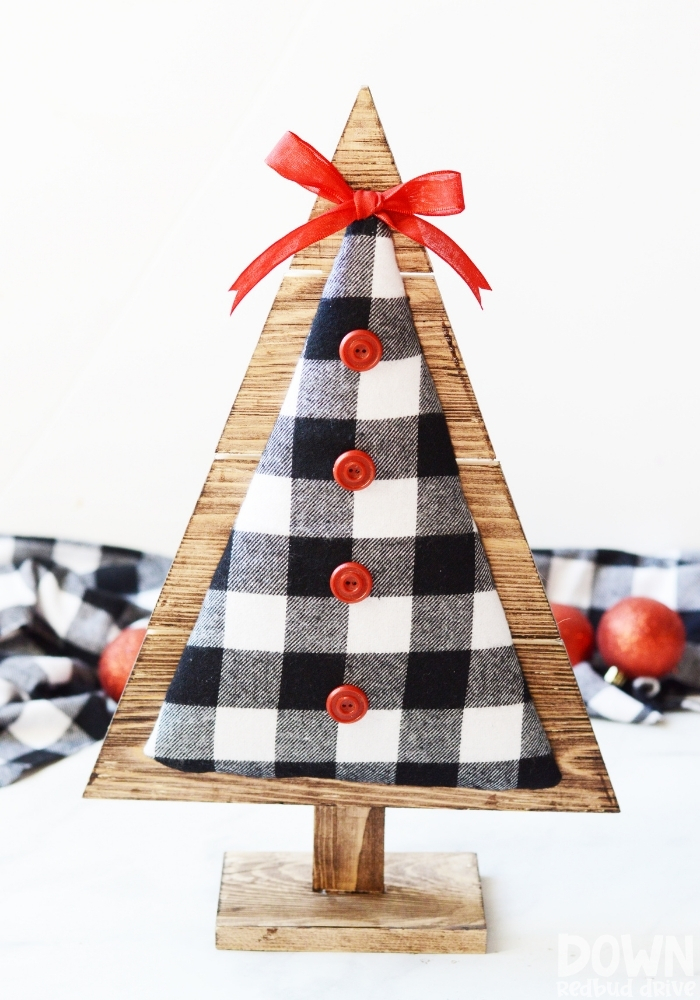



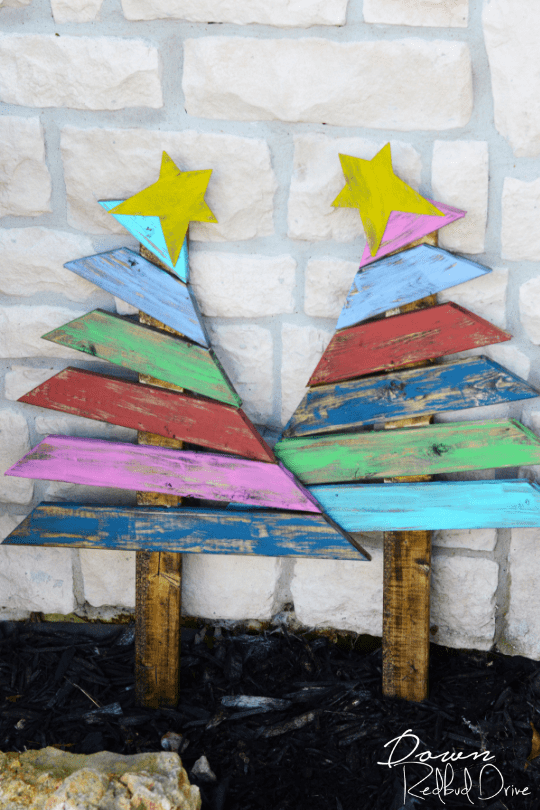

- DIY Wood and Fabric Christmas Trees – These beautiful Christmas trees are super easy to make!
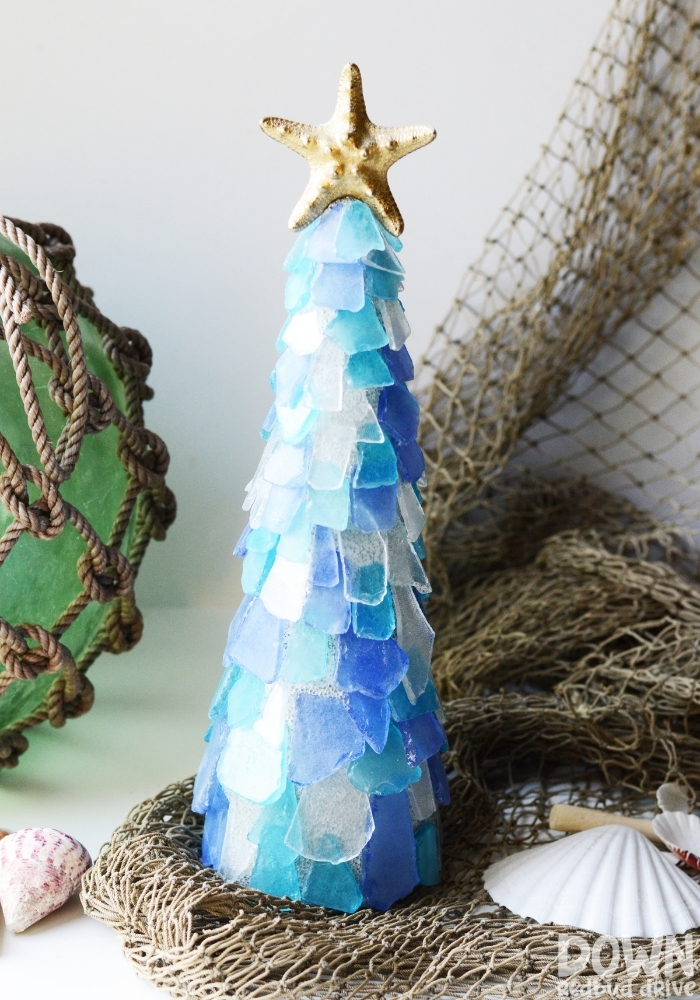
- Sea Glass Christmas Tree DIY – If you want a beautiful beach-inspired piece of Christmas decor, you need to make this gorgeous Christmas tree DIY!
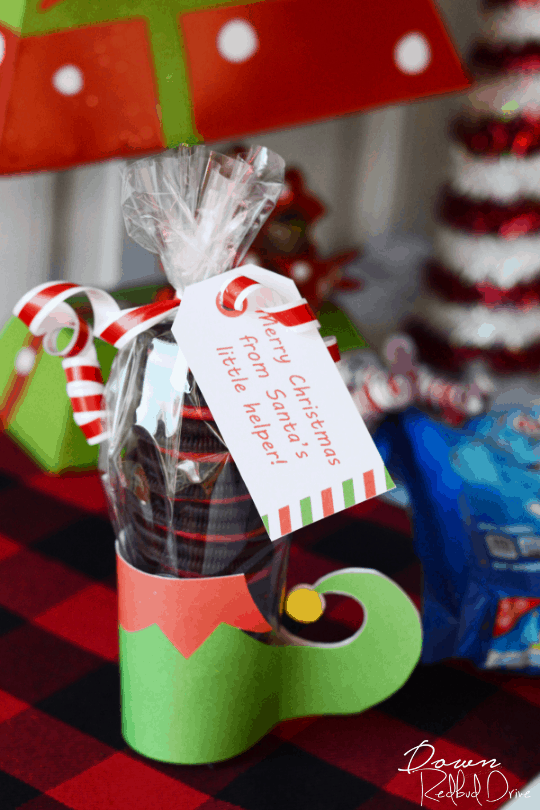
- Elf Leg Oreos – Give your loved ones a sweet treat with this simple DIY gift idea!
- Grinch Trees Christmas Decor – These DIY Grinch Christmas trees turned out SO cute and they’re so easy to make!
Bring a bit of spooky to your festive with these DIY Nightmare Before Christmas Ornaments!


