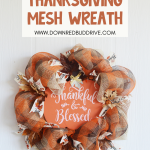
DIY Thanksgiving Mesh Wreath
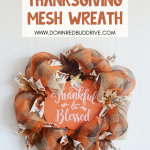



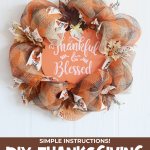





If you want to make fall deco mesh wreath, you need to make this adorable DIY Thanksgiving mesh wreath! It’s a super simple tutorial and will look beautiful on your front door!

This post may contain affiliate links. See my full disclosure policy HERE.
Fall wreaths and Christmas wreaths are my favorite kind of wreaths to make and display! There are so many different types of design themes you can go with that the options are endless!
This Thanksgiving wreath DIY is super easy to make and can even be made using items from the dollar store! Follow my tutorial exactly, or modify it to fit your design preference.
I’ve done several mesh wreaths and posted the tutorials here on my site if you want to see those too! I’ve made a Leprechaun Hat Mesh Wreath, an Easter Mesh wreath, a 4th of July mesh wreath, and even an American Flag mesh wreath!
How do you make this DIY Thanksgiving Mesh Wreath?
Step 1: Gather your supplies.
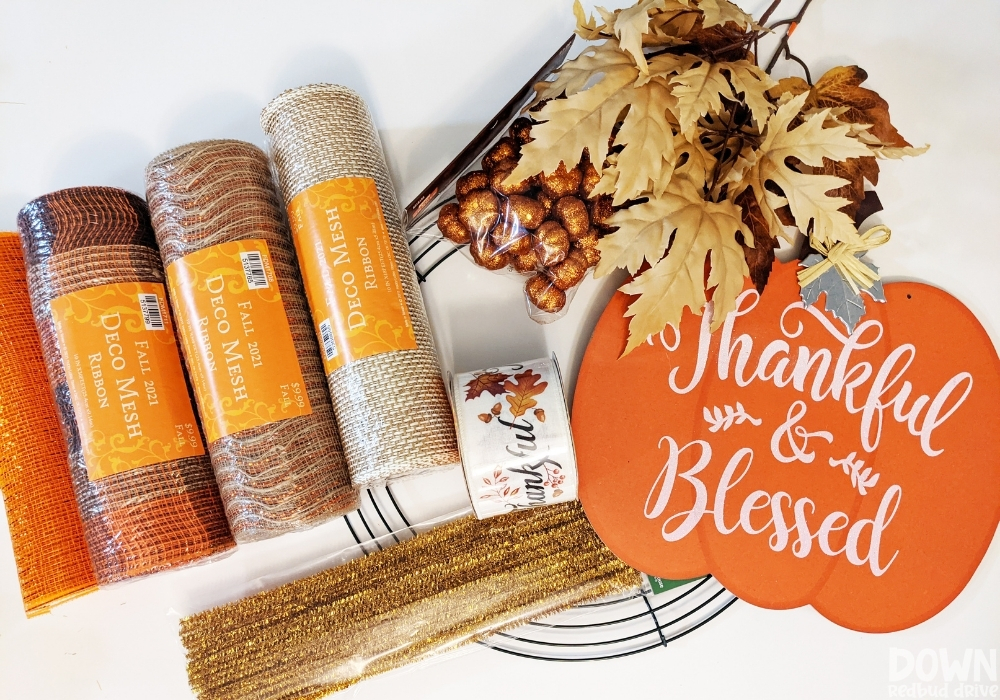

You will need:
- 3-4 Different rolls of 10″ Deco Mesh (I get mine at Hobby Lobby)
- 2.5 inch Wired Ribbon Roll
- Pipe Cleaners (I used Gold)
- 12″ Wire Wreath Frame
- Wood or Metal Thanksgiving Sign (check the dollar store or Hobby Lobby)
- Fake Fall Leaves
- Mini Pumpkins (found mine at Hobby Lobby, but the dollar store also has them)
- Wire Cutters
- Drill or Metal Hole Punch
- Hot Glue Gun
Step 2: Prep your wreath frame.
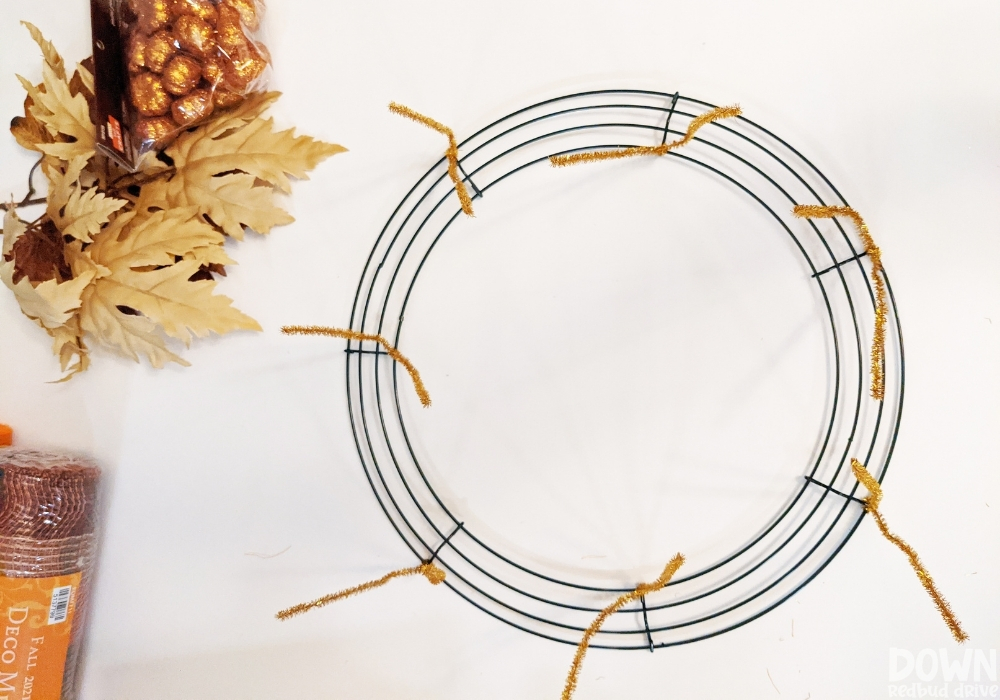

Use the pipe cleaners and attach them to your wire wreath frame. This is what mine looked like when I started, but the finished frame had twice as many pipe cleaners on it.
Space them out when you attach them to the wreath. For every metal vertical “line” on this wreath form, for example, I put one on the outside, and one on the inside.
Step 3: Attach the deco mesh to your wreath.
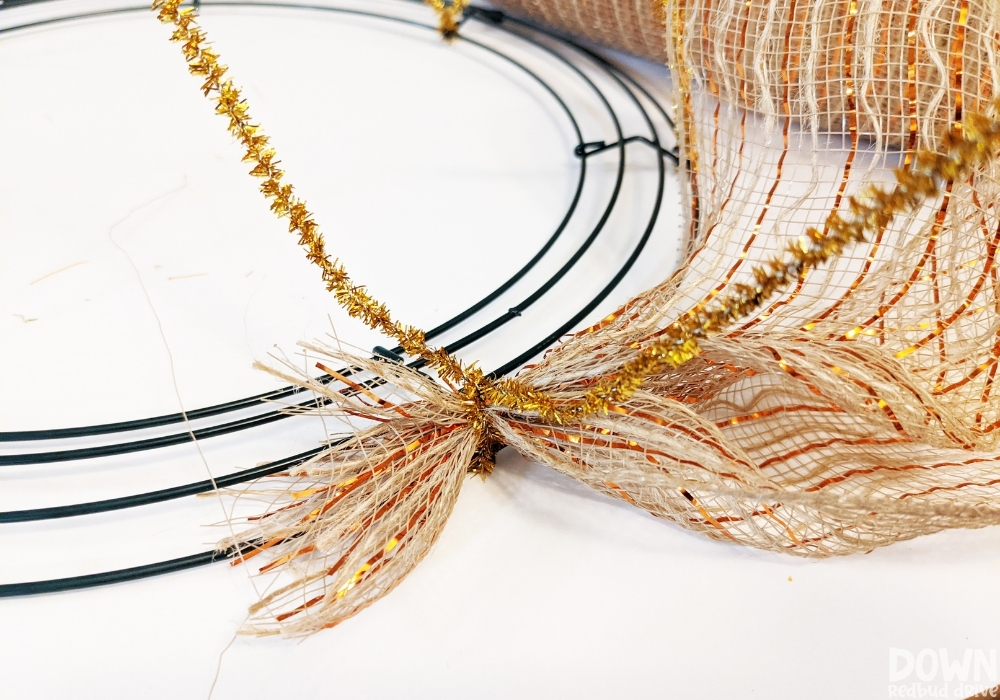

I use 10″ deco mesh for all my deco mesh wreaths. You can use different widths, but the look won’t be as full, or you may have to do more layers than I use. Dollar store mesh is usually 6″, so keep that in mind.
For this fall deco mesh wreath, I used four different colors:
- Brown and Gold Blend
- Orange
- Cream
- Brown and Orange Plaid
To start attaching deco mesh to your wreath, it’s very simple. Simply twist the pipe cleaner around the end as shown above. Don’t cut your deco mesh yet.
From here on out, you’re just going to bunch, and twist, and bunch and twist, all the way around your wreath. Alternate between low and high pipe cleaners. Since I started on an outside pipe cleaner, I twisted the next bunch at the nest inside pipe cleaner, then outside, then inside, etc.
Pro Tip: When making your bunches, try to keep them all about the same height as you go around. This will make your fall deco mesh wreath look much more cohesive.
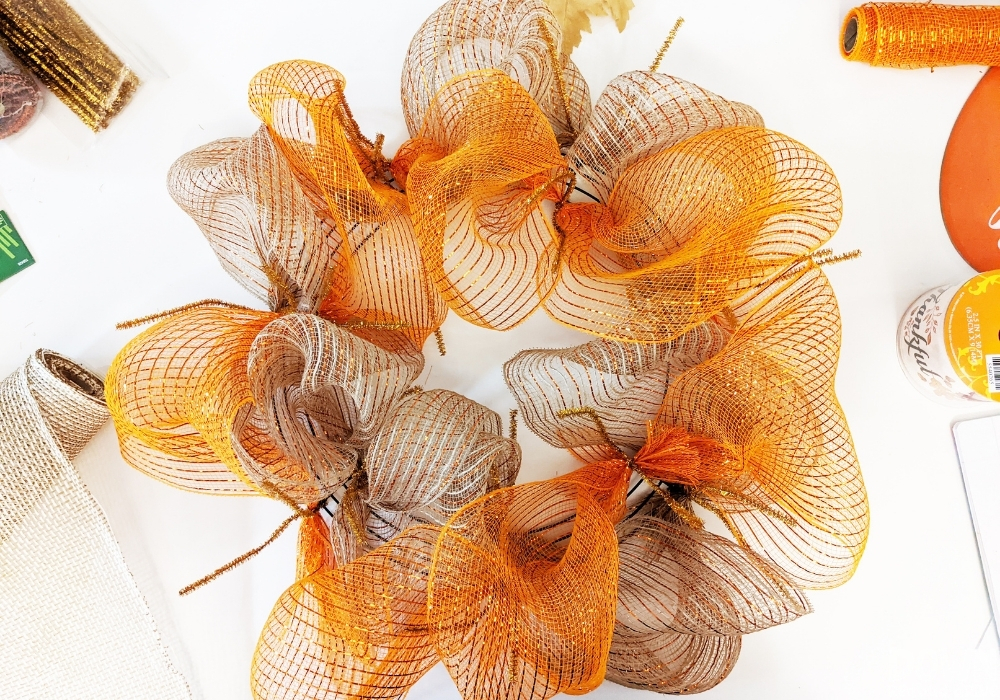

Once you’re finished with one color, twist it at the same pipe cleaner you started with, and then use scissors to cut off the excess deco mesh.
Start the next color on an alternate pipe cleaner. For example, if you started on an outside pipe cleaner with the first color, start the ext color of mesh on an inside pipe cleaner.
Bunch and twist all the way around, just like you did with the first color.
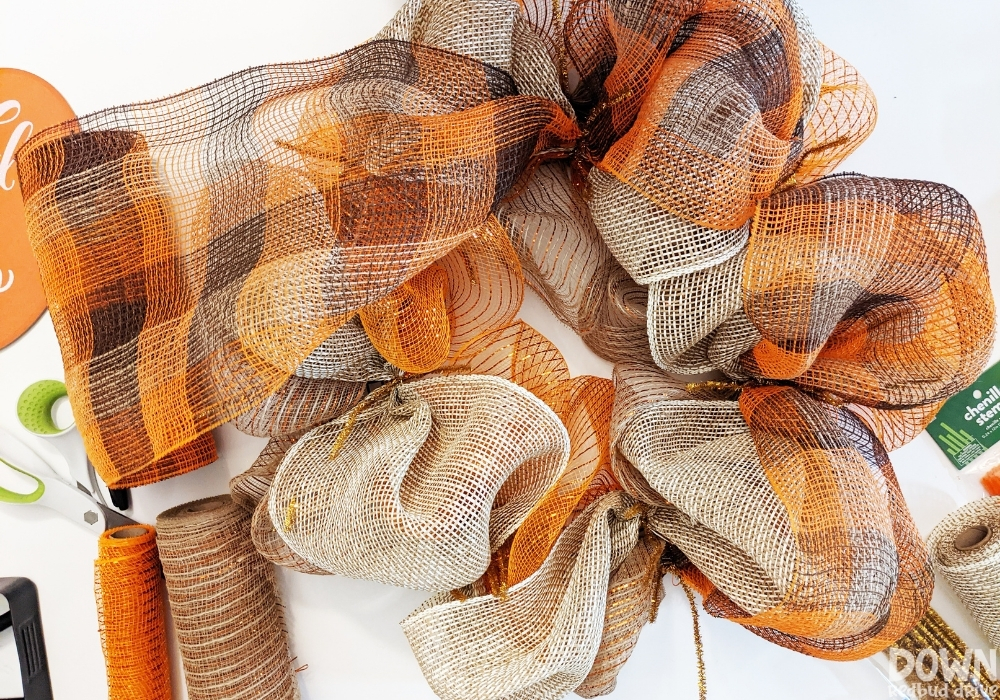

This is what mine looked like when I was almost done with my fourth layer of mesh. I usually start with a neutral color and finish with the color I want to be the most visible.
Step 4: Attach the sign to the wreath.
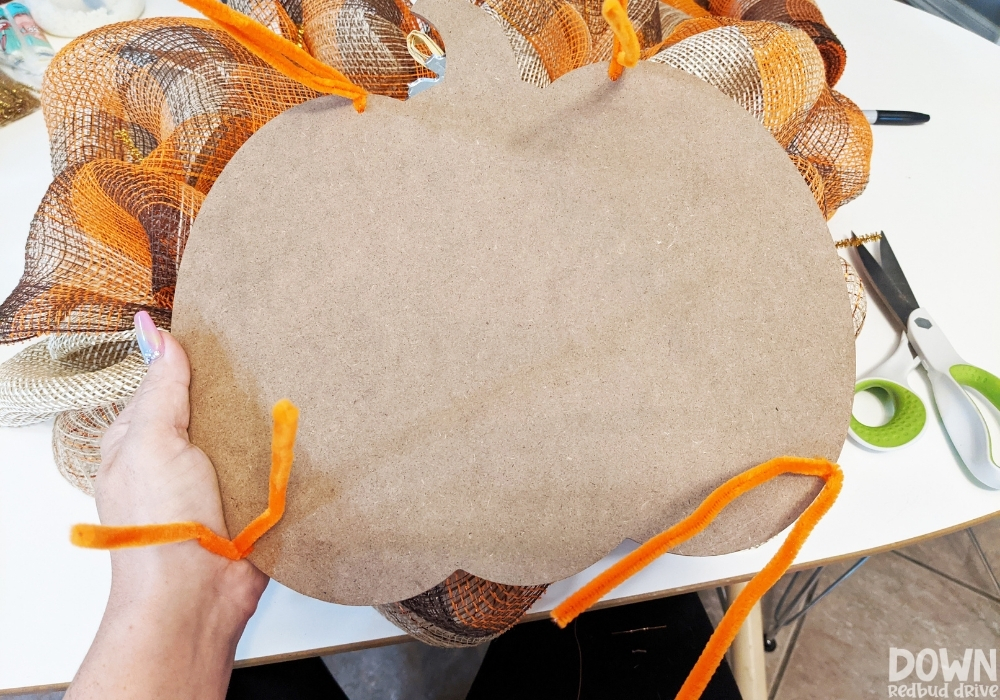

I find my signs in one of three places: Amazon, Hobby Lobby, or the dollar store. Usually, these are wooden or metal signs.
If they are wooden signs, I will remove the hangers for the signs, and add a couple of additional holes so I can attach them to the sign with an electric drill.
If they are metal signs, I’ll use my metal hole punch and punch a couple of new holes in them. Ideally, you want four holes in your sign to attach it to your wreath.
I use pipe cleaners to attach my wreath to the wire wreath frame. Attach them to the sign as shown above.
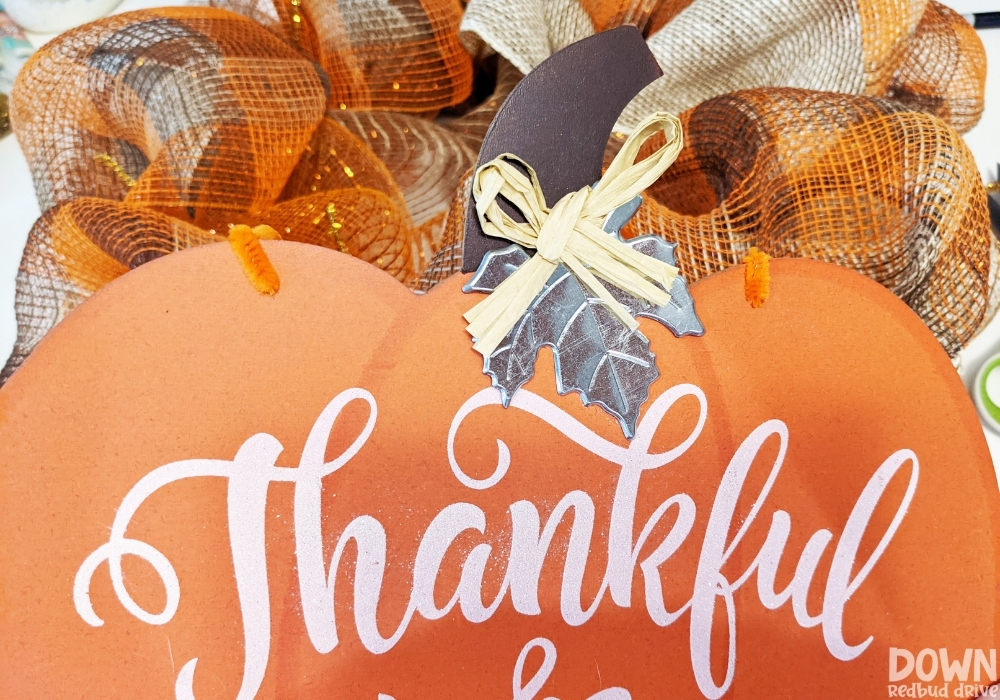

Press the sign down into the mesh a bit, and then twist the pipe cleaners onto the metal wreath frame to hold it in place.


This is what mine looked like when I got it all attached. Make sure it’s not too loose so it doesn’t wiggle and move a lot when handling the wreath.
Step 5: Add ribbon embellishments.
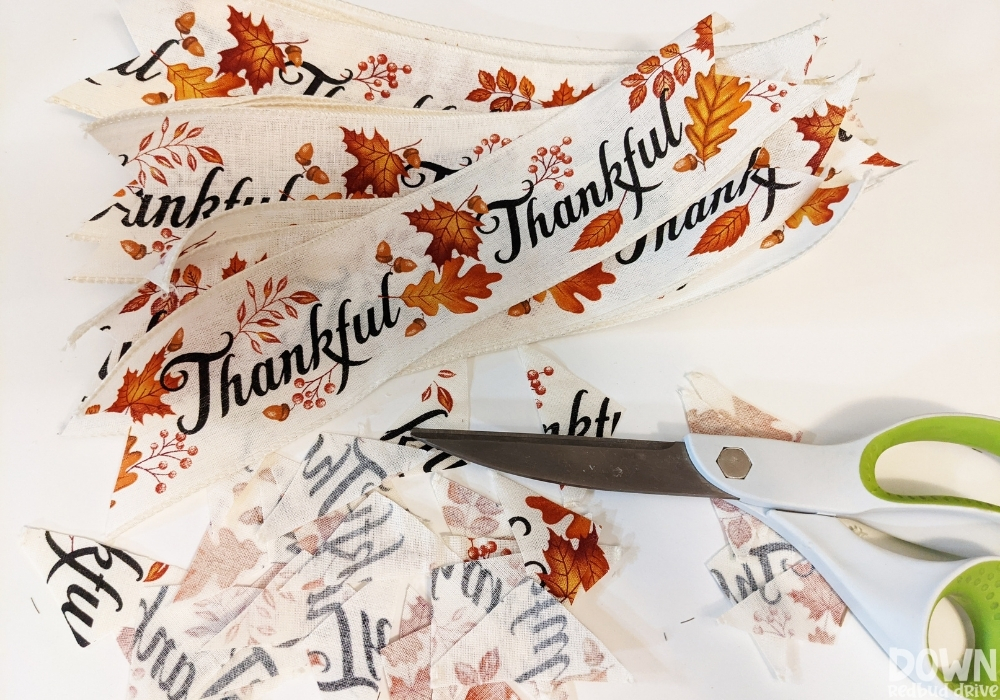

I love adding pops of color to a mesh wreath with ribbon. Use a 2.5 inch wired ribbon for the best effect.
I cut my ribbon into 10 inch sections. I cut out about 12-14 pieces of ribbon to use on this wreath.
Use scissors to cut the points at the end of each ribbon piece as shown above.
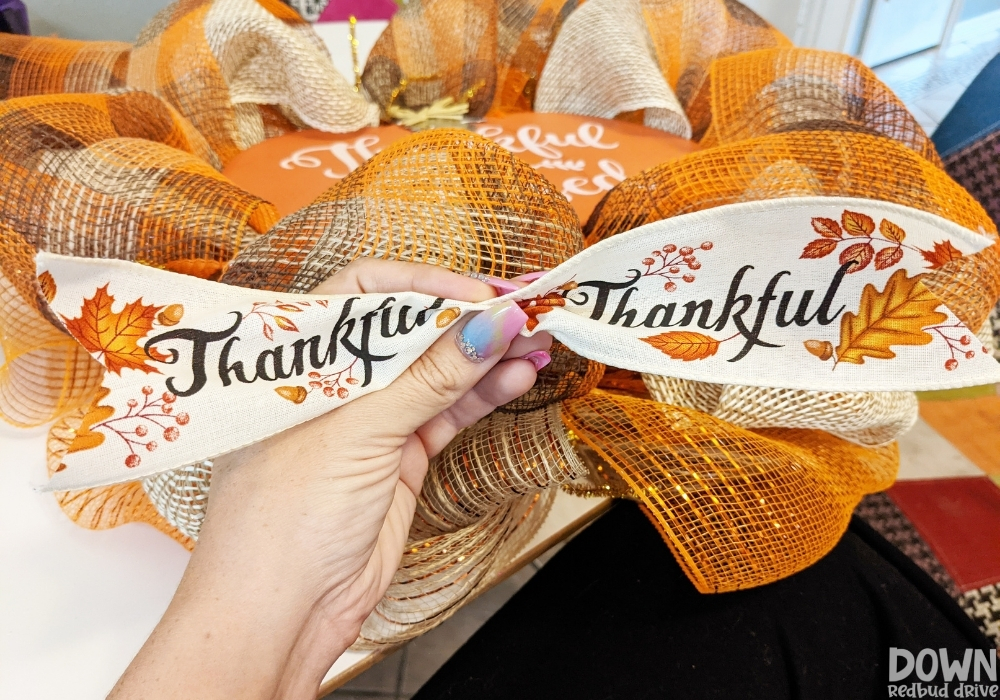

To attach your ribbon to the wreath, pinch it in the middle, with the design side up, and then twist the pipe cleaner around it as you did with the mesh.
Step 6: Add in the leaves.
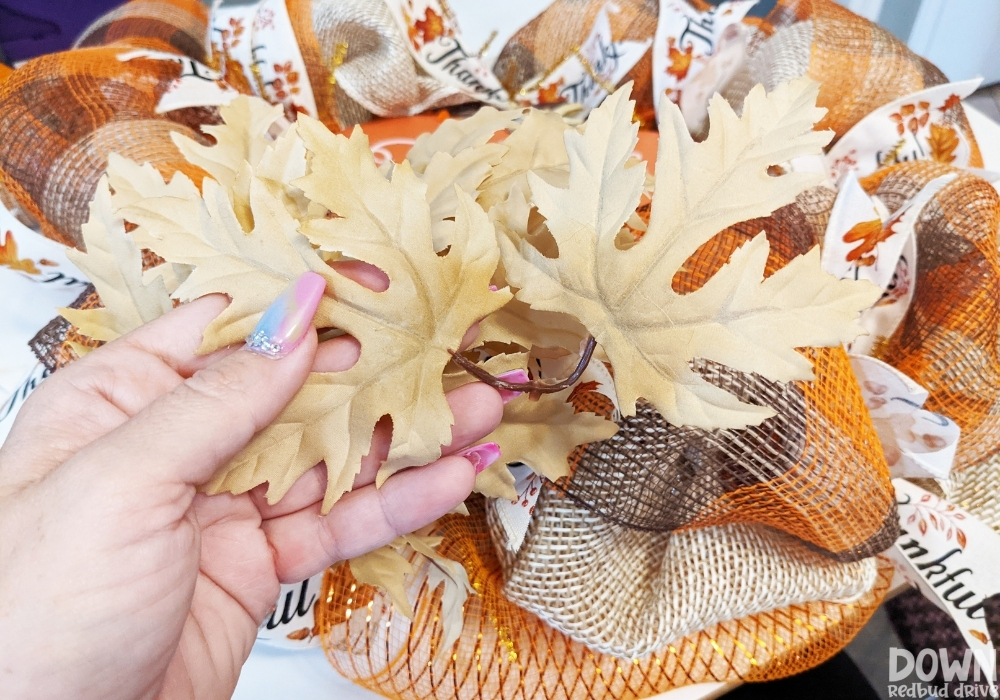

I just used some neutral-colored fall leaves to attach to my wreath. Sections of two, as shown above, I attached using the pipe cleaners.
Single leaves I attached using hot glue.


Stick the leaves in the same places you put the ribbon for a special touch.
Step 7: Trim the pipe cleaners.
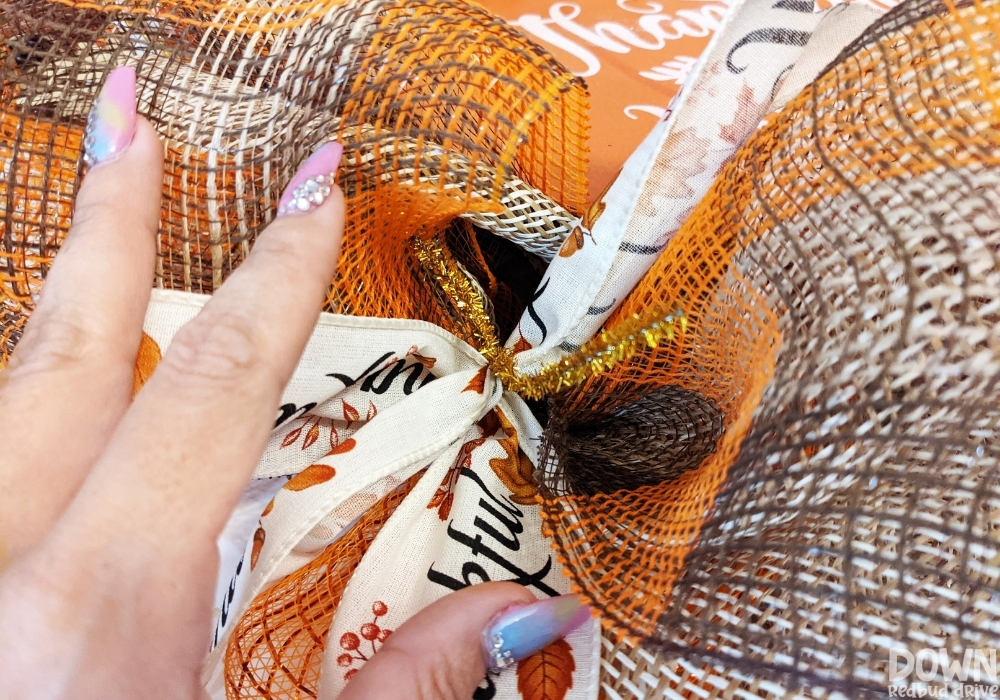

Once you’re finished attaching all the mesh, ribbon, and leaves, you can remove the excess pipe cleaners.
Use wire cutters to trim the excess, leaving about 1/2″ of pipe cleaner. Press the remaining pipe cleaner down so it isn’t sticking up.
Step 8: Add on the mini pumpkins.
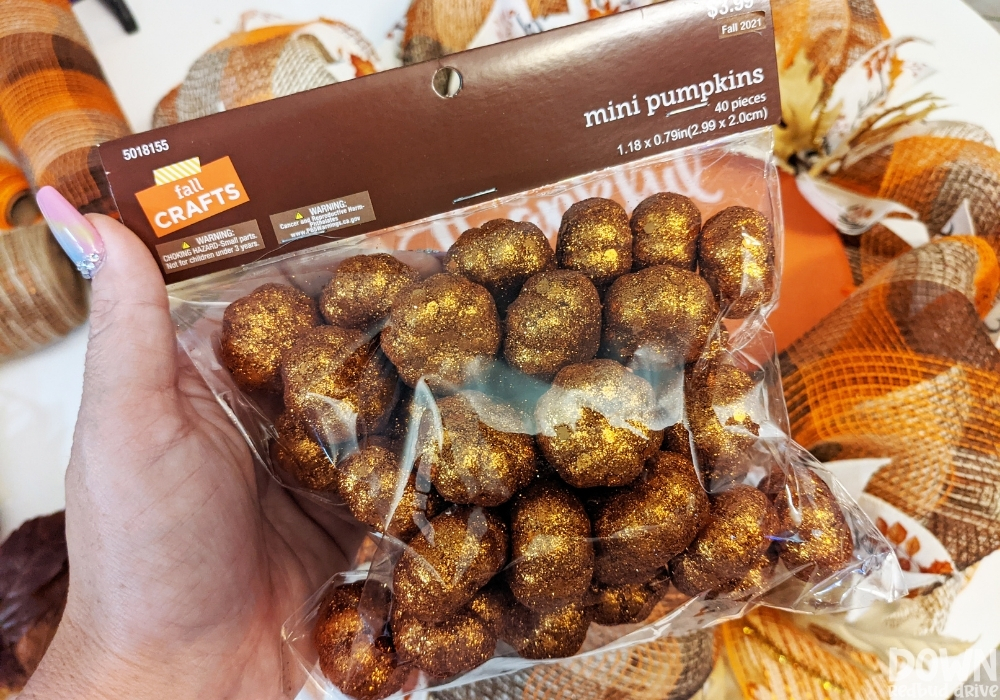

I found these cute mini glitter pumpkins at Hobby Lobby, but noticed they have some other mini pumpkins at the dollar store if you wanted to use those instead.
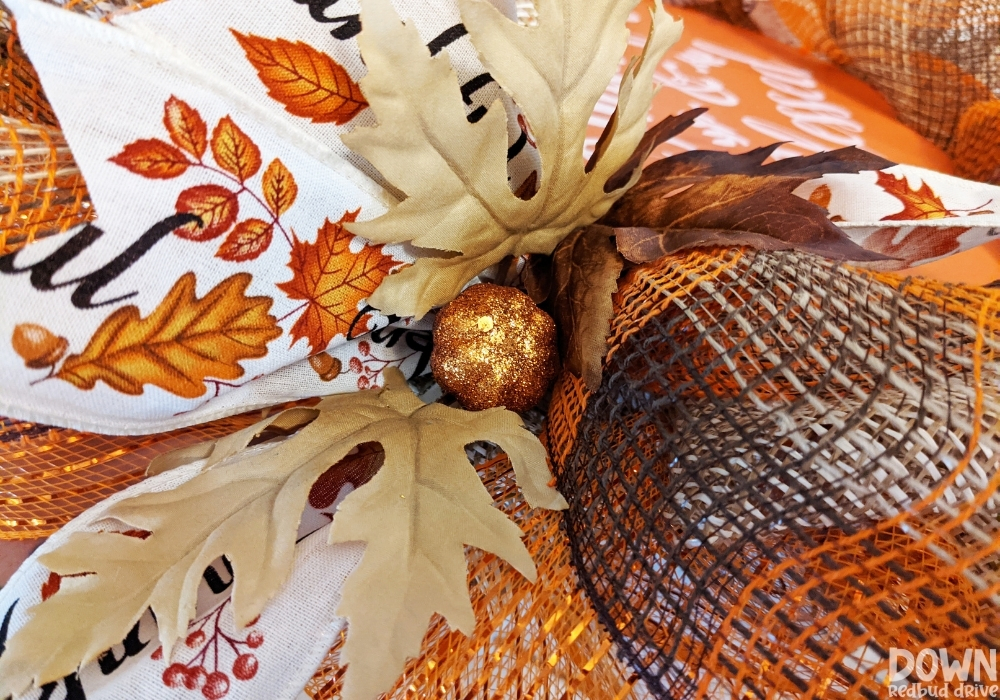

I used hot glue and attached them to the center of all the bunches, where the pipe cleaners were visible to cover them.
This step is optional, but I love the finishing touch it gave the fall deco mesh wreath!
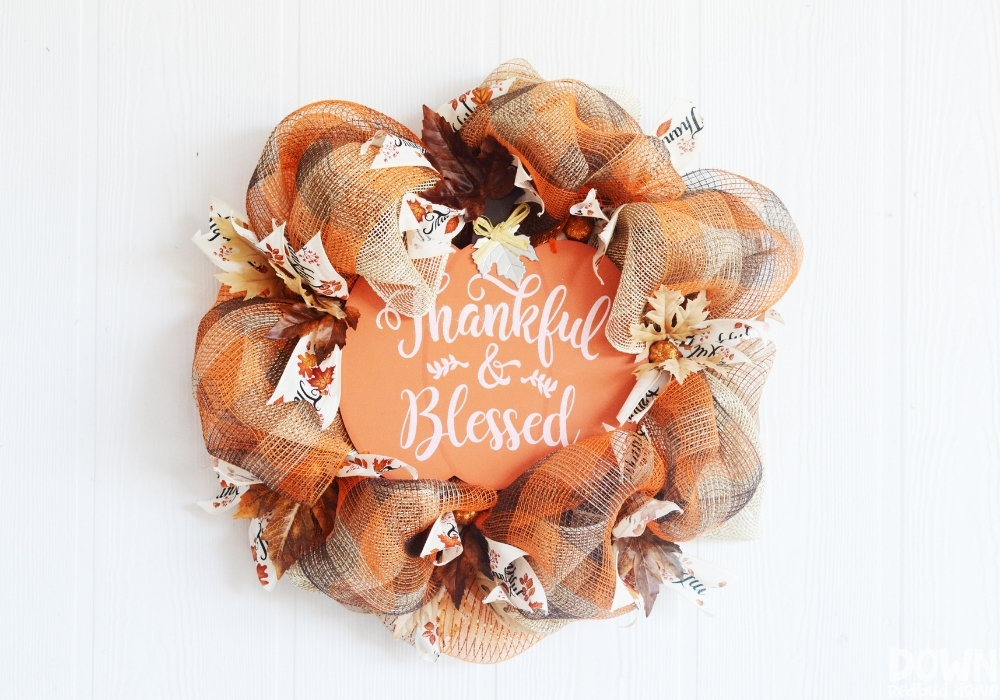

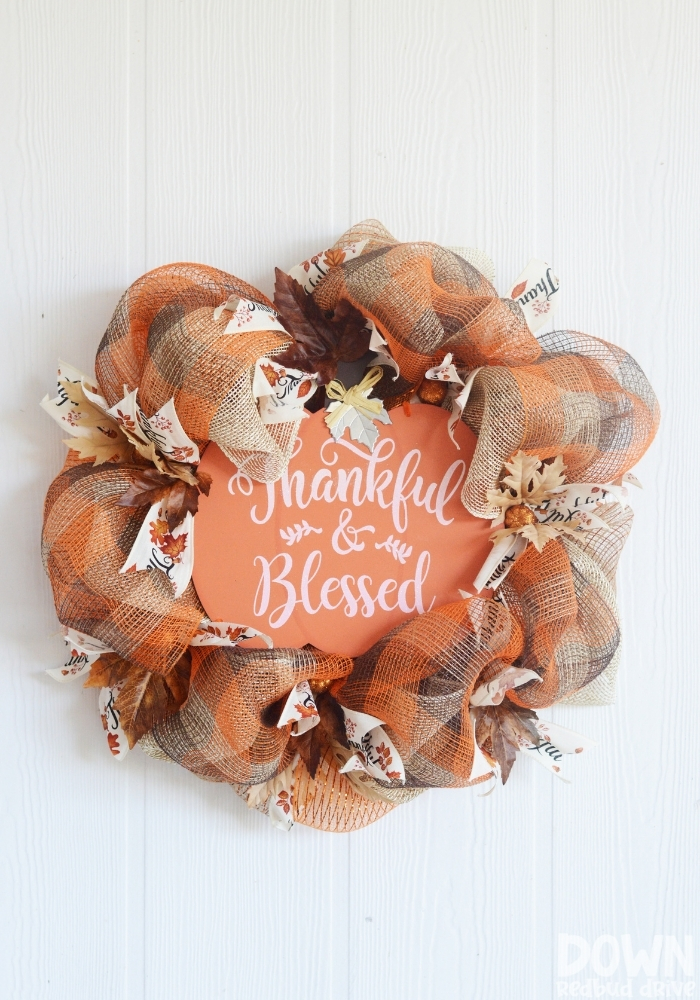
When your wreath is finished, it should look something like this! Hang it on your front door, or wherever you want to add a touch of fall!
Want more DIY fall ideas?
-
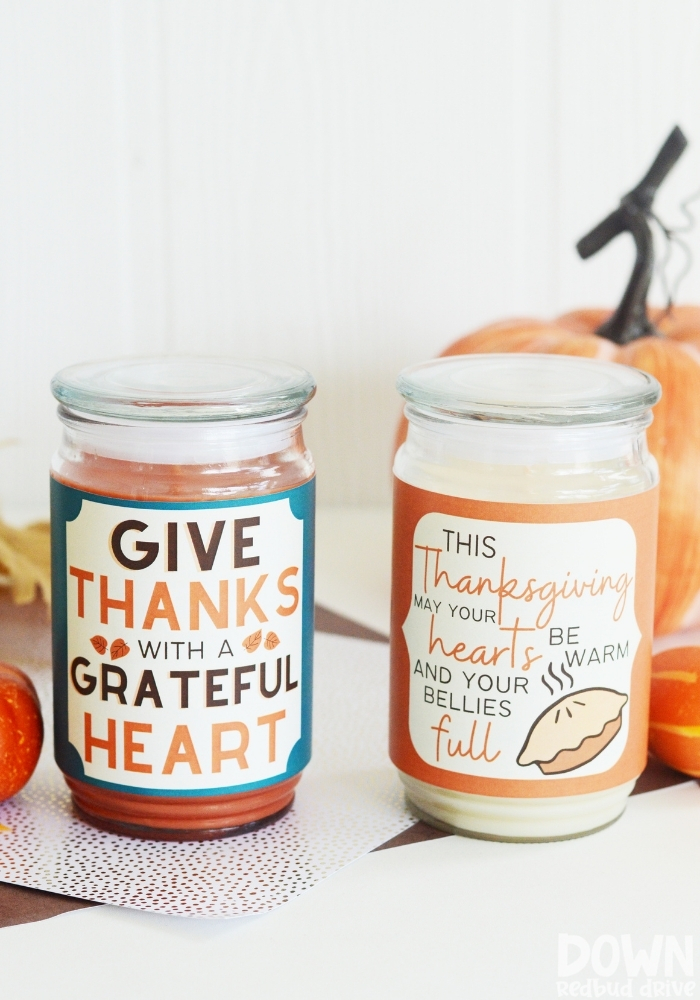

CLICK HERE -
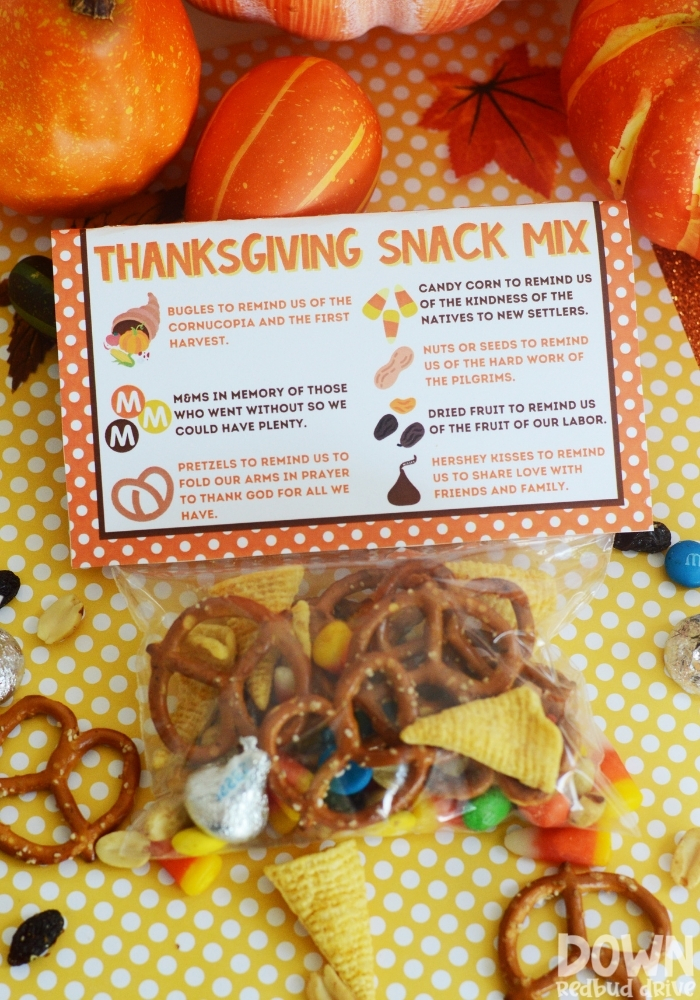

CLICK HERE -
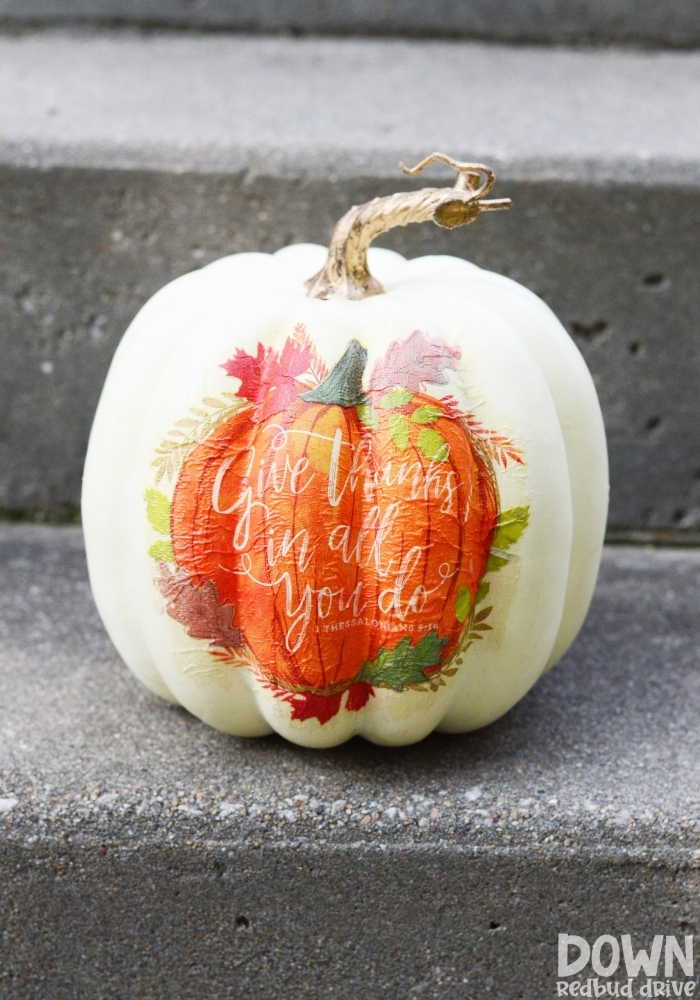

CLICK HERE -


CLICK HERE
- DIY Thanksgiving Candles – These are so easy to put together and make a plain candle perfect for the holiday!
- Thanksgiving Snack Mix – This adorable snack mix with the free printable tag makes the perfect treat for Thanksgiving!
- DIY Napkin Pumpkins – These decoupage pumpkins using napkin are SO easy to make!
- DIY Concrete Pumpkins – These cute concrete pumpkins are the perfect fall home decor!
This DIY Thanksgiving mesh wreath is the perfect way to add a little fall to your front door!


