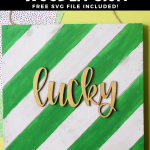
DIY Wooden Lucky Sign
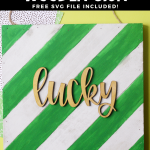

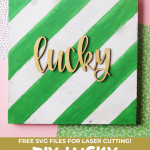

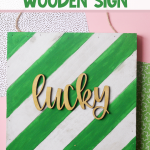




Make your home festive this St. Patrick’s Day with this DIY Wooden Lucky Sign. Snag the free SVG file to cut out your own word too!

This post may contain affiliate links. See my full disclosure policy HERE.
St. Patrick’s Day doesn’t get enough decor spotlight! We all spend time decorating for Valentine’s Day and Easter, and St. Patty’s Day gets left to the wayside!
It’s such a fun holiday to decorate for with all the green and gold and rainbows!
This DIY Wooden Lucky Sign was super easy to make. It will only take you about 15 minutes from start to finish, and then you just need to let the glue dry!
If you have a Glowforge (or any other kind of laser wood cutter), I’ve provided the free SVG file for you to use in this project as well!
I made this sign for my joy (Mama needs joy too!), and made a couple of cute treats for the kids.
I made these Rainbow Seeds (Skittles with a cute printable label), and these Lucky Gold Coin treats (again, free printable tag) and it made their day a little more magical!
How do you make this DIY Wooden Lucky Sign?
Step 1: Gather your supplies.
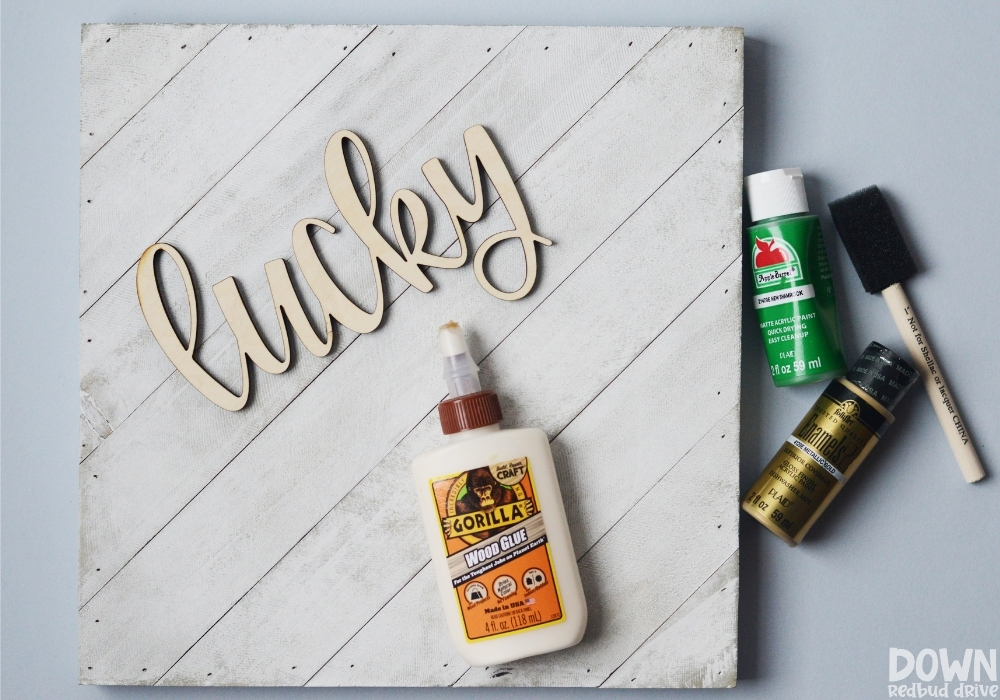

You will need:
- Free Lucky SVG File OR Lucky Wooden Cutout
- 10″ x 10″ White Wooden Sign (I found mine at Walmart for about $5)
- Green Acrylic Paint
- Gold Acrylic Paint
- Wood Glue
- Foam Paint Brush
Step 2: Cut out and/or paint your lucky sign.
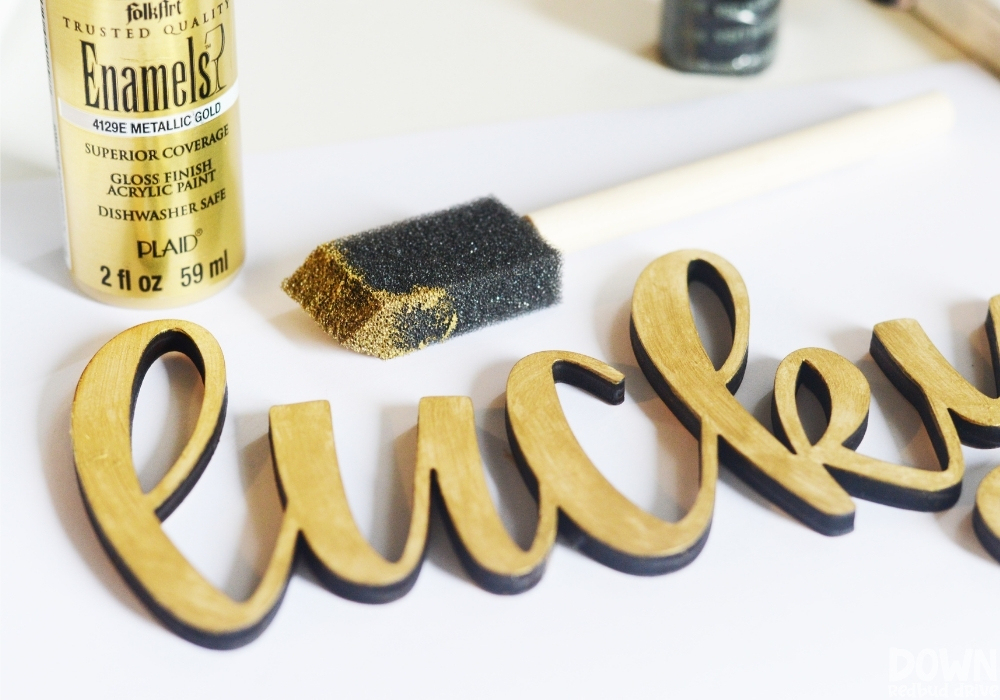

Use the free SVG file to cut out the Lucky word with your Glowforge (or similar laser wood cutter).
If you don’t have access to a Glowforge or similar, then you can use something like this from Amazon.
Use gold acrylic paint to paint two layers onto the word.
Step 3: Paint green stripes.
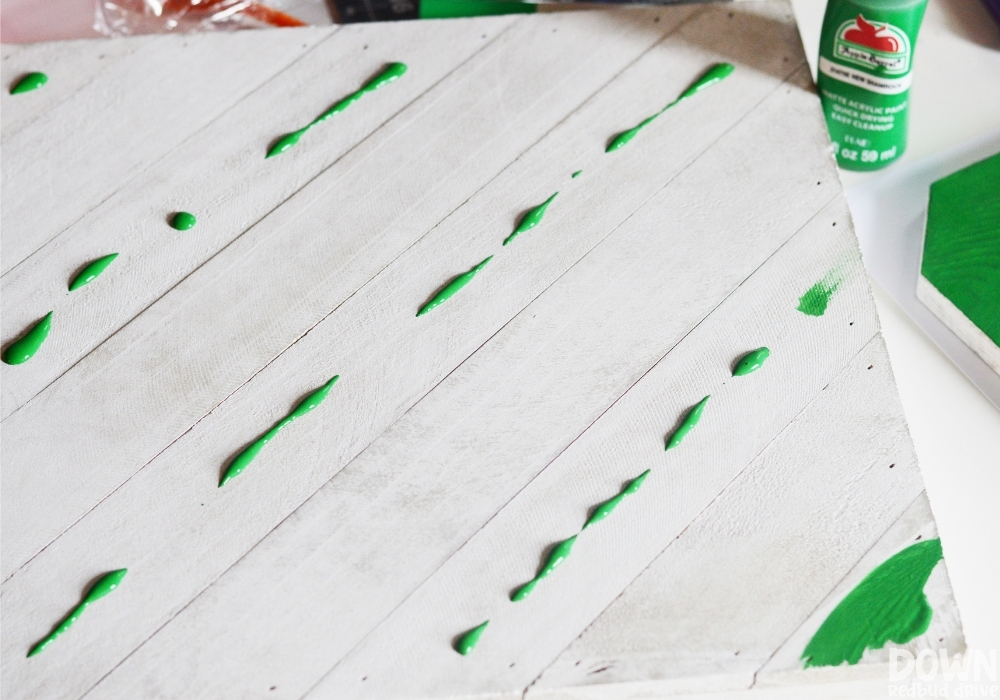

The wooden sign I found from Walmart was already white, so I only needed to make the green stripes.
It already has a hanger attached and is 10″ x 10″. The SVG will print this at 7″ wide, so keep that in mind if you buy something else.
One good coat of paint is all you will need for this project.
Use a foam paint brush and paint every other slat on the wooden sign.
Step 4: Attach the word to the sign.
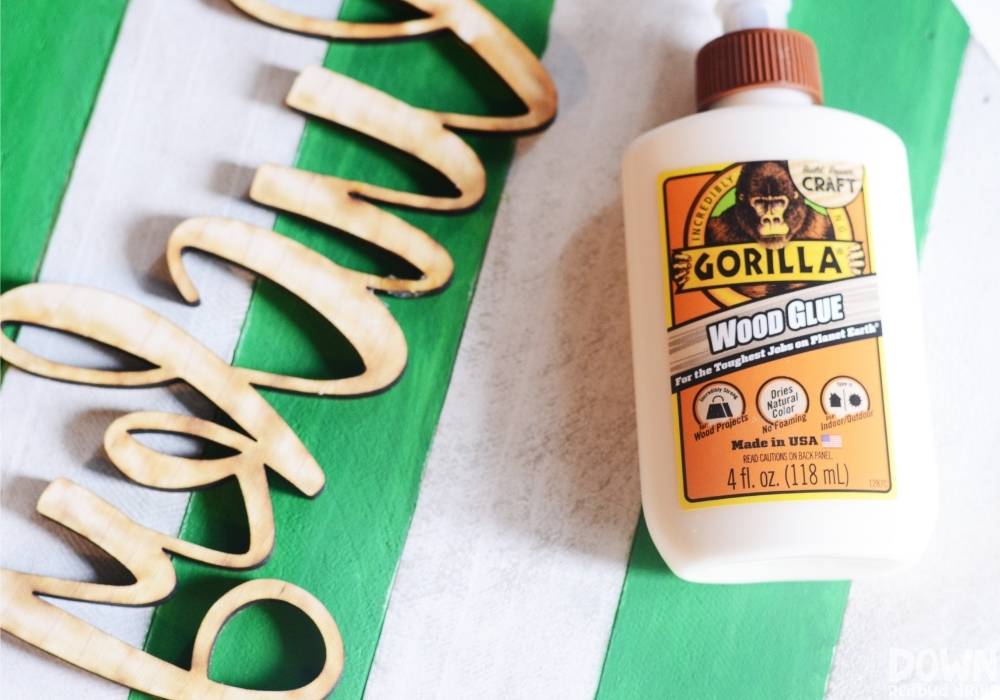

Once your paint is dry (should take no longer than 10 minutes), you’re ready to put your DIY Wooden Lucky Sign together!
Use wood glue and apply an even amount to the back of the word.
Center it on your sign (or play it up and make it diagonal – you do you!), and then press it down.
Allow the glue to dry for at least an hour before moving it – but overnight is best.
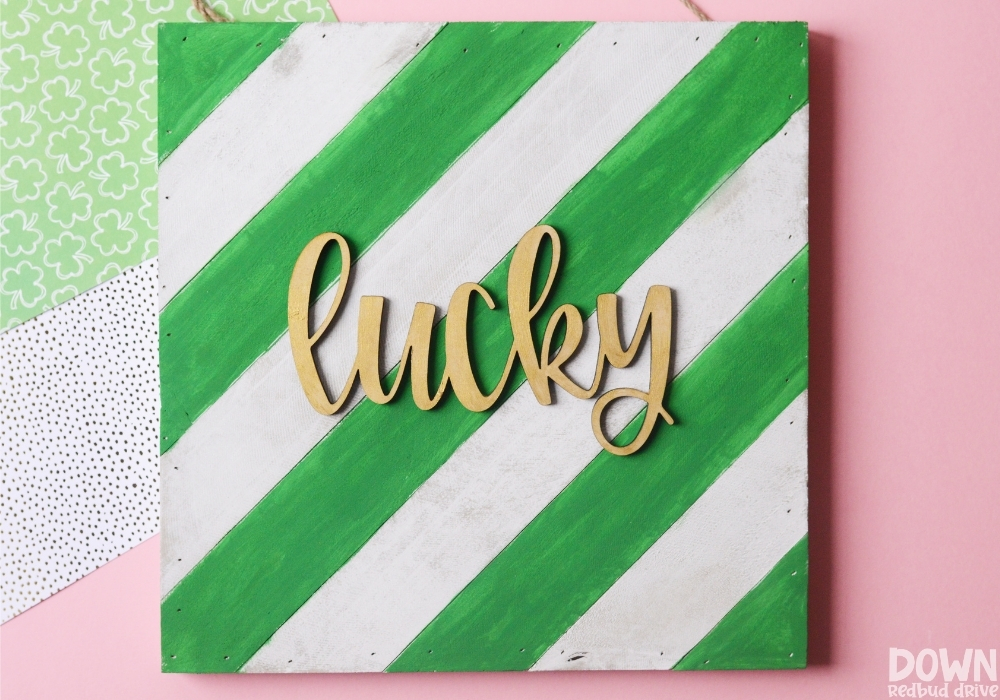

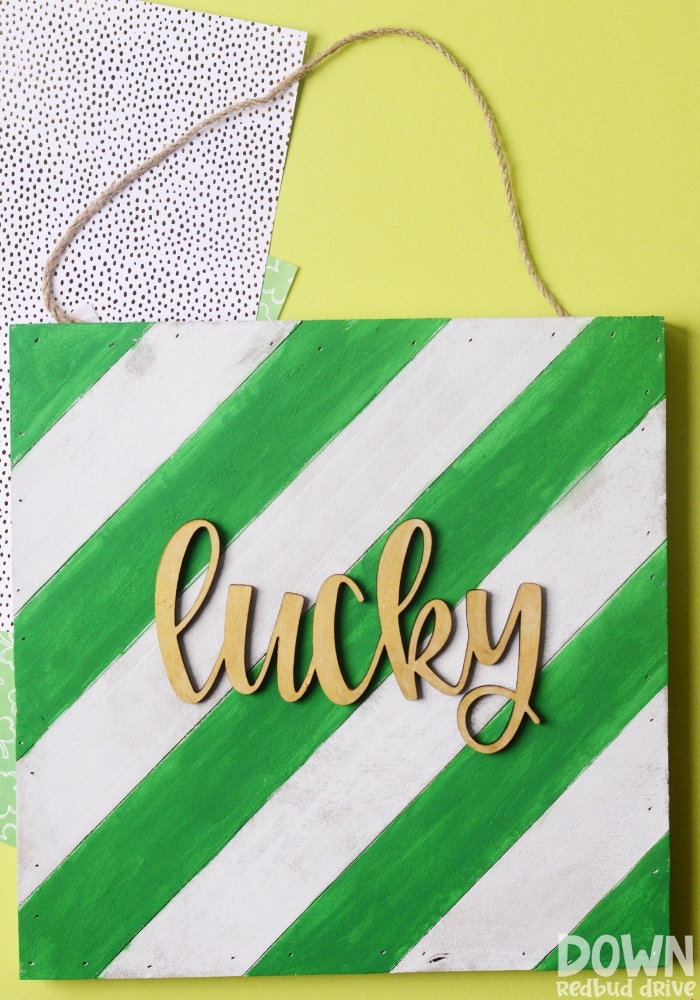
When it’s done, it should look something like this! I love how cute this turned out, and it is the perfect pop of green and gold for St. Patrick’s Day!
Variations for this DIY Wooden Lucky Sign:
- Colors – Make your stripes different colors of greens, or maybe even rainbow colors!
- Glitter – Add glitter to your word to give it a little more glam!


Want more DIY St. Patrick’s Day projects?
-

CLICK HERE -

CLICK HERE -

CLICK HERE -

CLICK HERE
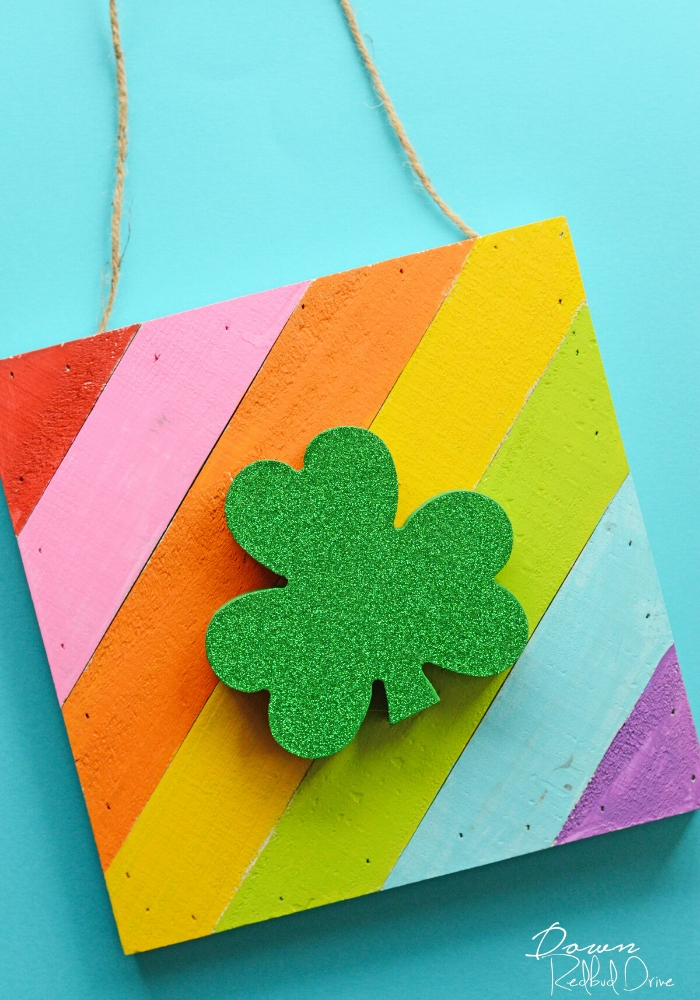
- Rainbow Shamrock Art DIY – It’s a fifteen-minute St. Patrick’s Day craft and makes the perfect St. Patty’s Day home decor!
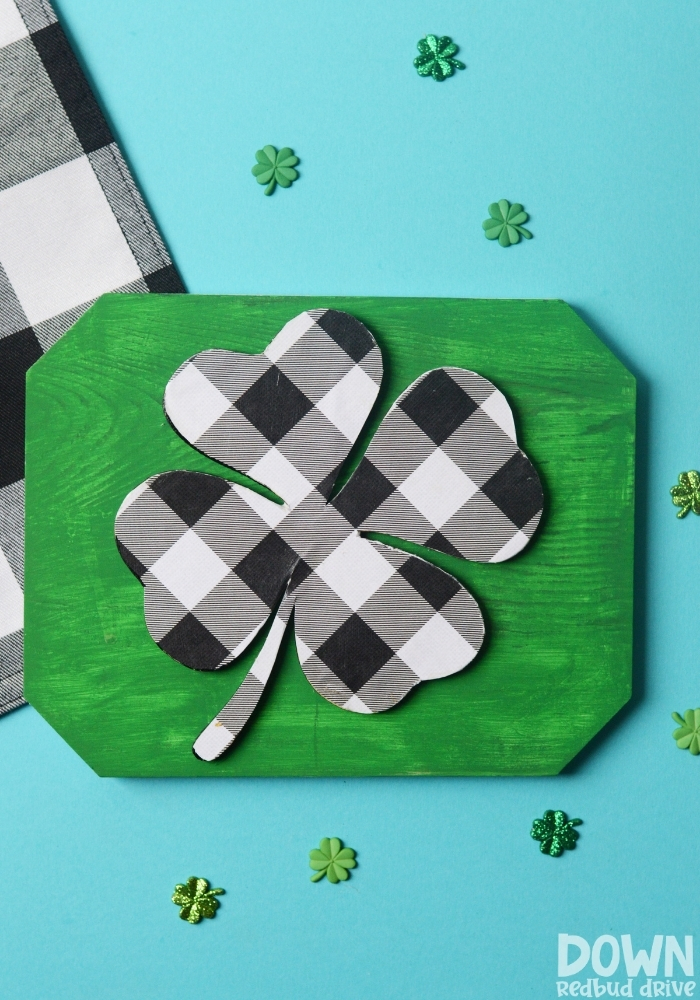
- Buffalo Plaid Shamrock Sign – Super easy and modern! Who doesn’t love Buffalo Plaid?!
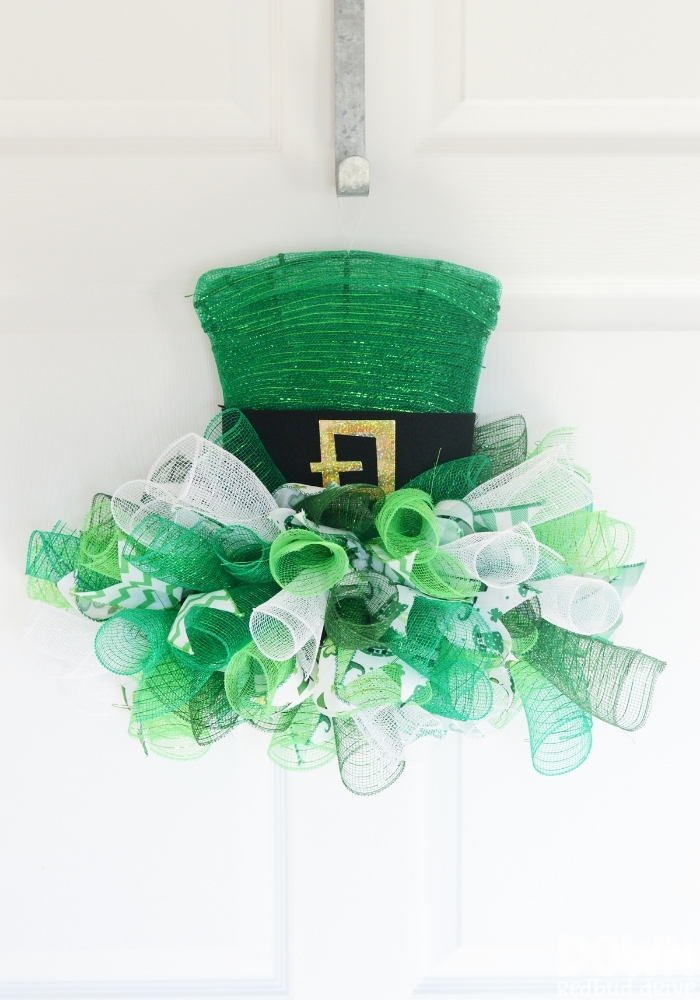
- Leprechaun Hat Mesh Wreath – This is SUPER simple to make, even if you’ve never made a mesh wreath before!
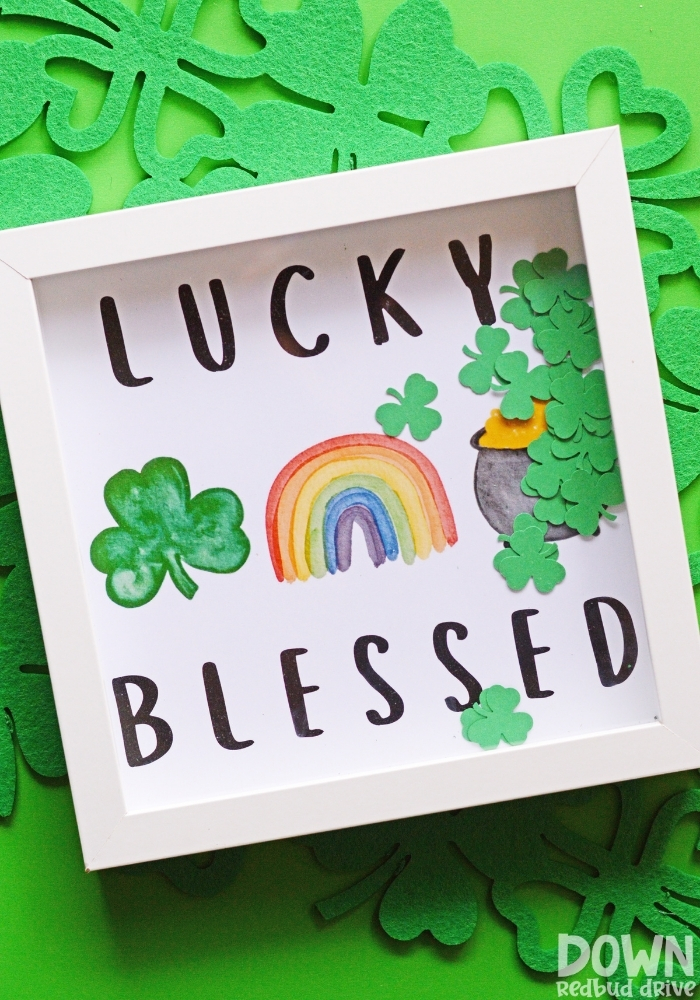
- Lucky Blessed Sign – Pair a free printable with a little DIY to get this cute sign!
However you decide to put this cute DIY Wooden Lucky Sign together, I’m sure it will bring you some joy this St. Patrick’s Day!


