DIY Napkin Pumpkins

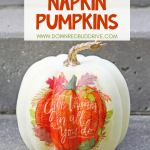

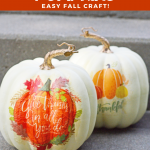

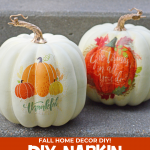

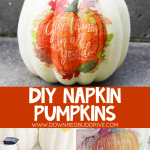

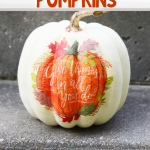

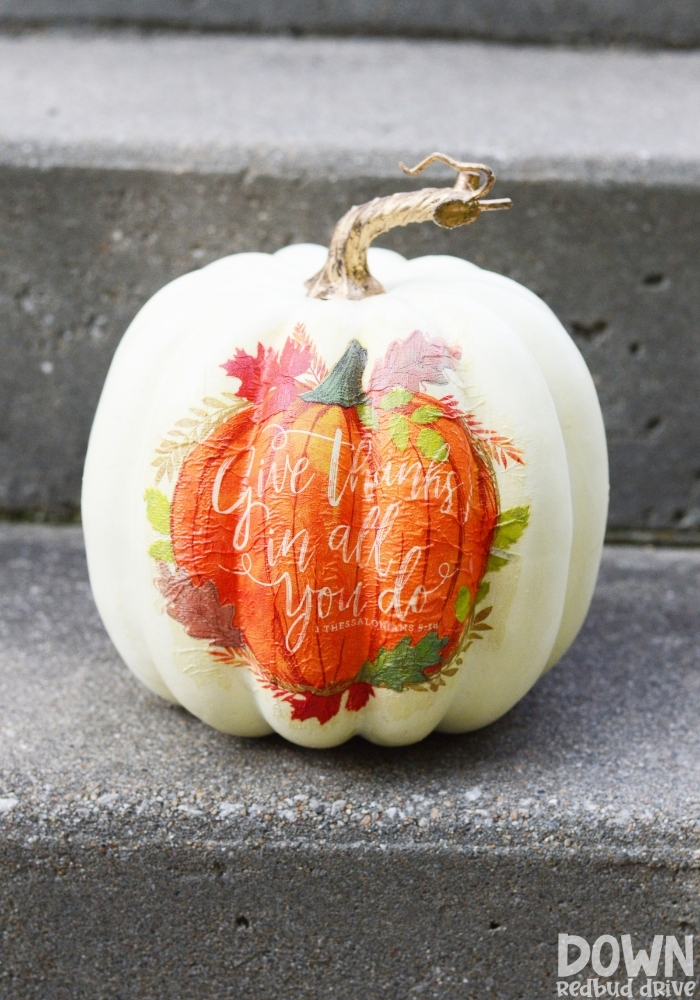
I made beautiful fall Napkin Pumpkins and I’m so happy with how thy turned out! They’re decoupage pumpkins using napkins and I’m blown away by how beautiful they are!

This post may contain affiliate links. See my full disclosure policy HERE.
I love doing and making crafts, which is obvious considering the content of my site. BUT I don’t have the time, or patience, for projects that take forever to complete.
These DIY Napkin Pumpkins are a 15 minute project, and turn out beautifully! You absolutely can’t tell these gorgeous decoupage pumpkins were made using napkins, and I’m in love!
My Napkin Ornaments are WILDLY popular on my site (the how-to video on Pinterest has well over a million views!) and use this same method. They turn out so cute!
How do you make these DIY Napkin Pumpkins?
Step 1: Gather your supplies.
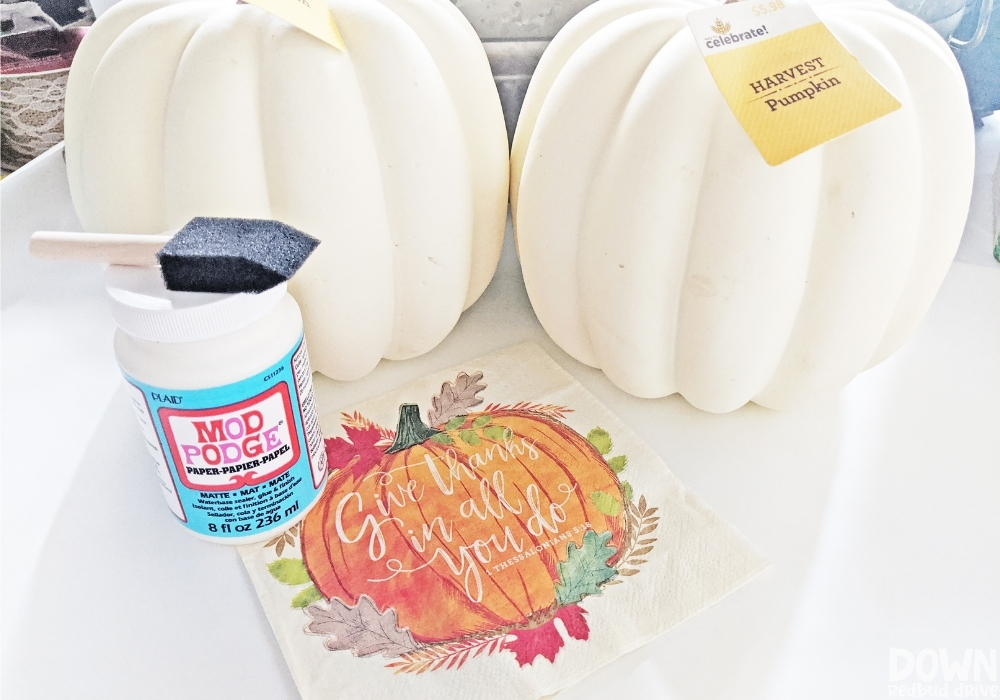

You will need:
- Napkin with design (these are SO cute!)
- Fake pumpkin
- Mod Podge.
- Scissors
Step 2: Separate the layers of your napkin.

I found the napkins for these at Hobby Lobby on clearance last year. They have a TON of options that would be awesome. However, you can also get cute fall themed napkins at the dollar store, or places like Amazon.
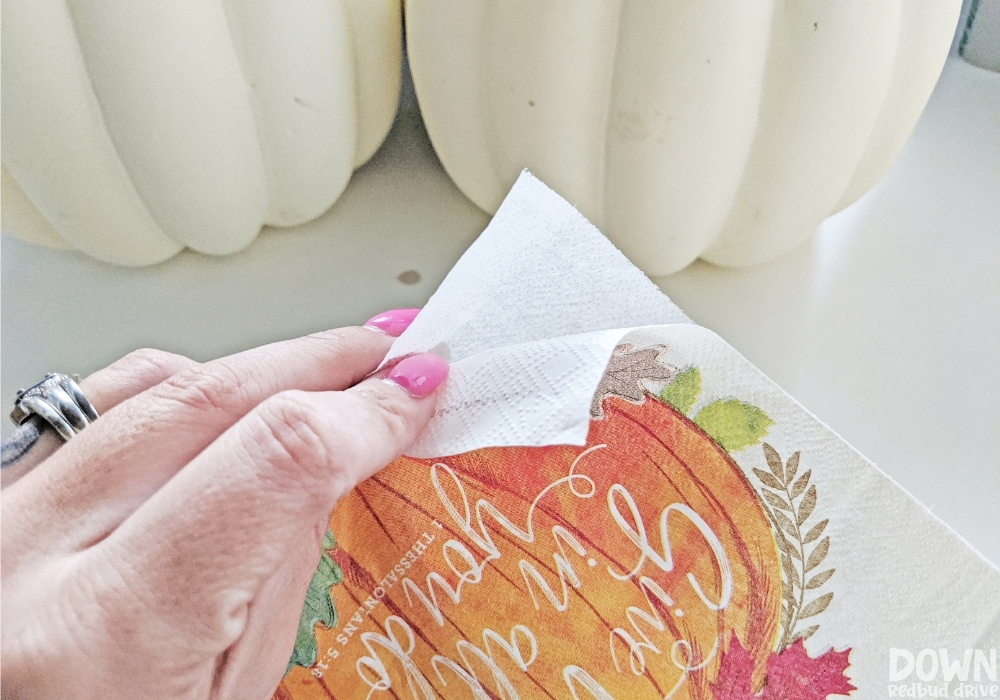
Once you have your napkins picked out, you will need to separate the layers to get the thinnest paper possible.
To separate your napkin layers, simply crinkle the corner of the napkin a bit, and then carefully peel back the layers.
My napkins had 2 layers of white I could peel off, but the ones from the dollar store only had one layer I could peel off.
Go slowly and take your time.
Step 3: Tear out your design.
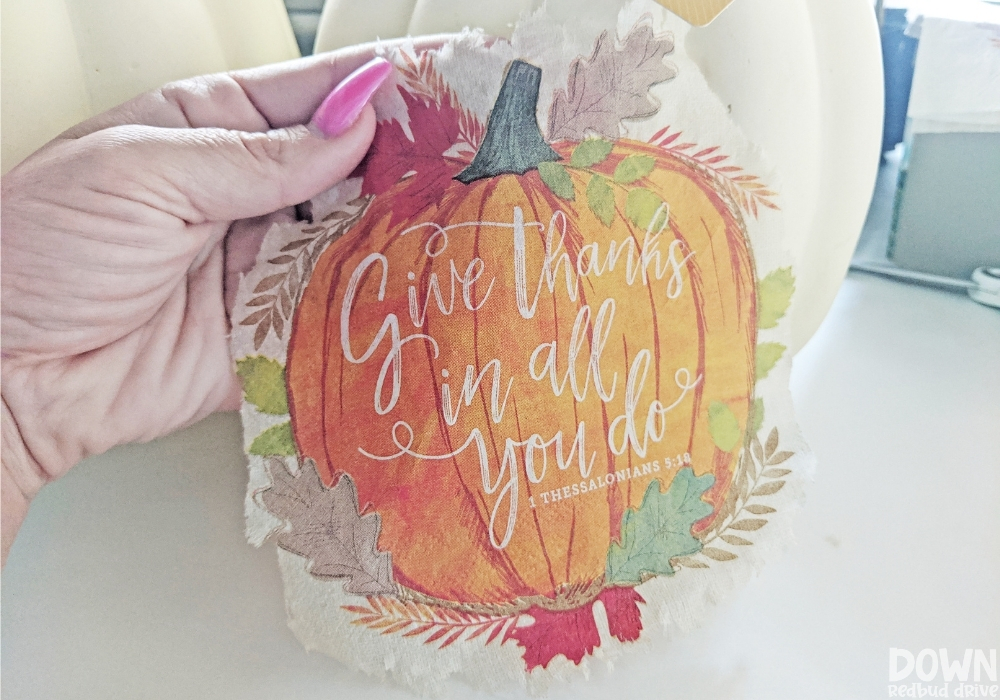

Use your fingers and carefully tear out your design from the napkin. It doesn’t need to be perfect because the edges will blend very well and you won’t notice them.
This is what mine looked like before I put it on my pumpkin.
Pro Tip: Don’t cut your design out. It makes your edges very sharp and they won’t blend well. Tearing keeps your edges raw and natural and they will blend and stick better.
Step 4: Mod Podge your pumpkin.
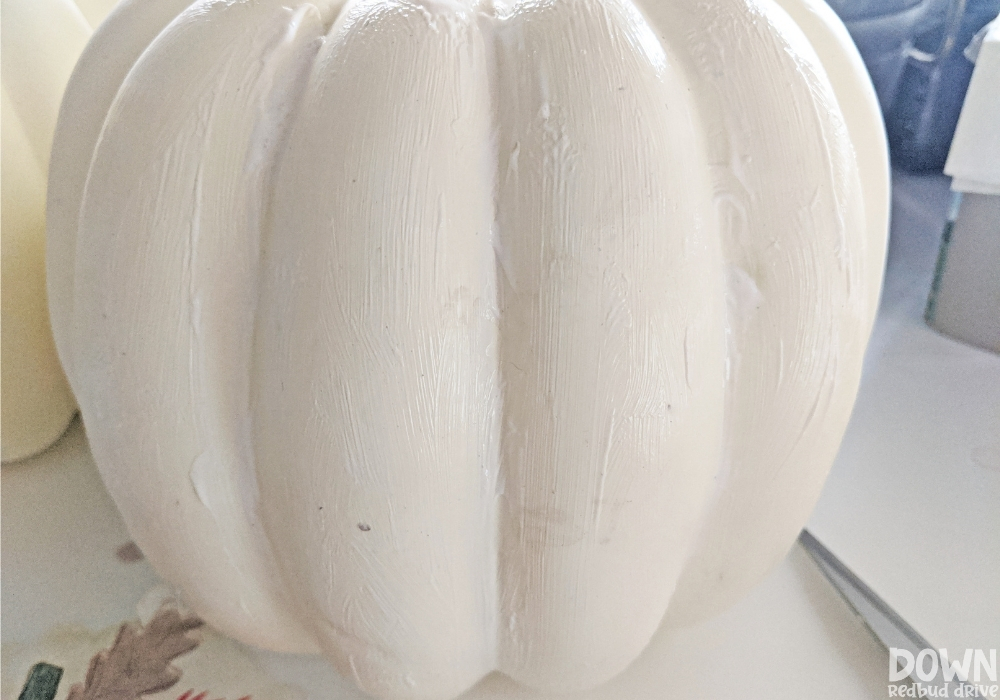

Once your design is torn out from your napkin, you need to liberally coat the area the design will go on your pumpkin in Mod Podge.
Use a foam brush to do this to keep it from glopping too badly in areas. Make sure to cover all areas the design will be for best results.
Gently press the design onto the Mod Podge coated area. Start from the center, and slowly press your fingers along the design working outward to avoid wrinkles and bubbles.
Step 5: Add a coat of Mod Podge to the top.
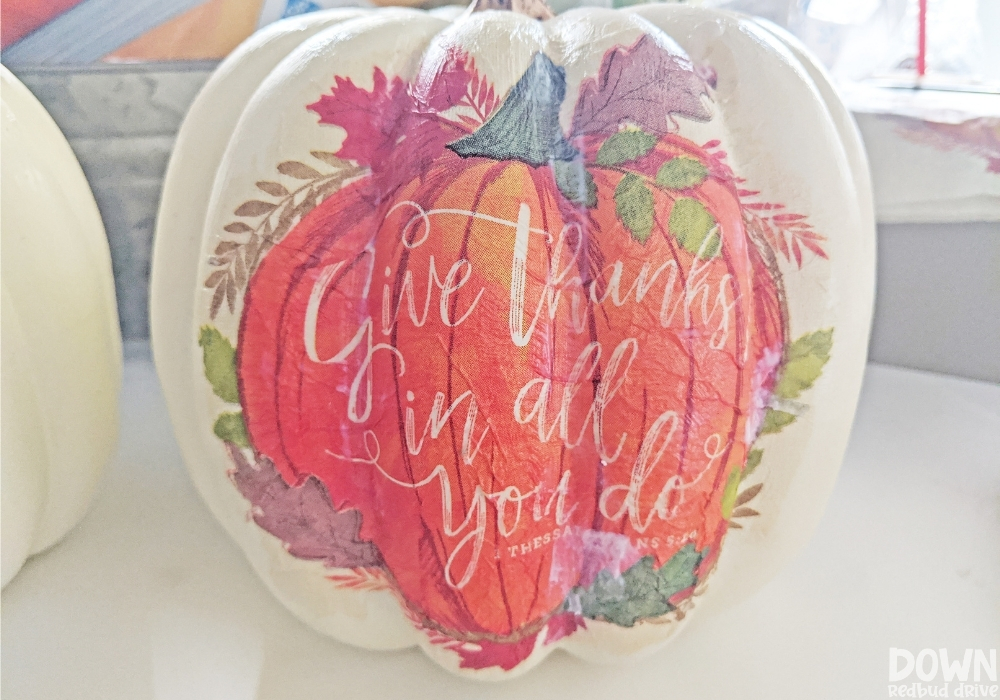

Use the foam brush and apply a coat of Mod Podge over the top of your design.
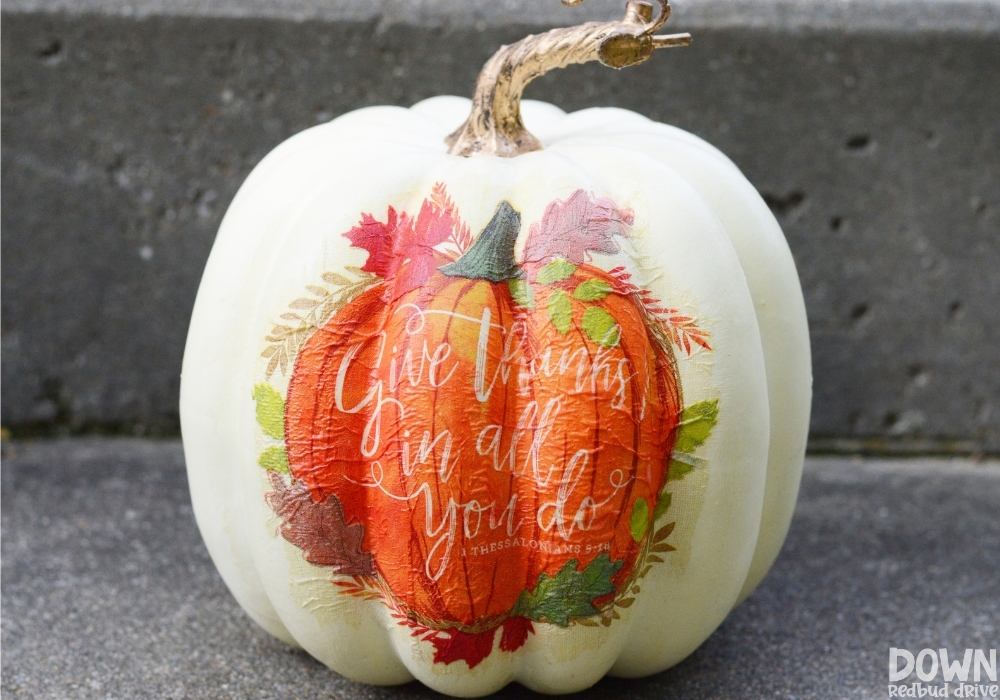

Allow your Napkin Pumpkin to dry for at least an hour before displaying safely. Once you’re familiar with the process, this only takes about 15 minutes to complete from start to finish.
These are SO easy and have such a wide range of possibility for design, and are the perfect pumpkin craft for adults or even kids!
Want more pumpkin DIY projects?
-

CLICK HERE -

CLICK HERE -

CLICK HERE
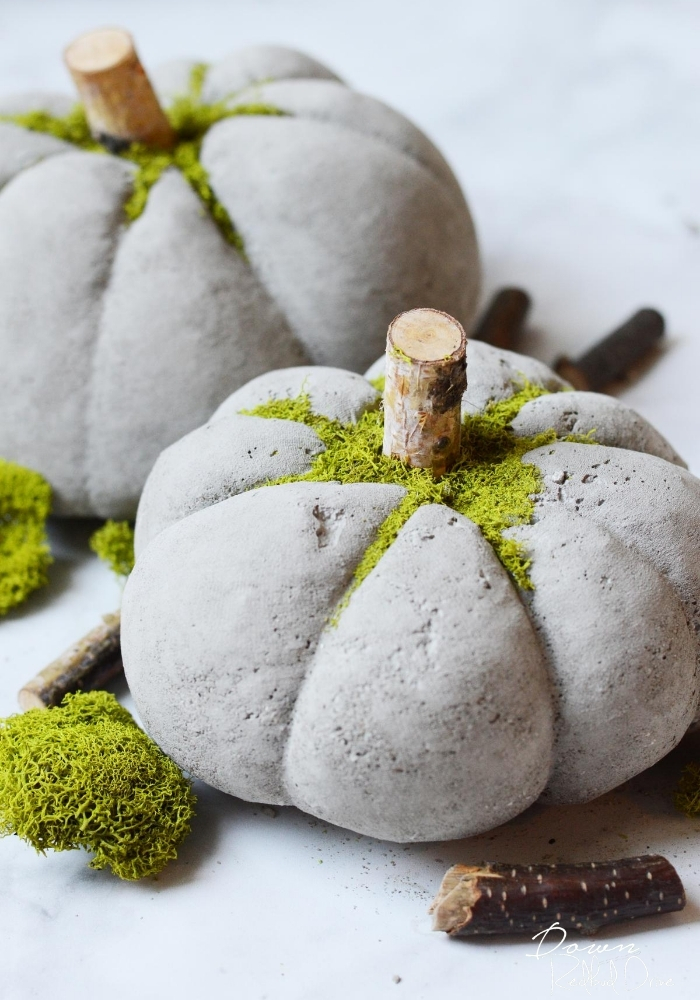
- DIY Concrete Pumpkins – These pumpkins are super unique and turn out so very cute!
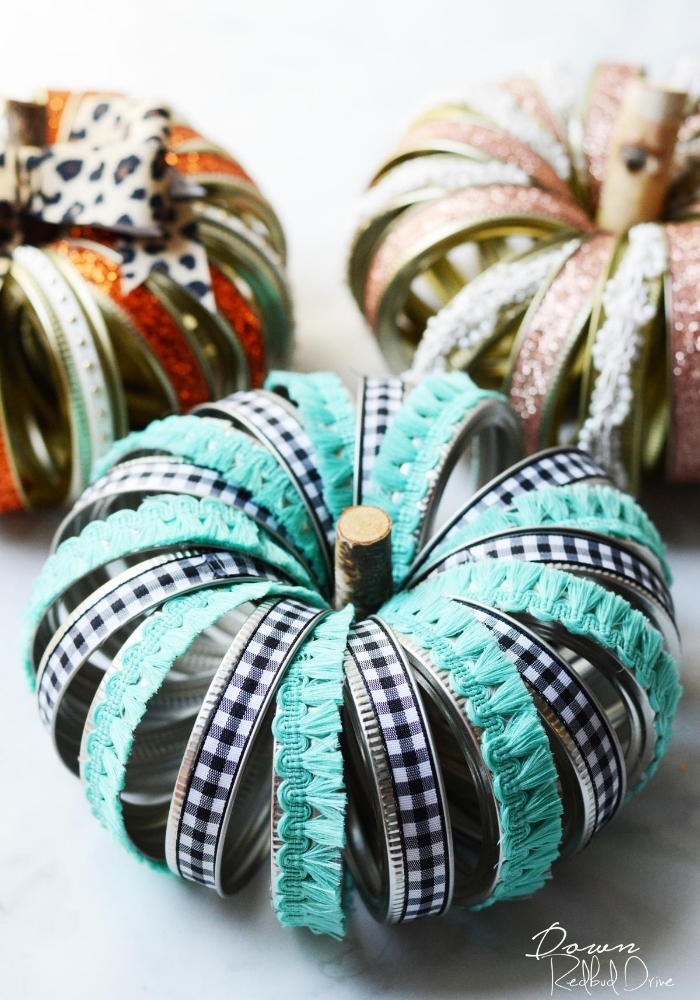
- Canning Ring Pumpkins – These canning ring pumpkins are super easy to make and they look amazing!
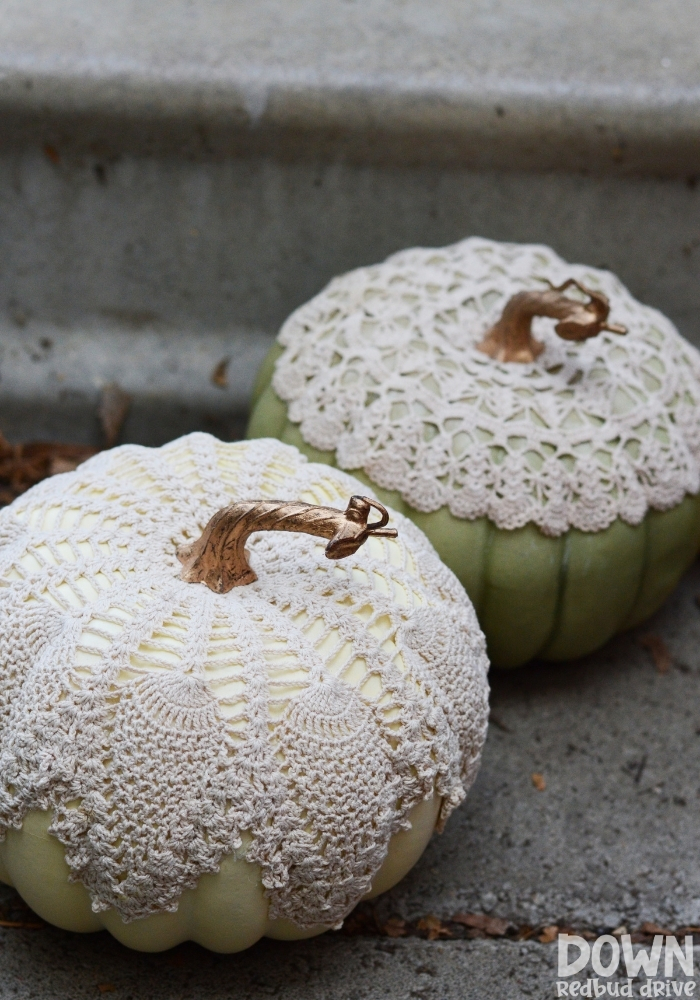
- DIY Doily Pumpkins – These doily pumpkins might be the easiest and cutest craft you do this fall!
- 100+ Pumpkin Crafts for Adults – or go here and see a HUGE collection of all my favorite pumpkin craft projects!
No matter where you find your napkins, I’m sure you’re going to love how simple and easy these Napkin Pumpkins turn out! Happy crafting!


