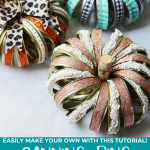
Canning Ring Pumpkins
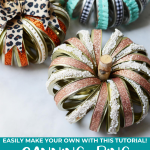

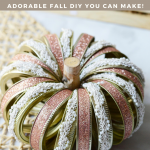




I’m in love with how adorable these Canning Ring Pumpkins turn out! They’re a simple craft using ribbon and canning rings and the color and pattern ideas are endless!

This post may contain affiliate links. See my full disclosure policy HERE.
I love making my own home decor, especially for seasons and holidays! It’s even better if I can make the decor using things I just have at my house.
I make a LOT of things using mason jar lids. I’ve made snowman decor, Christmas ornaments, and even another version of these Canning Ring Pumpkins using washi tape!
They’re super easy to make, only use a few supplies, and turn out really cute! This is one DIY you can be proud of displaying or even selling at craft fairs etc.
How do you make these Canning Ring Pumpkins?
Step 1: Gather your supplies.
You will need:
- Canning Rings (18 for each pumpkin)
- Floral Wire
- Ribbon (about 2 yards if using standard size canning rings)
- Hot Glue Gun
- Stick for the Stem
- Wire Cutters
- Scissors
Step 2: Gather your rings.
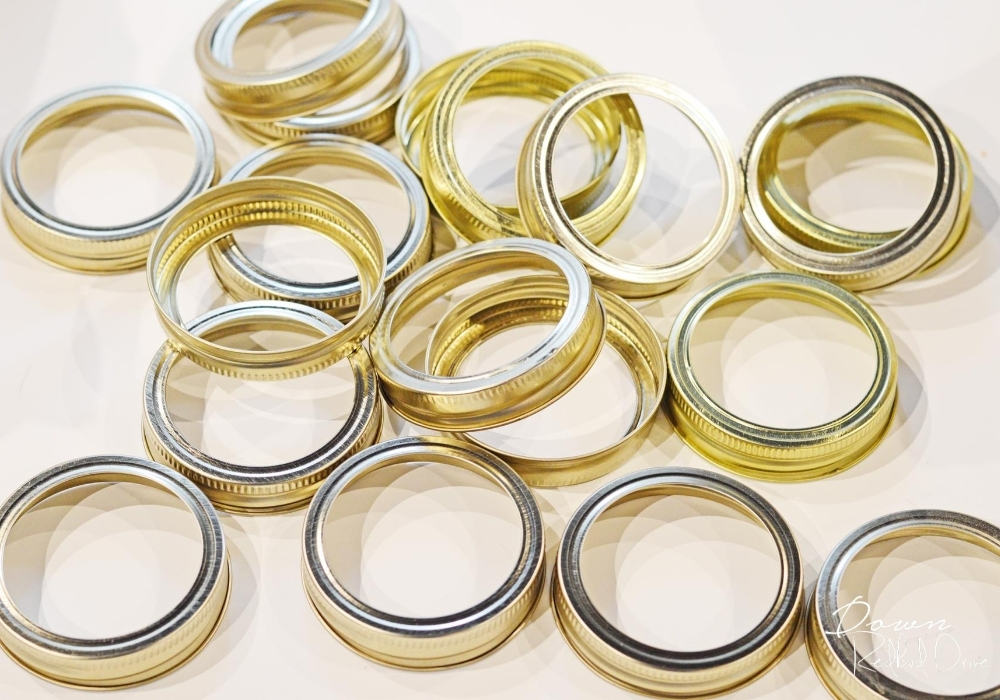

So I’ve played around with the number of rings to make the perfect pumpkin size, and 18 is the magic number.
Off-brand canning rings are usually gold, and name brand mason jar lids are usually silver. Keep that in mind when buying, depending on the color palette you’re going with.
Step 3: Cut your ribbon.
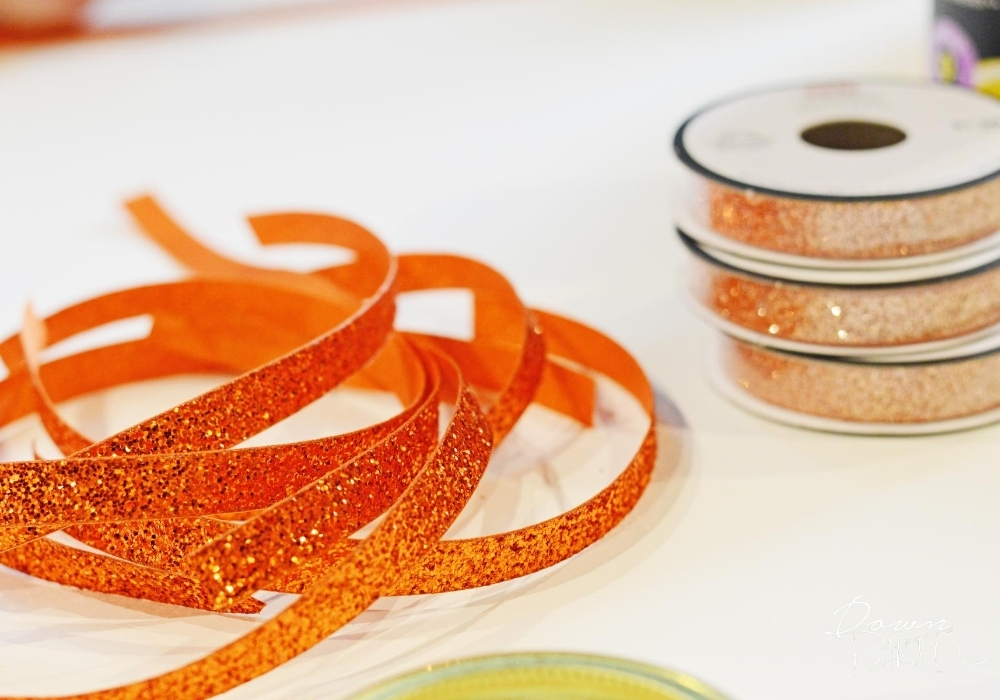

Not all canning rings are created equal, so measure a piece of ribbon around one of your canning rings with a little overlap so you can glue it on without a gap showing.
Then cut your ribbons the same length. You will have to choose if you’re doing the whole pumpkin one color of ribbon, or if you’re alternating.
Sometimes I do half and half, and sometimes I do 12 rings one color, and 6 another. Mix it up and make them fun!
Don’t be afraid to use ribbon with some texture. I’ve found that 3/8″ is about perfect.
Step 4: Glue on the ribbon.
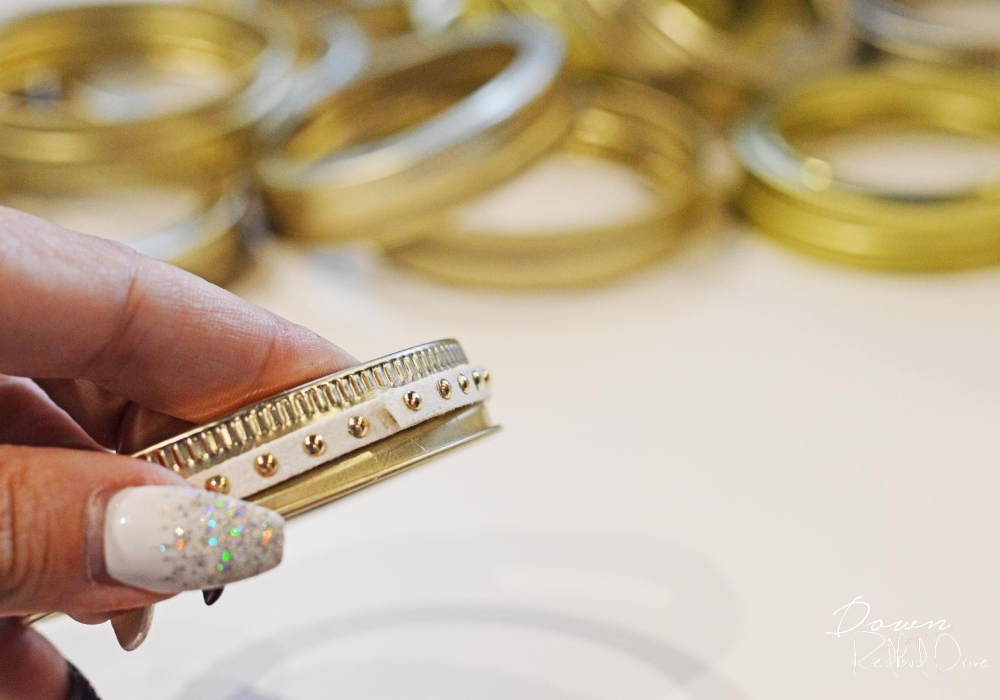

Use a hot glue gun to glue one side of the ribbon onto the canning ring. Let it dry for about 10 seconds, then wrap the ribbon around tightly and then overlap it on itself and glue it down again.
Pro Tip: If you are using a stretchier ribbon and want to make sure your ribbon doesn’t slip off the ring later, then go ahead and glue underneath the ribbon all the way around the ring.
Step 5: String on the canning rings.
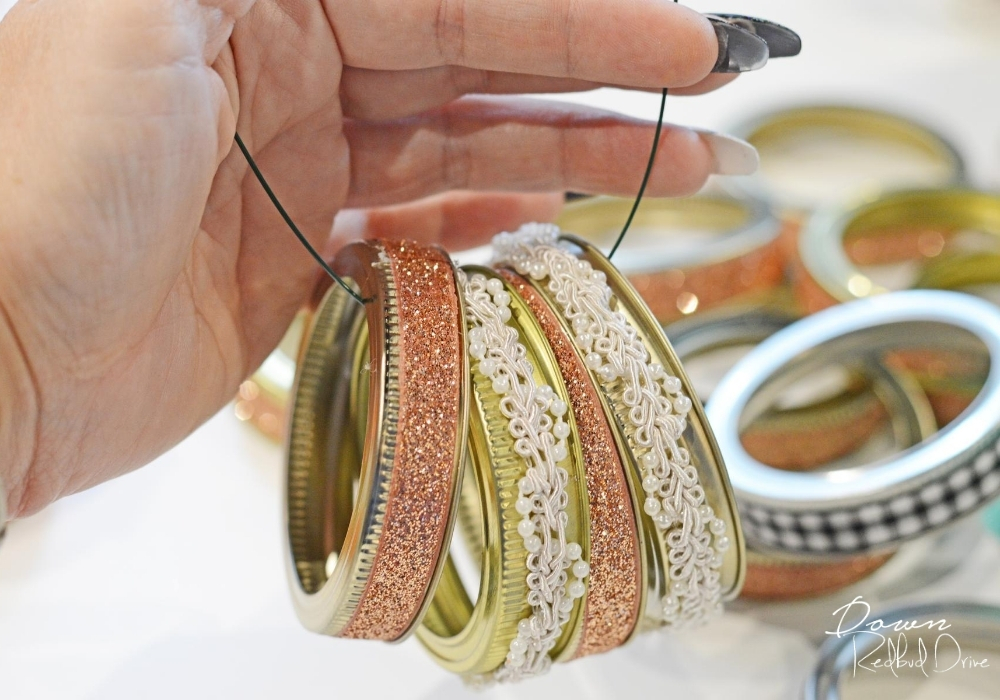

Once all the ribbon is glued onto the canning rings, it’s time to string them onto your piece of floral wire.
Make sure your rings are all facing the same direction and that you use the pattern you made.
Step 6: Tighten the wire on your Canning Ring Pumpkins.
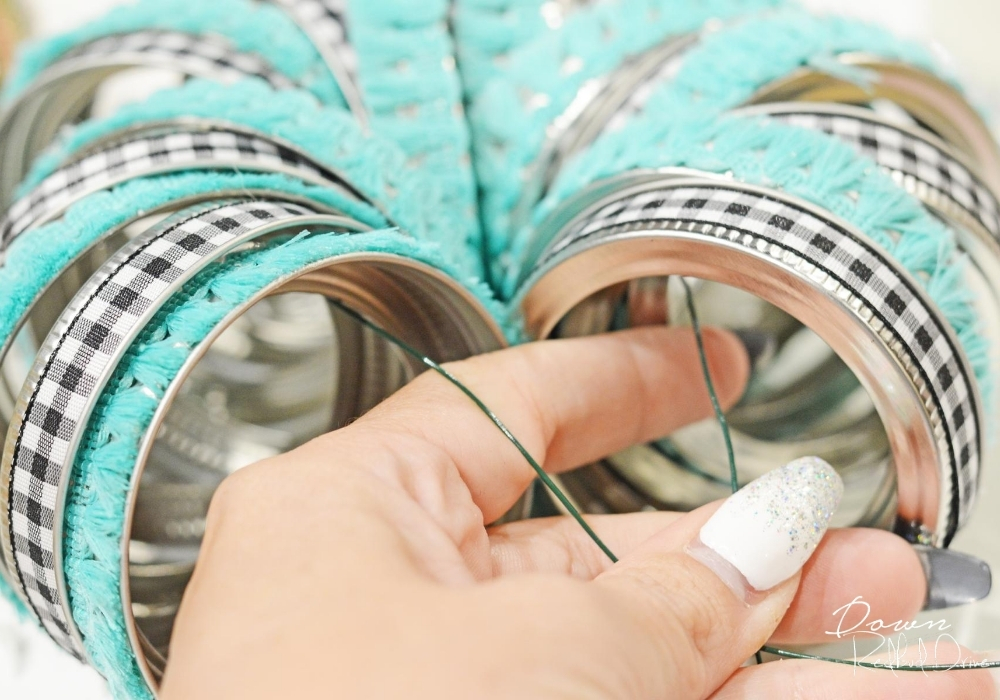

Once you have all 18 rings on the wire, twist it with your fingers in the center to hold them together.
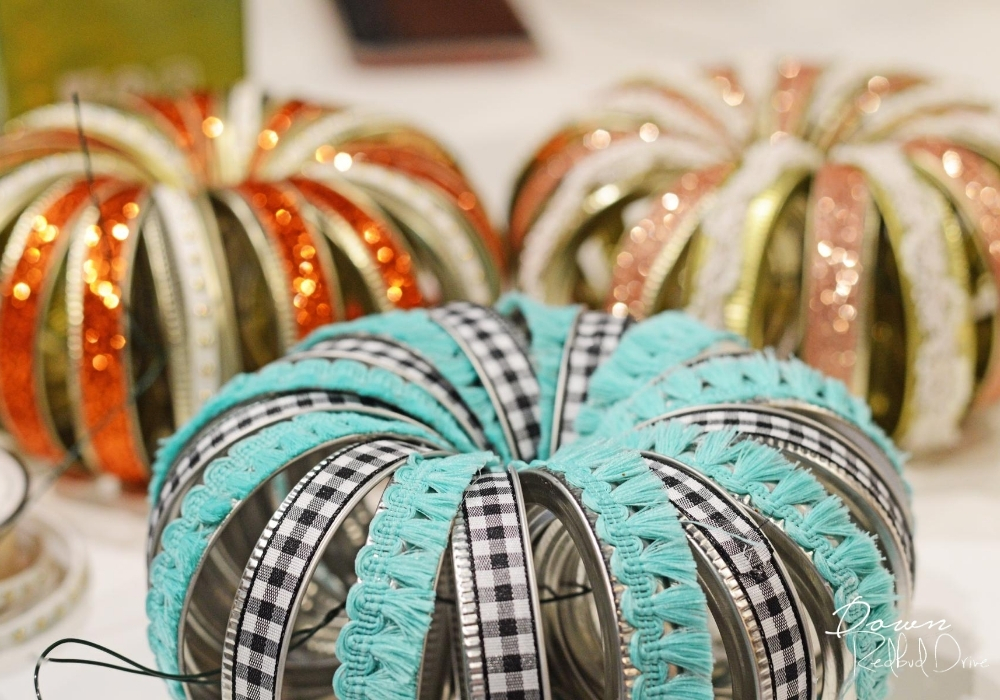

Arrange the rings so they sit nicely together like this, without being too tight in the center. Loosen, or tighten the wire as needed to get the sorted.
Once they sit how you want them to, use a pair of needle nose pliers to tighten the wire in place, and then cut off the excess wire.
Step 7: Add the stem and finishing touches to your Canning Ring Pumpkins.
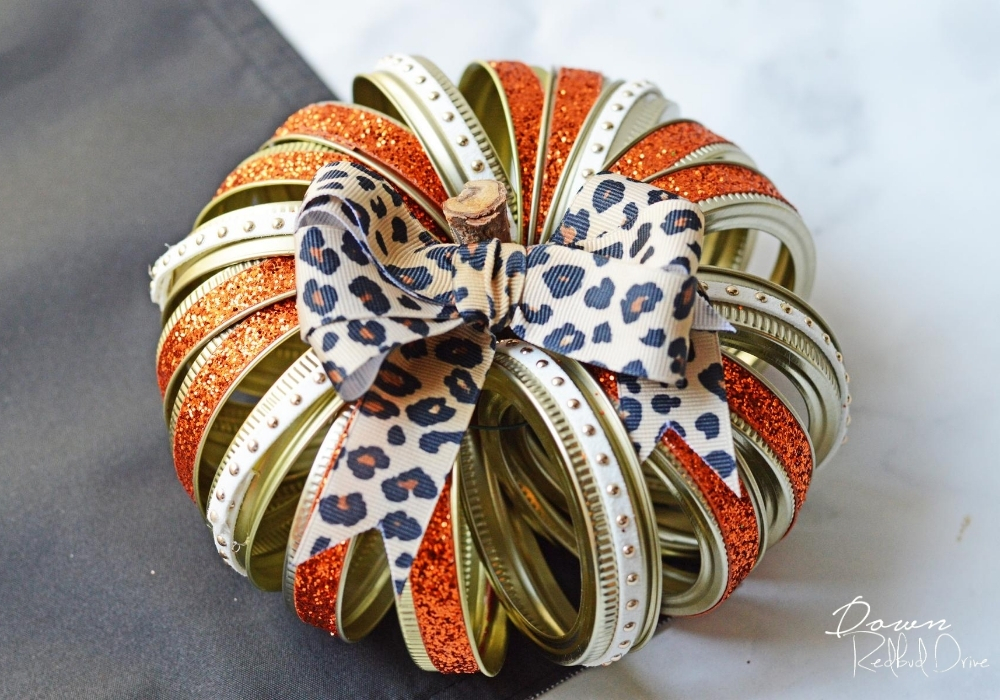

Next, you can use a stick to make a stem. I found cute little wood pieces at the dollar store in their craft section that made the perfect stems.
Wedge them in tightly, or use hot glue to hold them in place.
If you want to add a bow, or a leaf etc, do so after adding the stem. I used hot glue to attach the bows to the stem.


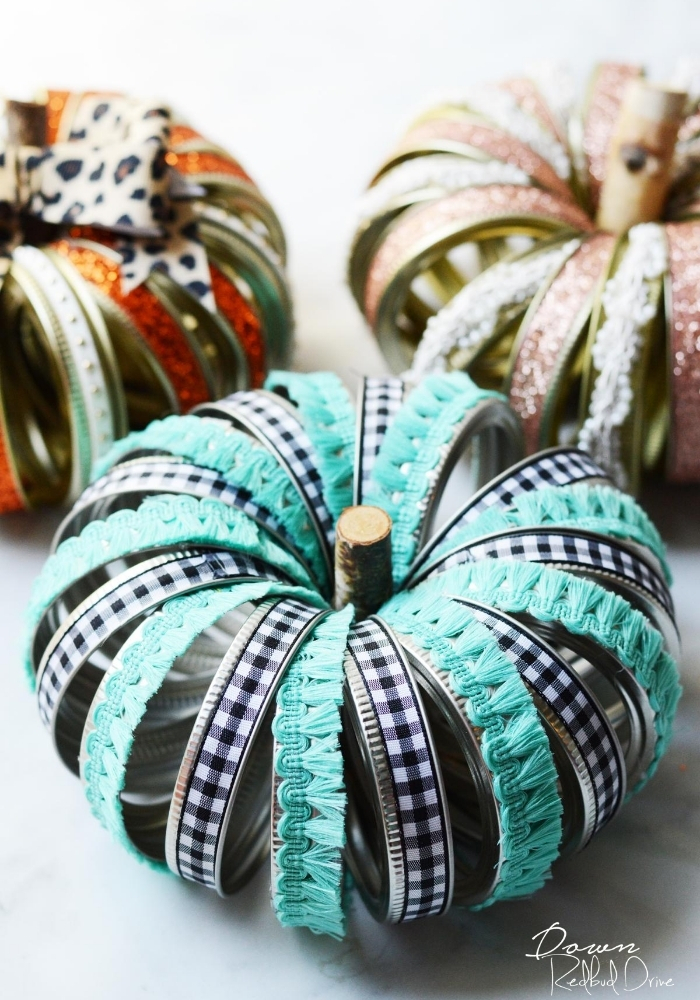
Mix up the styles and colors of the ribbon for a completely different look. You can go elegant and feminine, or you can be bold and colorful, or even traditional! Be creative!
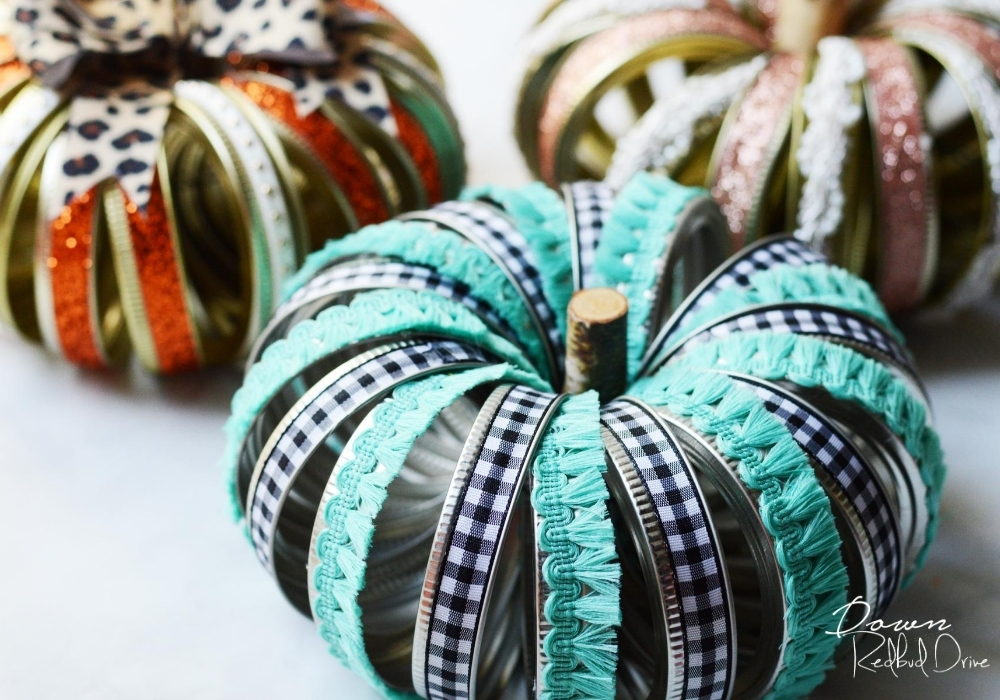

You can even use ribbon with tassels or beads to mix it up here and there too. I found this teal tassel at Hobby Lobby and love how it looks with the buffalo check!
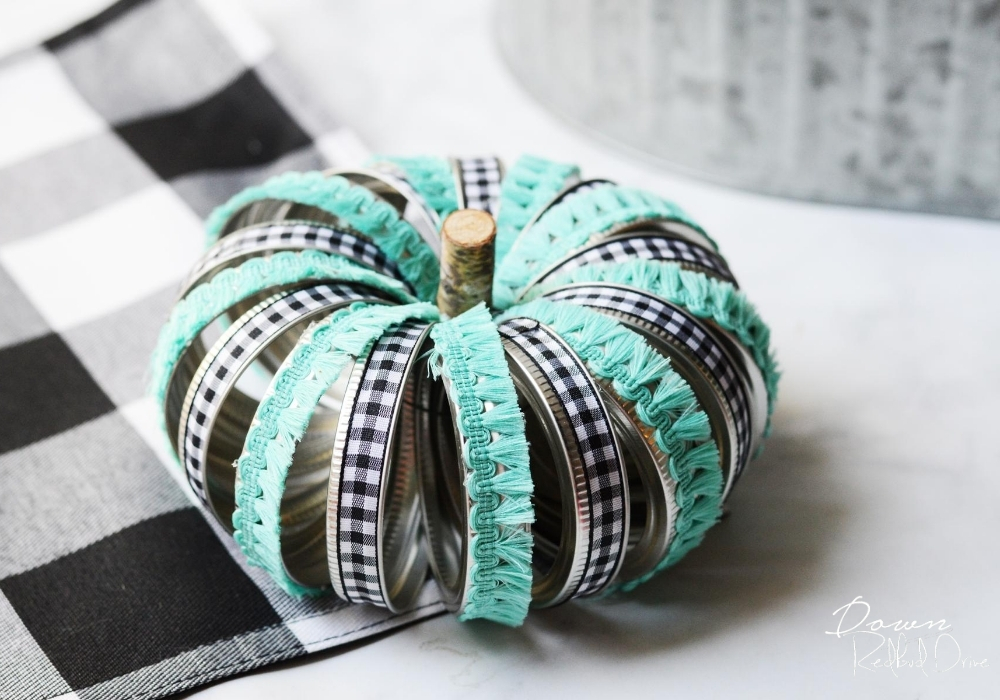

I think this pumpkin turned out to be my favorite, but the one with the leopard bow is funky and fun too!
Want more fall DIY projects?
-

CLICK HERE -

CLICK HERE -

CLICK HERE
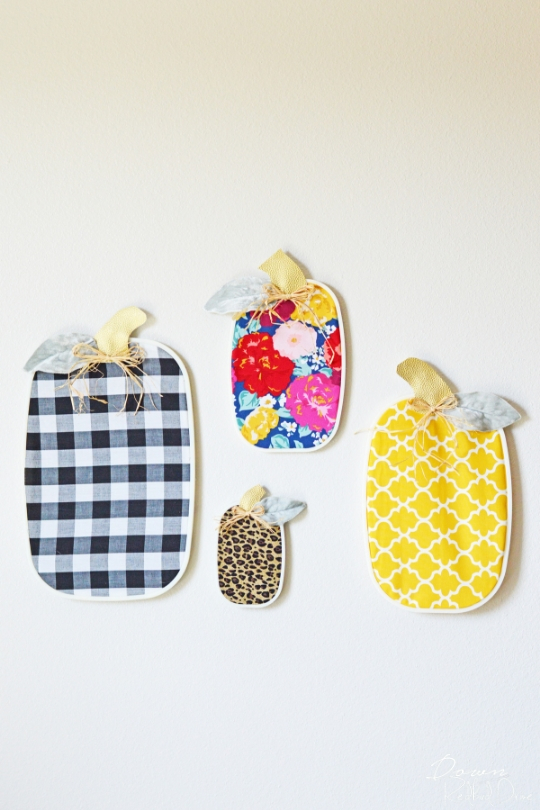
- Embroidery Hoop Pumpkins – These adorable pumpkins take just a few minutes to make!
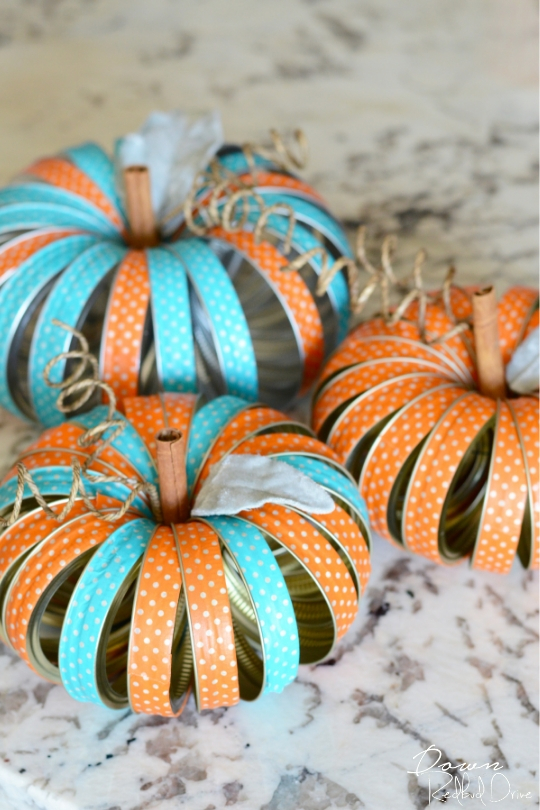
- Mason Jar Lid Pumpkins – for another version of these using washi tape instead of ribbon, check these out!
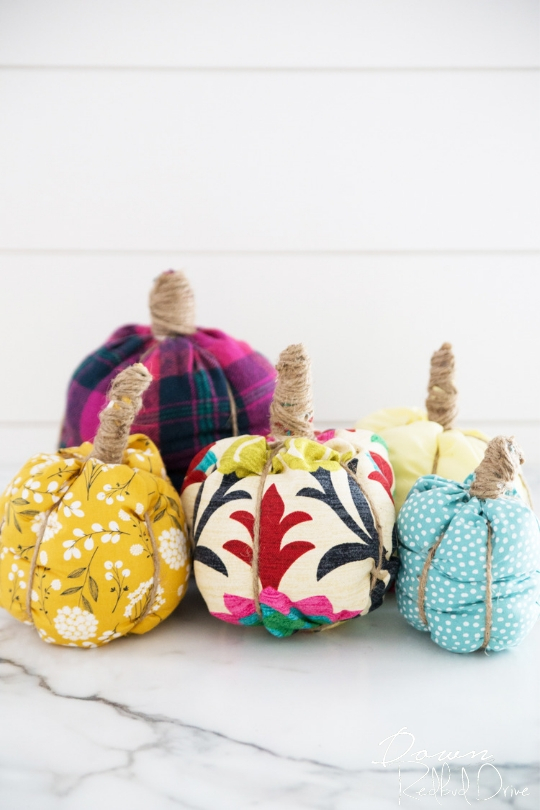
- No-Sew Fabric Pumpkins – These turn out so cute! Use old shirt sleeves or fabric scraps to make these!
Whether you make these Canning Ring Pumpkins for yourself, or as a gift, or even to sell, you’re going to want to make more and more of them – they’re addicting! Happy making!


