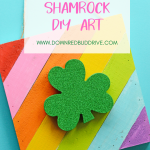
Rainbow Shamrock Art DIY
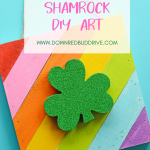

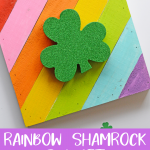

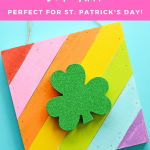



Make your own Rainbow Shamrock Art with this super simple DIY tutorial! It’s a fifteen-minute St. Patrick’s Day craft and makes the perfect St. Patty’s Day home decor!

This post may contain affiliate links. See my full disclosure policy HERE.
I LOVE rainbows and I love decorating with them for St. Patrick’s Day! This Rainbow Shamrock Art DIY was SO simple, that even kids could make them easily.
On top of this being a simple craft, it’s also relatively cheap – less than $10 total! It’s my new favorite piece of St. Patrick’s Day home decor, and I’m proud to say I made it!
How to make Rainbow Shamrock Art
Step 1: Gather your supplies.
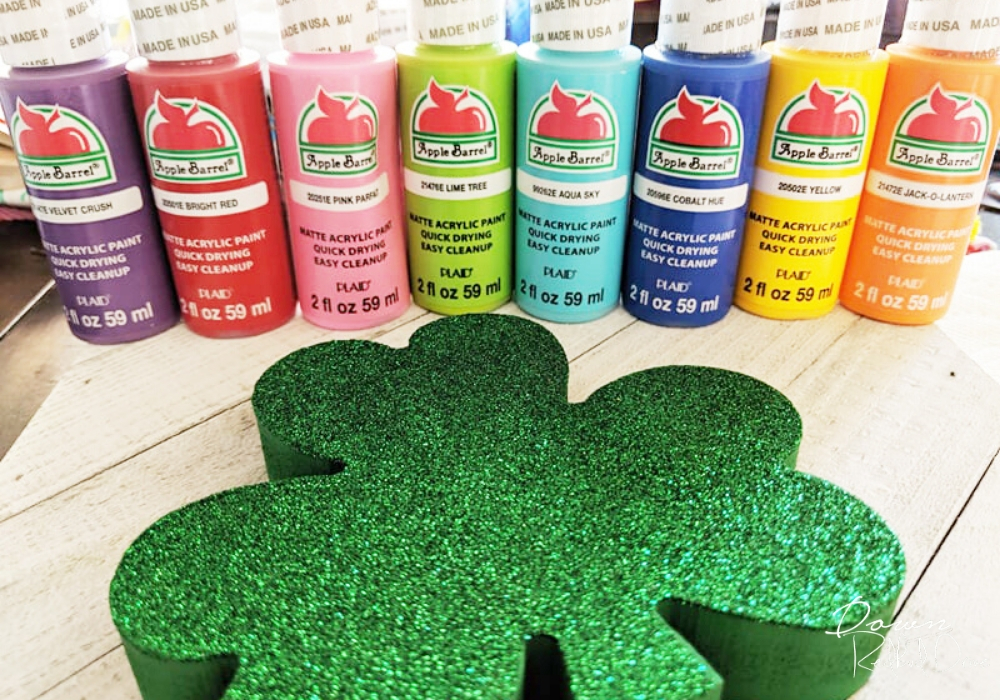

You will need:
- Wooden Glitter Shamrock (I found mine at Hobby Lobby for less than $3, or use the link to buy an unfinished one and paint and glitter it yourself)
- Acrylic Paint in rainbow colors (use the link to get on Amazon, or get them for $0.50 each at Walmart)
- White Wooden Sign (I found mine at Walmart for about $5)
- Hot Glue Gun
- Paintbrush
Step 2: Paint your Rainbow Shamrock Art sign.
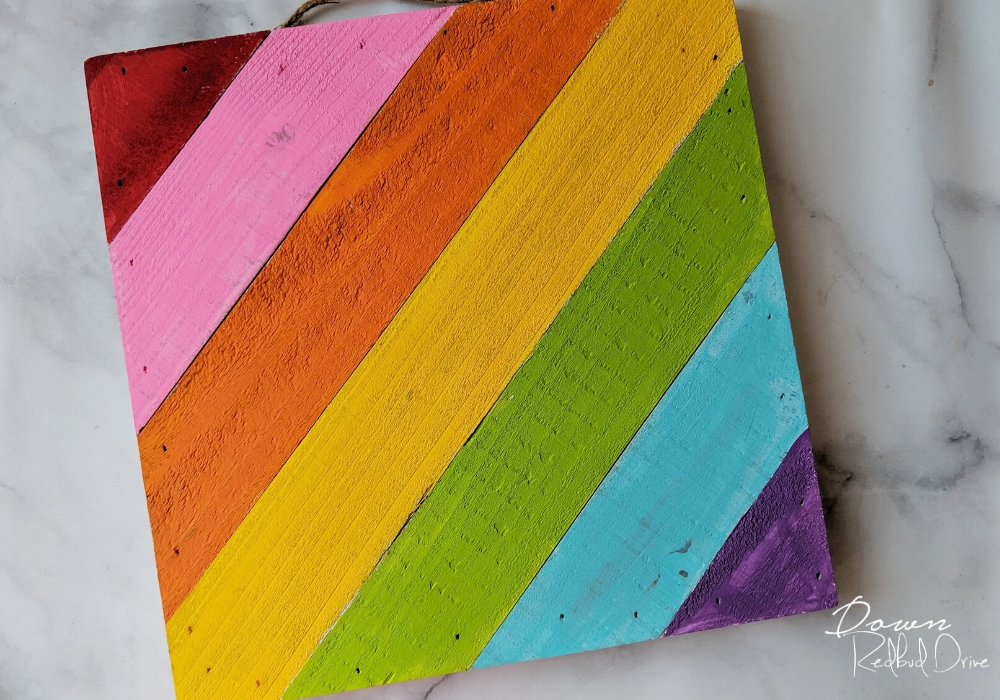

The wooden sign I got from Walmart is 10″ x 10″. It’s already painted white, so it makes a nice base for vibrant colors to go on top. If your sign isn’t already painted white, your colors may not be as bright.
Pro Tip: Paint your sign white for the best final rainbow colors!
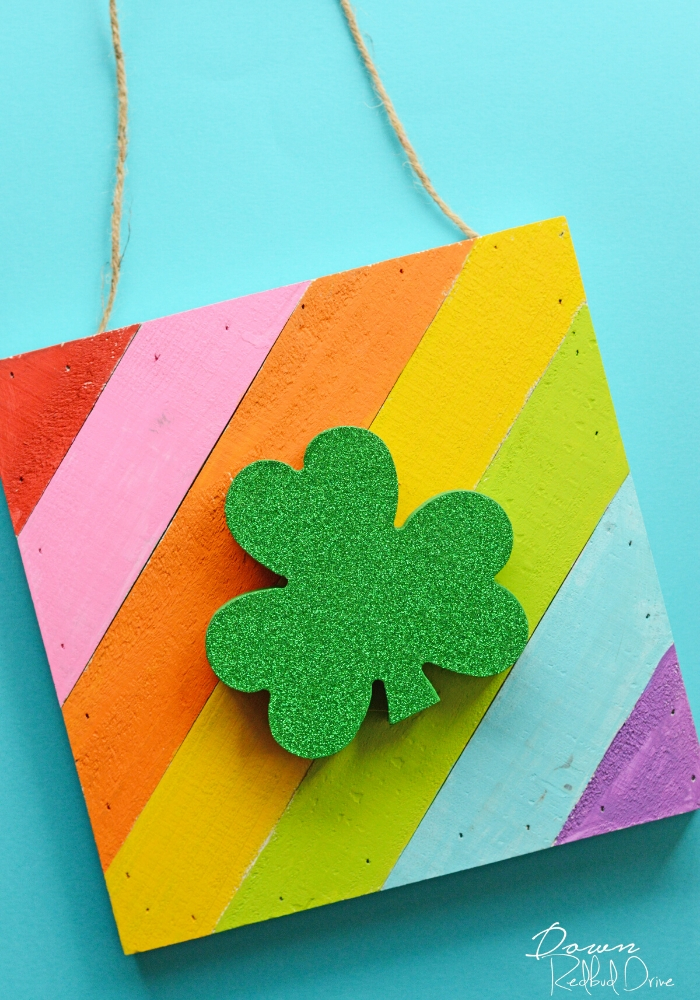
My wood slats went in a diagonal pattern, so I painted each slat a different color. Acrylic paints dry quickly, so this shouldn’t take long.
Use a medium-sized paintbrush for the best results!
Pro Tip: Brighter shades look better than primary shades. Choose an aqua instead of a standard blue for a more modern, bright look.
Step 3: Glue on the shamrock.
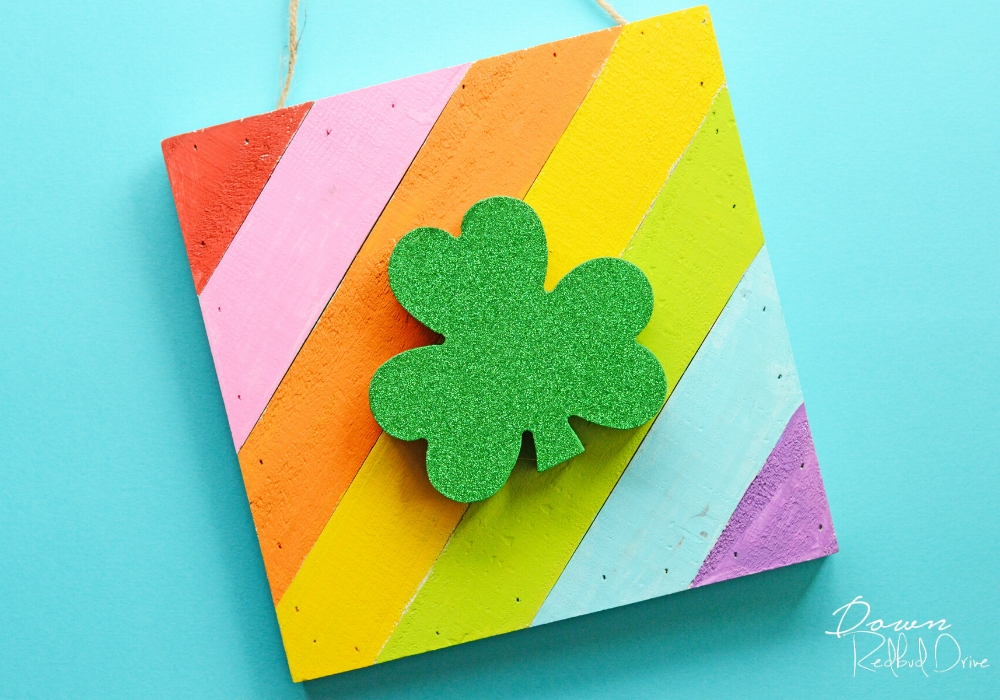

Use a hot glue gun and add a generous amount of hot glue to glue on the back of the shamrock and press it on the rainbow art you just made.
Pro Tip: Glue on your shamrock at an angle to keep it from being slightly crooked when you try to get it straight.
The white wood sign I got from Walmart came with a twine hanger already installed, so if you got the same sign I did, your project is finished! If not, you’ll need to add a ribbon or hanger to the back of your sign.
Let your glue dry, and your Rainbow Shamrock home decor sign is finished! It’s beautiful, and vibrant and makes the perfect DIY St. Patrick’s Day home decor!
Want more St. Patrick’s Day ideas?
- Rainbow Wall Art – make a rainbow from rope and ribbon for stunning wall art!
- You Got Lucky Treat – cute chocolate coins with a printable label is the perfect little gift!
- Shamrock Sprinkle Cookies – EASY cookies that look (and taste!) super festive!
No matter what room you hang this adorable Rainbow Shamrock art, it’s going to brighten it up! It’s the perfect ray of sunshine for this green-filled holiday! Happy St. Patrick’s Day!


