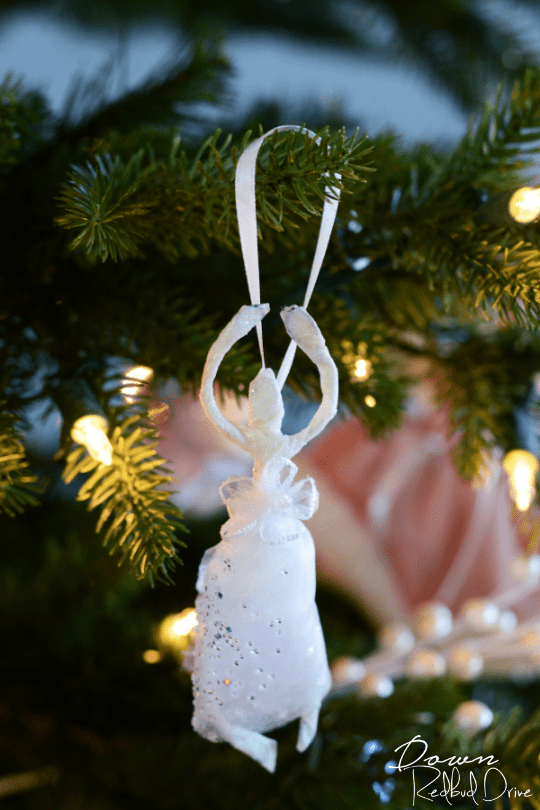
Ballerina Ornament | Easy DIY Christmas Ornament


Recently we went and saw The Nutcracker and The Four Realms in theaters. It was a BEAUTIFUL film full of gorgeous imagery and amazing dancing, and you should go see it! After we saw it, I knew I wanted to put something special on my Christmas tree this year as a little nod to the movie, so I made this Ballerina Ornament.
This Ballerina Ornament is super easy to DIY and only take a few supplies and about ten minutes. Each ornament is one of a kind and is totally pose-able so you can have each one doing a different dance move. Let’s get making! (P.S. I’ve also included a super fun free printable activity pack from The Nutcracker and The Four Realms for you to do with your kids – find it below!)

This post may contain affiliate links. See our full disclosure policy HERE.
Ballerina Ornament DIY
You will need:
Floral wire
Needle-nosed pliers
Wire cutters
White floral tape
Tulle or Organza Fabric
Flower accent (optional)
1/4″ ribbon
GET THE FREE PRINTABLE KID’S ACTIVITY PACK FOR THE NUTCRACKER AND THE FOUR REALMS HERE!
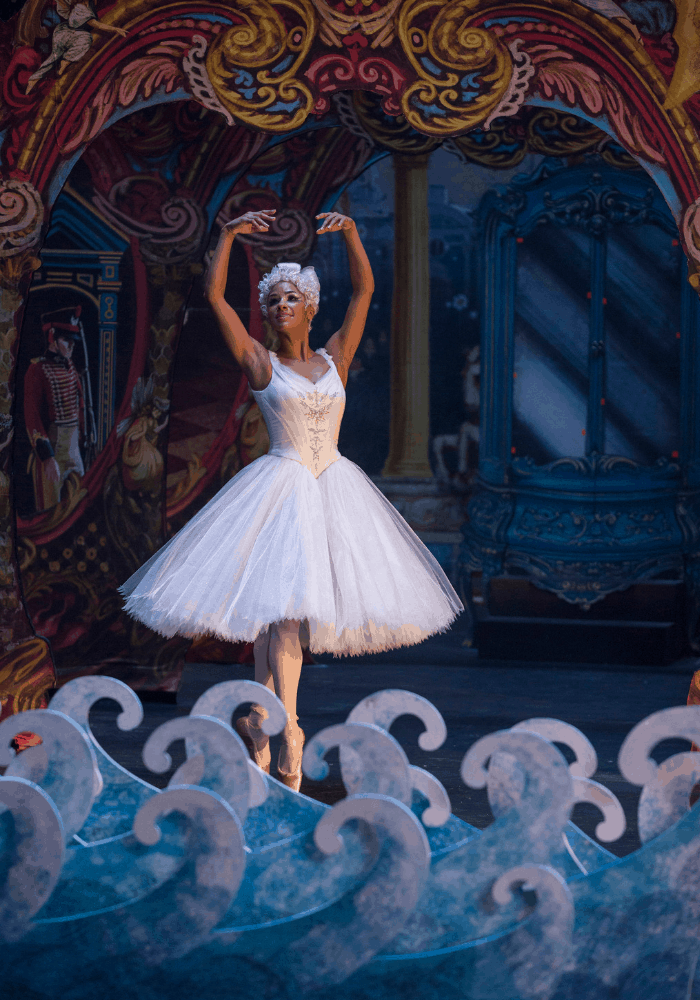

This imagery from The Nutcracker and the Four Realms is what inspired me to make this little Ballerina Ornament. This movie is the perfect Christmas movie, and I’m sure it’s going to be a tradition for our family to watch it each year at Christmas-time! You will not believe all the attention to detail in the costumes and make-up for this film. Absolutely blew me away. So with that image in mind, let’s make our own Ballerina Ornament. (If you want to keep the kinds entertained while you make this, you can print off this free The Nutcracker and The Four Realms activity pack that includes coloring pages, a maze, and even a bookmark craft – CLICK HERE!)
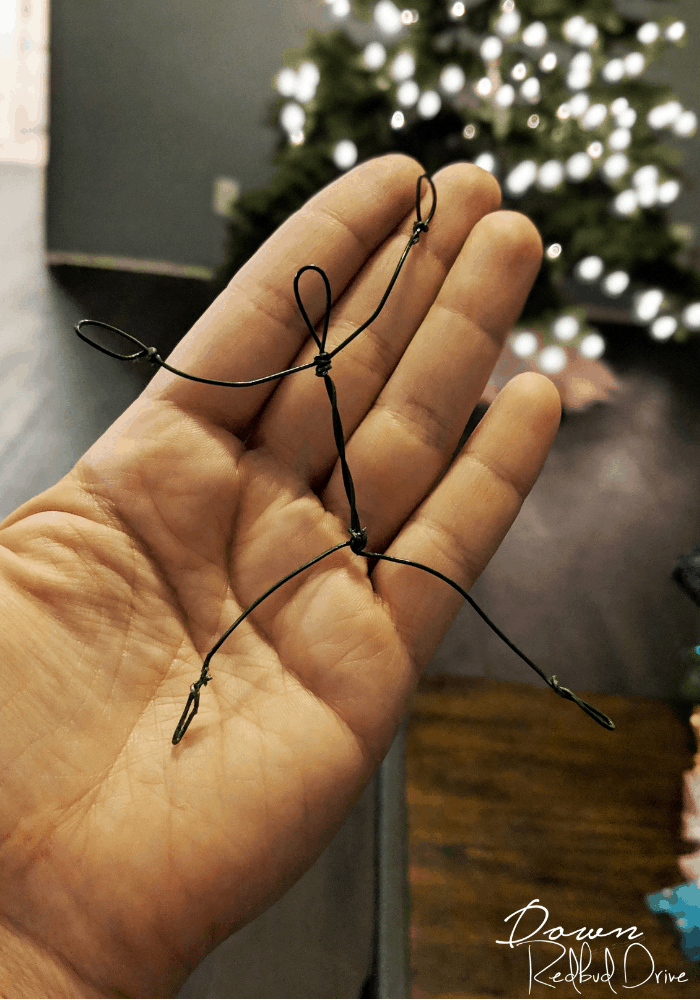

First you’re going to use your floral wire, wire cutters, and pliers to make a person shape. Leave oval-shaped loops for the head, hands, and feet. Just wrap and loop the wire with the pliers. Each ballerina will be different.
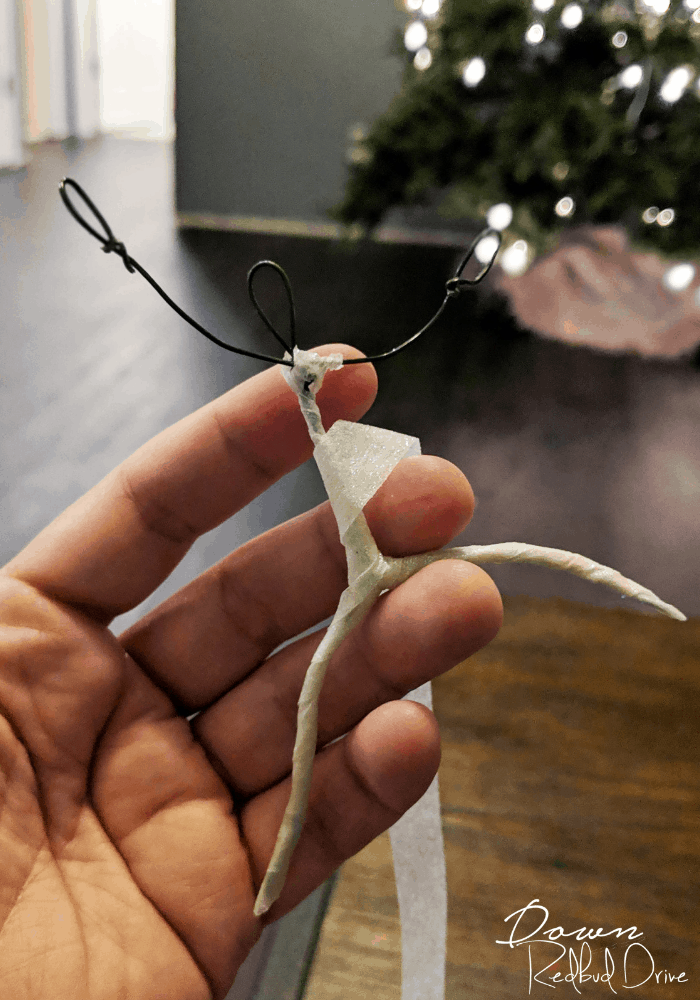

Next, you’re going to use your white floral tape (I found mine at Hobby Lobby in the wedding section – it’s even glittery!) to completely cover the wire shapes. Pretend you’re turning your wire shape into a mummy. Wrap tightly to keep your design dainty.
When you are finished and your entire wire shape is covered, use a dot of hot glue to glue down the end of the floral tape (it doesn’t like to stick well).
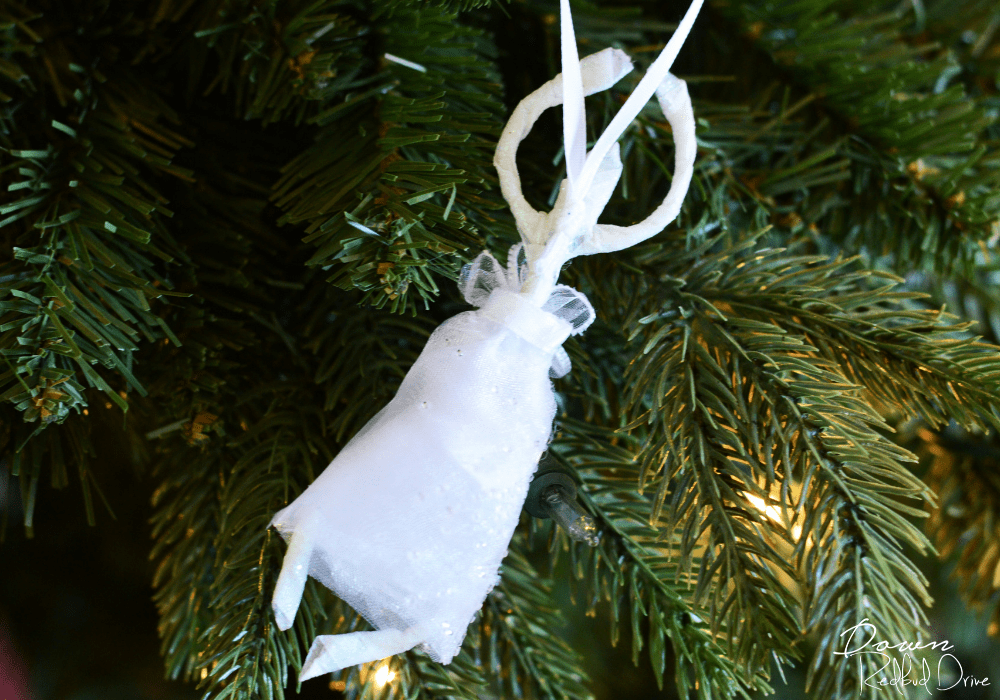

Next, you’re going to add the skirt to your Ballerina Ornament. Cut a small piece of fabric (mine was about 8″ long – width doesn’t matter because you can trim it once you’re done wrapping the skirt) for the skirt. I used a sparkly organza, but you can just use tulle. Put a dot of hot glue and start wrapping the fabric around your ballerina’s waist. Put a bit of glue, and then wrap, a bit more glue, and then wrap some more. Glue and wrap until you feel the skirt is full enough.
Once you’re done gluing, trim the skirt to the length you want it on your ballerina. Then, cut a small piece of ribbon and glue it around the wast of the ballerina at the top of the skirt. This will hide any imperfections made when gluing the skirt on. I added a little flower embellishment (that I found in the ribbon section at Walmart) to the front of the skirt to give it a pretty, final touch.
For the ornament hanger on your Ballerina Ornament, I just tied about 7″ of ribbon into a loop. Then I glued the knot to the back of the ornament as shown in the picture above.
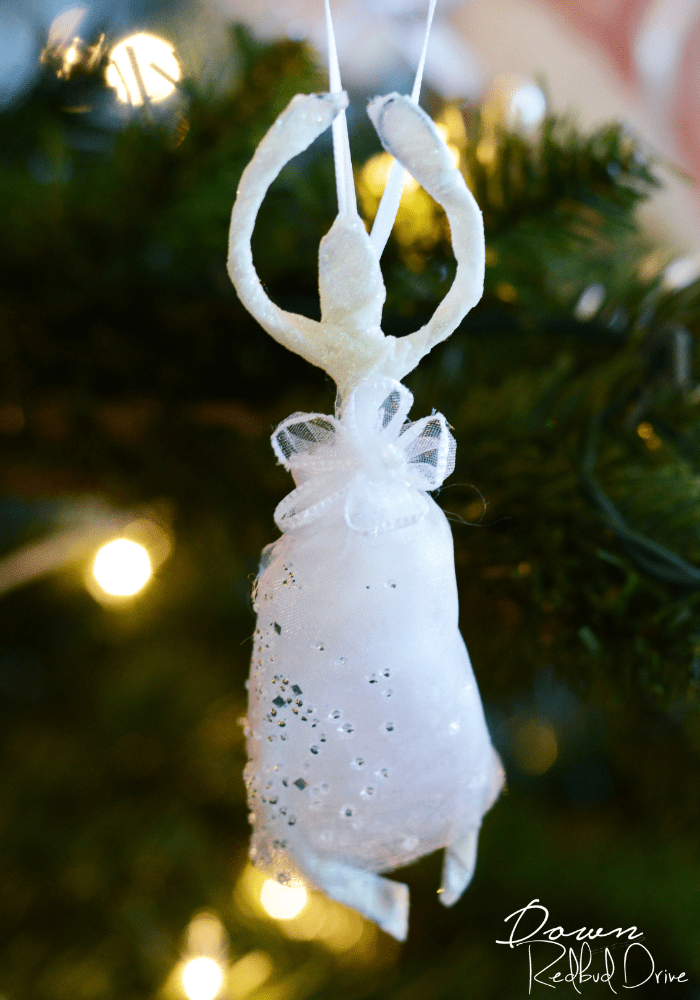

After you’re done with your Ballerina Ornament, you can pose it however you want! The arms and legs will bend easily, making it simple to pose each ballerina differently.
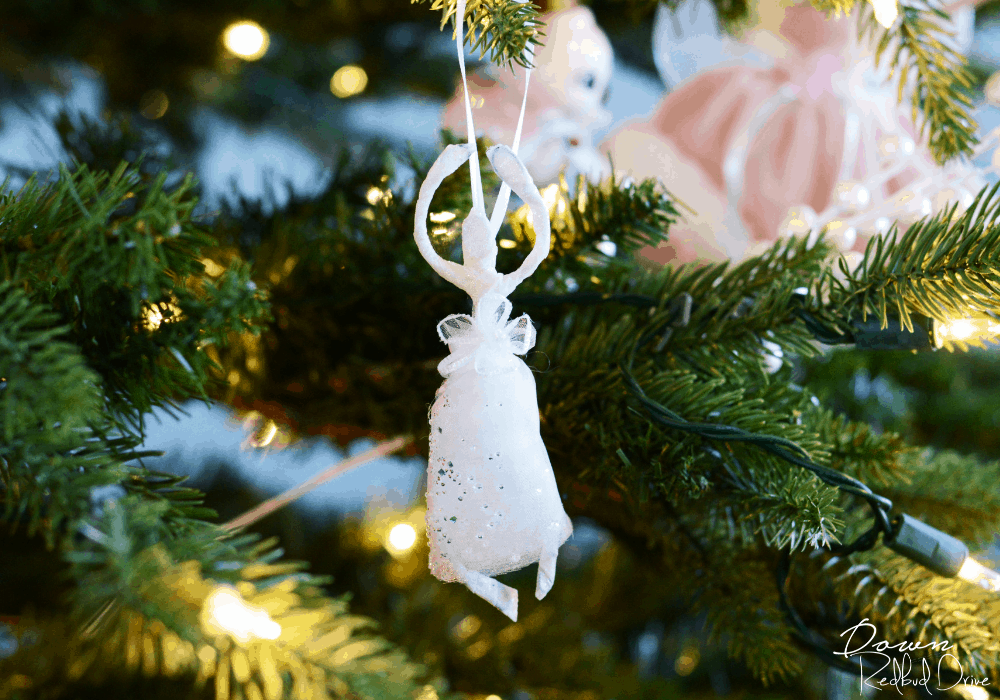


My tree theme is done in pinks, golds and creams this year, and this precious little Ballerina Ornament is going to fit right in! Haven’t seen The Nutcracker and The Four Realms yet? Check out the trailer below!


