How To Shabby Paint With Water


Want to give your furniture that fun, shabby chic farmhouse decor look iwthout sanding for 75 years? Read this post to learn How to Shabby Paint with Water!


How to Shabby Paint with Water
Shabby painting items is one of my favorite things to do. Adding age and patina to a freshly painted furniture piece brings out character and detail and can take it from drab to wow in just a few steps! You don’t need a single piece of sandpaper to shabby chic, and I’m going to teach you how to shabby paint with water!
SEE THE BEFORE AND AFTER OF MY END TABLES USING THIS TECHNIQUE HERE!
As a disclaimer, I have only been able to effectively do this with American Paint Company chalk paints. They have a chalk and mineral, water based paints that allows you do this easily. I have never been able to effectively replicate this with latex based paints, which is what most “chalk paints” actually are. You can’t buy APC Paints online, but you can check their website to find a retailer near you.
CLICK THE VIDEO TO SEE A STEP-BY-STEP TUTORIAL:
THINNING THE PAINT
One 4 oz. container of paint will paint one small furniture piece. That means items like a dining room chair, an end table etc. The paint can be diluted with water to stretch it even further. I recommend using a 4:1 ration of paint and water. That means, you need four times as much paint as you do water. I always eyeball it. Add a tiny bit of water at a time. You can always add more water if you need it, but you will waste paint if you have to add more paint.
The first step in how to shabby paint with water is to pour your paint into a styrofoam cup, or a small dispoable paint container. Add 1/4 as much water as you did paint. No need to mix, you can do that with your paintbrush as you paint your piece. Use a fairly nice paintbrush, otherwise the brisltes will fall out of it as you paint, and will leave marks in your piece when you find them and remove them.
No need to make sure your brush strokes are the same direction, and the brush strokes wont show once it dries. Paint a coat, let it dry for two hours, and then paint a second coat. Let it dry for another two hours.
AGING
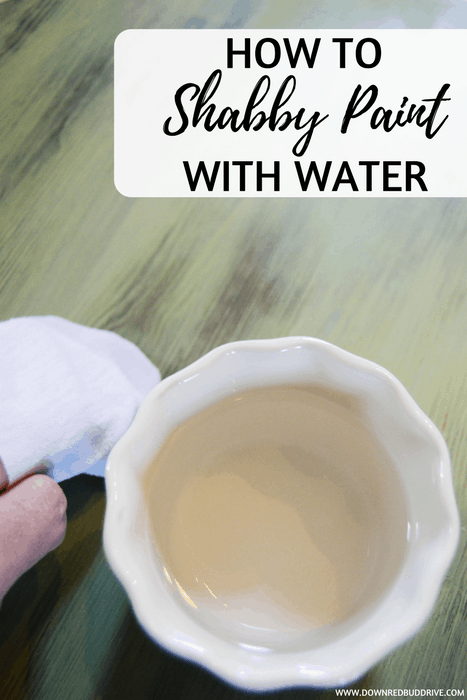
Here comes the fun part! Get a clean, lint-free, white cloth (I use an old white t-shirt). I cut my t-shirt’s down to about a 6″ square and that works well for me. If you have large hands, you may want to use a larger cloth. Get a small cup of clean water in a disposable container so you can shabby your piece.
Wrap the cloth around your fingers, and make sure it’s smooth where you will be rubbing on the furniture piece (as in, don’t let the cloth wrinkle while you’re aging it.) Don’t stick your whole hand in the cup, just wet the tips of your fingers. Gently press your fingers against the furniture piece and rub to age it. The harder your press, the more paint will come off. I generally start off pressing gently, and gradually press harder as soon as I’m sure I like the way that spot is aging. Pro tip: take off any hand jewelry to avoid making scratches you don’t want to.
Some of the best places to age are on the corners, around details, around cracks or chips in the furniture, and around the edges. You will also need to age the rest of the piece, but age large surfaces in the same direction. Don’t start off aging the top of a table horizontally, and then switch halfway through and start againg it vertically. It’s just weird.
SEALING
Allow that to dry for 2-3 hours. Once all the dark spots have disappeared, wipe it down gently with another dry, clean, lint-free, white cloth. Use a clear antiquing wax to seal it. I use a crappy, cheap 2″ brush to apply the wax, and always use the wax from APC. You absolutely must seal your project after you paint it with this paint, or it will just rub and scratch off easily. Apple the wax in a liberal coat and let it dry for a couple of hours. Then once it’s completely dry, use another dry cloth to dry buff the wax. Start off with gentle pressure, and then as it smooths, increase the pressure. This will leave your piece with a hard, smooth finish that will be water resistant! Now you know how to shabby paint with water!
If you want to know how we made this Simple DIY Lazy Susan, click HERE for the tutorial!


