Simple DIY Lazy Susan


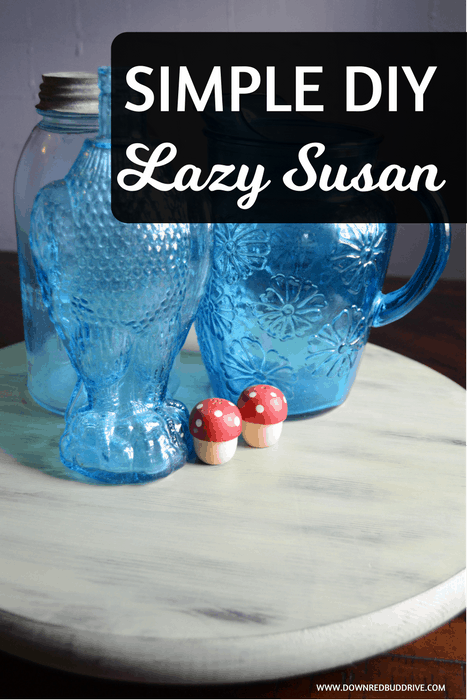

I’ve always loved having a lazy susan in the middle of the kitchen table. It makes displaying things, and serving a big meal easier, and they’re just plain neat! I had NO idea that making one was so easy! If you can use a basic drill, you can make one of these for super cheap! We’ve included plenty of step-by-step pictures to help you make this simple DIY lazy susan! Want to know how we painted it? Check out the post on How to Shabby Paint with Water HERE!
You will need:
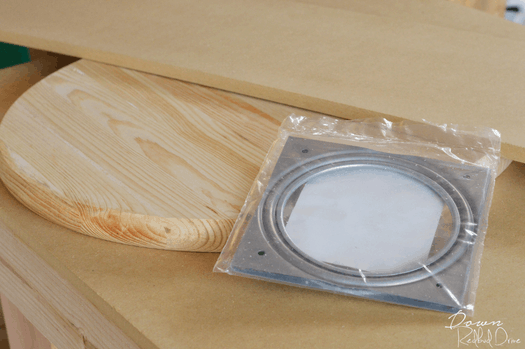

Round piece of pine (most lumber stores have them)
4 – 5/8” Nail Tacks
4 – 1 ½ Inch Screws
Lazy Susan metal bracket (sold at most hardware stores)
8×8” piece of wood (we used pine)
6×6” piece of wood (again, we used pine)
Drill ( using a 9/64th standard drill bit)
Note: Your lazy Susan metal part may differ in size than the one we used. We used a square 6-inch one, which we linked to in the supplies list. If yours is a different size, you made need to adjust the size of the two bottom pieces of wood accordingly.
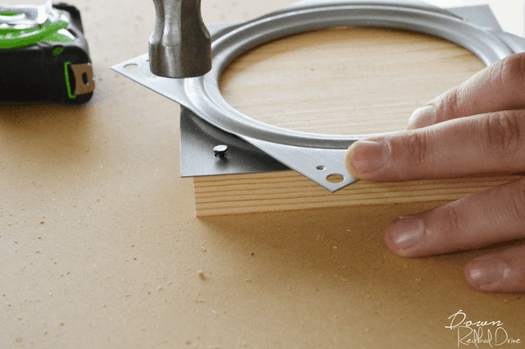

Begin by placing your 6-inch piece of board on the smallest spinning portion of the lazy susan bracket (the spinning metal piece). There should be pre-made holes in it so use your 4 tacks to secure it.
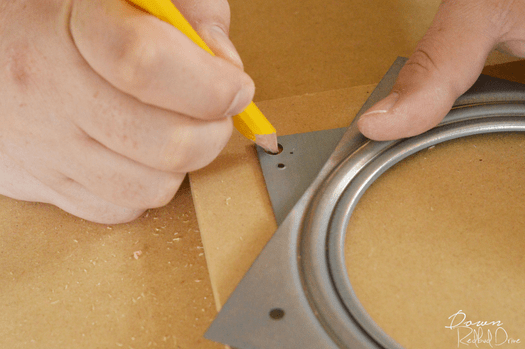

Next, place the metal piece on top of the 8-inch piece of board and mark where the screw holes are with a pencil. We took this photo without the 6″ board attached to the top, so you could see what we were doing a little easier.
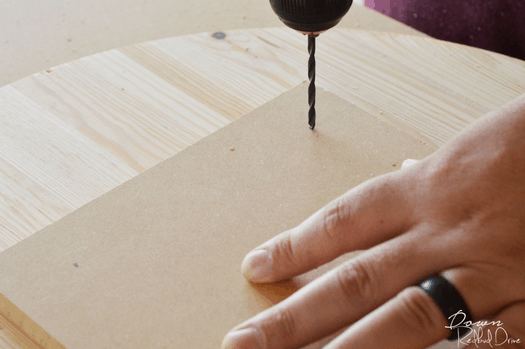

Pre-drill your screw holes so your wood will not split.
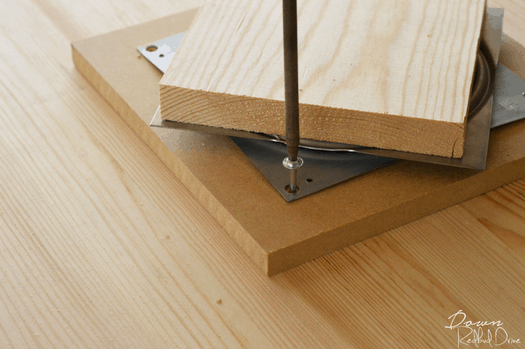

Place the lazy Susan back on top of the 8″ board. Be sure you’ve centered the 8″ board on your wooden circle piece before attaching it with screws. Now you’re safe to secure it all together with your (4) 1 ½” screws!
That’s it! We stained and painted ours to look shabby chic (you can see that tutorial HERE), but you can finish yours however you want! I couldn’t believe how easy this simple DIY lazy susan was, and I just love it! These also make great gifts for weddings, Mother’s Day, birthdays, Christmas etc!
If you made one of these following our tutorial, we’d love it if you shared a picture of the final product with us at downredbuddrive@gmail.com! Who knows, we may even share it on one of our social media sites!


